
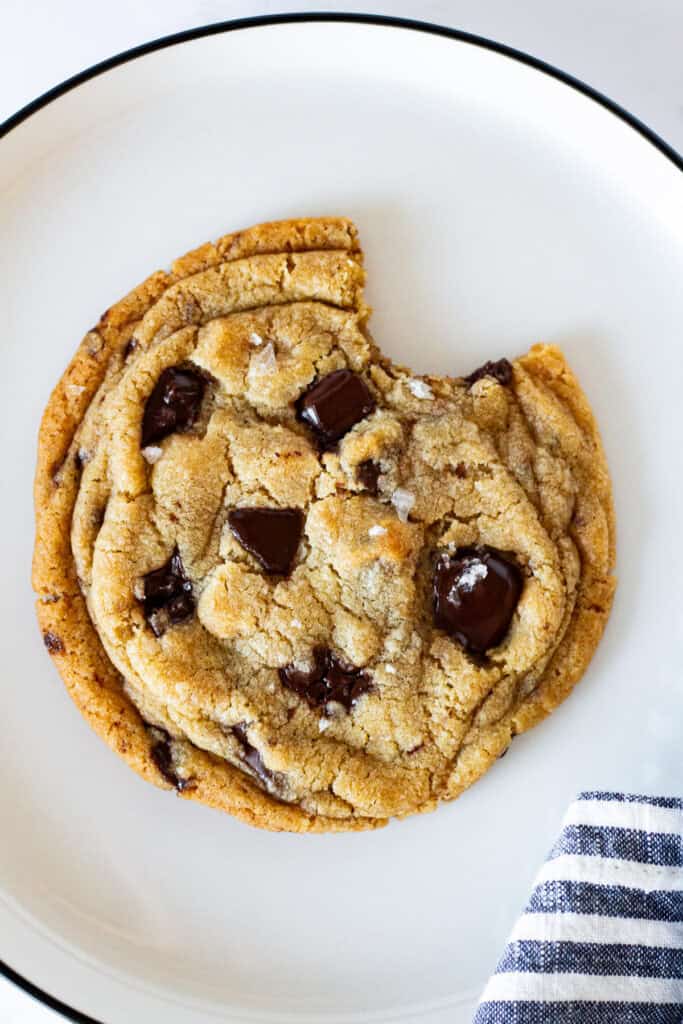
These small-batch chocolate chip cookies are perfect when you want warm, freshly baked cookies without a dozen leftovers. The recipe makes just four large cookies, with no mixer or creaming required.
AT A GLANCE
- What it tastes like: Chewy chocolate chip cookies with crisp, golden edges, pockets of melted chocolate, and a subtle toasted, malty flavor.
- When to make it: When you’re craving freshly baked cookies but don’t want a full batch or lots of leftovers.
- Time: About 1 hour 30 minutes, including 1 hour of chilling time.
- Cooking for two: Makes just 4 large cookies - perfect for two people to share.
- Skill level: Easy
Ingredients
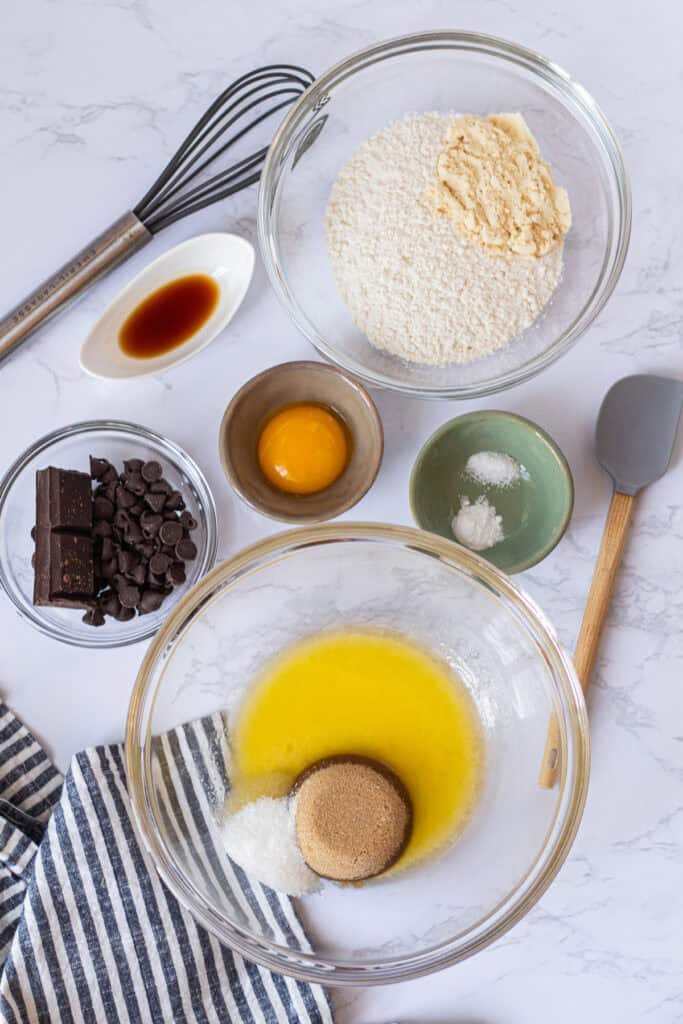
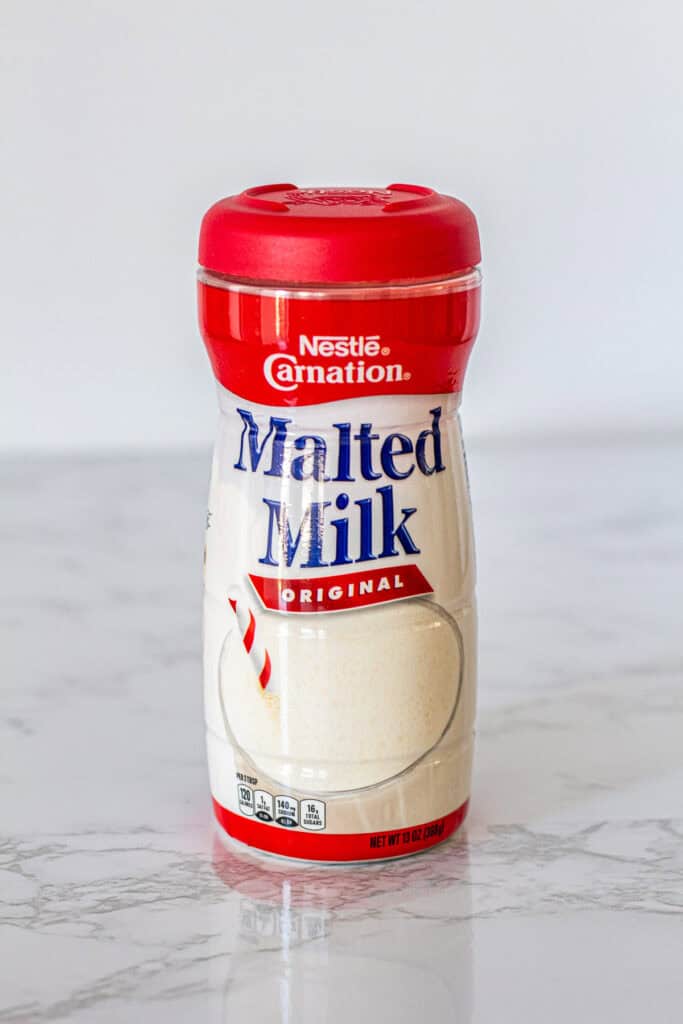
Exact measurements are in the recipe card below.
- Bread flour: Gives the cookies a chewier texture and a little more structure.
- Malted milk powder: My secret ingredient! I use plain malted milk powder for better browning and a subtle toasted, malty flavor. You can leave it out if you don’t have any.
- Baking soda
- Kosher salt: I use Diamond Crystal kosher salt.
- Unsalted butter: Melted and slightly cooled. No need to soften or cream the butter.
- Brown sugar + granulated sugar
- Egg yolk: Adds richness and moisture.
- Vanilla extract
- Dark chocolate + semisweet chocolate chips: You can use all semisweet chocolate chips, but I like using both. The chopped chocolate bar melts more into the cookies, while the chocolate chips hold their shape better.
- Flaky sea salt: Optional, for finishing.
How to Make Small-Batch Chocolate Chip Cookies
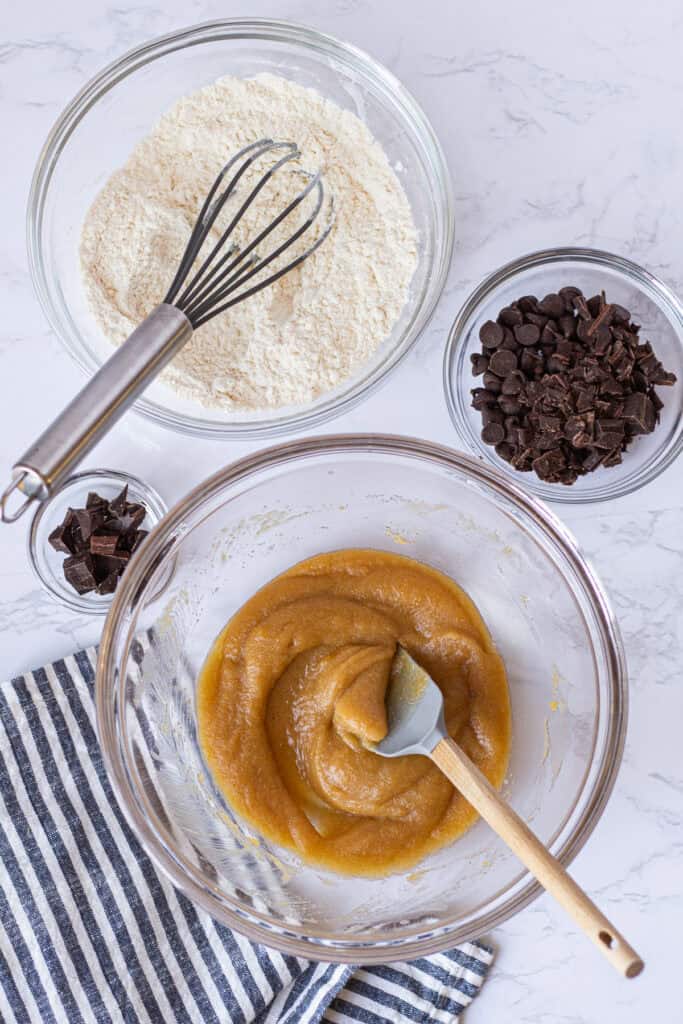
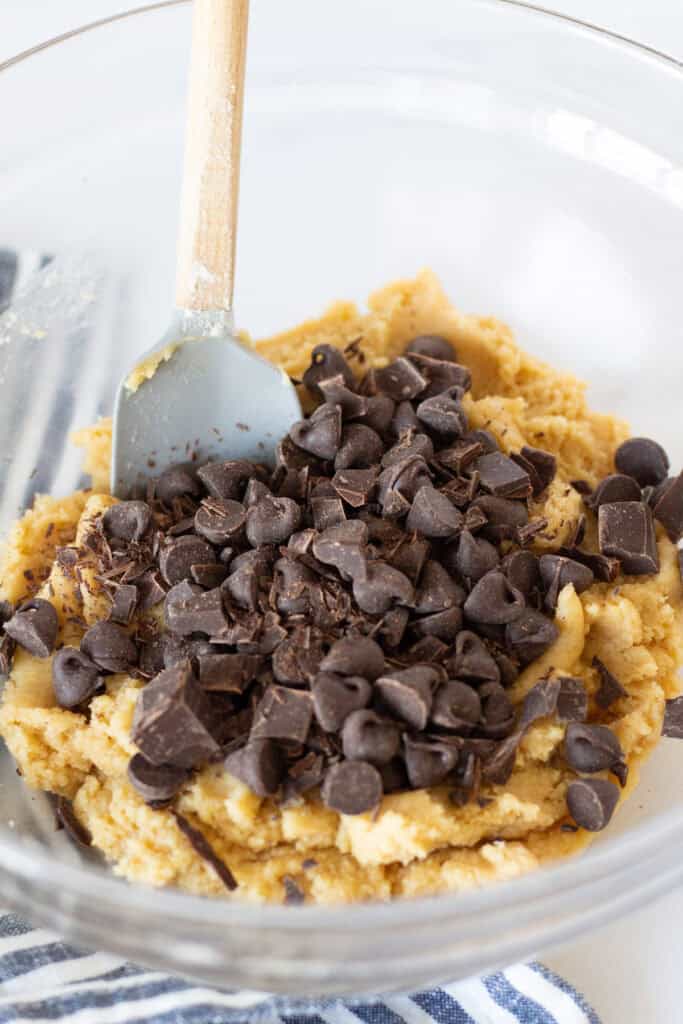
1. Make the dough. Whisk the dry ingredients in one bowl. In another bowl, combine the melted butter and sugars, then add the egg yolk and vanilla. Mix the dry ingredients into the wet ingredients and fold in the chocolate, reserving a few pieces of chopped chocolate for finishing.
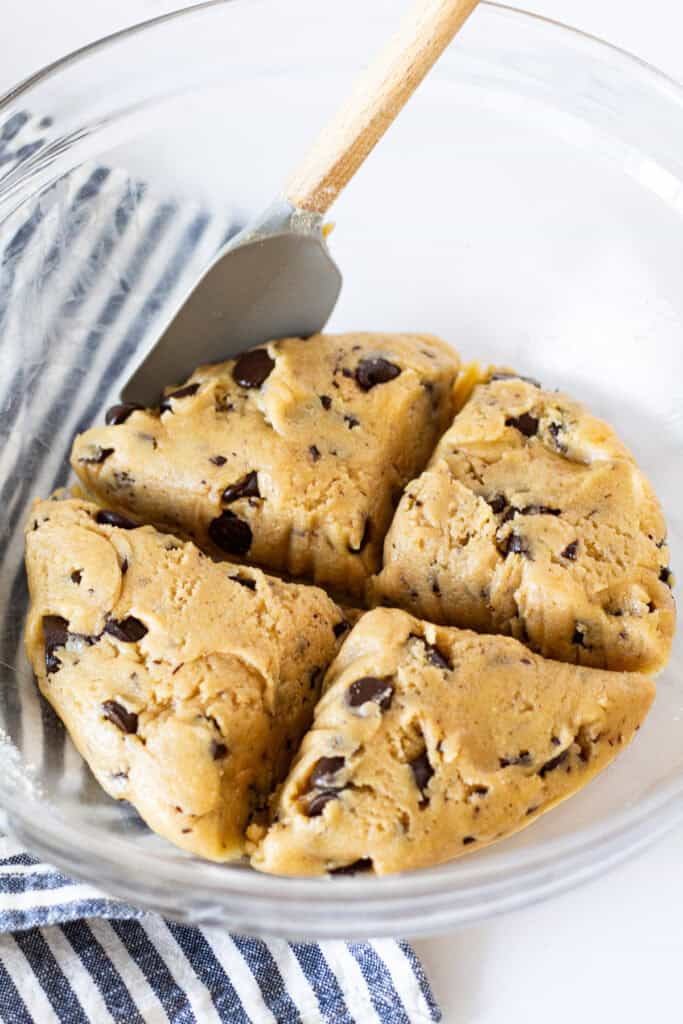
2. Portion and chill. Divide the dough into 4 large cookies and refrigerate for at least 1 hour.
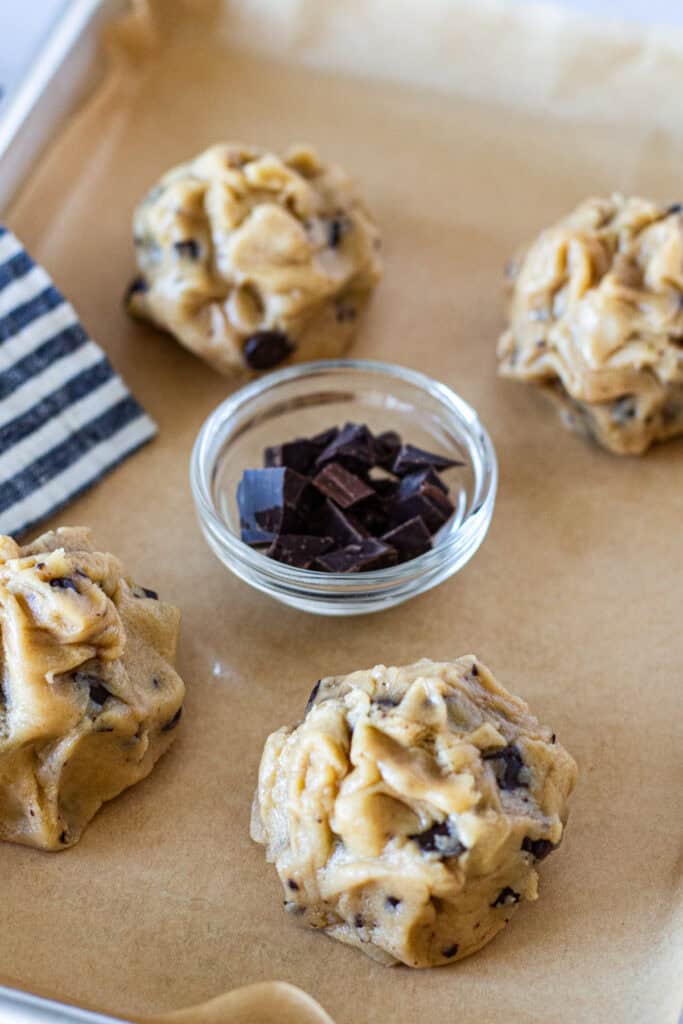
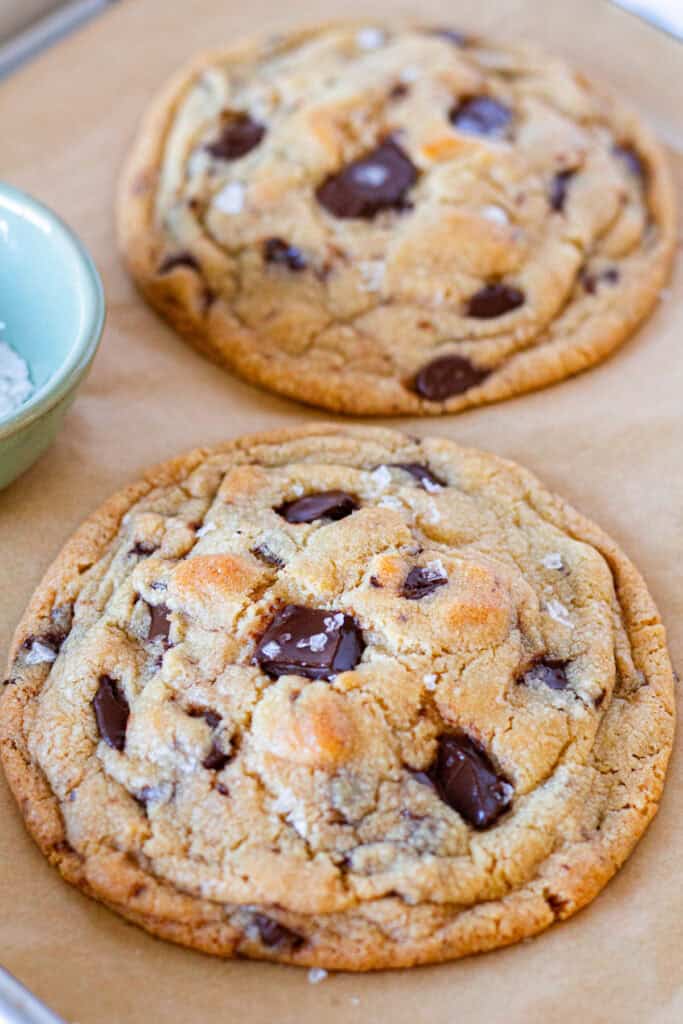
3. Bake. Arrange the cookies at least 3 inches apart on a parchment-lined baking sheet. Bake at 375°F for 9–11 minutes, until the edges are lightly golden and the centers are just set. Immediately press the reserved chocolate into the warm cookies and sprinkle with flaky sea salt, if using.
4. Cool. Let the cookies cool on the baking sheet for 5 minutes before transferring them to a wire rack.
Tips From My Kitchen
- Measure the baking soda carefully. Don’t pack the ¼ teaspoon. Level it off—a little too much can be noticeable in such a small batch.
- Divide the dough evenly. I like to flatten the dough slightly in the bowl and divide it into four equal sections before portioning. This makes it easy to get four cookies that are similar in size. You can also divide the dough into six portions for smaller cookies.
- Shape the dough into rough, craggy mounds. Instead of rolling the dough into perfectly smooth balls, use your fingertips to loosely shape each portion into a tall, rough mound. This gives the baked cookies a more natural, textured top.
- Use two kinds of chocolate. I like a combination of chopped dark chocolate and semisweet chocolate chips. The chips hold their shape better, while the chopped chocolate bar melts more into the cookies.
- Save some chopped chocolate for finishing. As soon as the cookies come out of the oven, press a few pieces into the tops. The residual heat gently melts the chocolate into the cookies without making it too runny. If you’re using flaky sea salt, sprinkle it on at the same time so it sticks.
- Chilling changes how much the cookies spread. I tested the dough after chilling for 1 hour and for more than 24 hours. The 1-hour dough spread more, while the longer-chilled dough stayed more compact. Both worked well, so chill for at least 1 hour or longer if you prefer less spread.
- Let the cookies cool before judging the texture. The cookies will be quite soft while they’re still warm. As they cool, they set and develop a noticeably chewier texture, so give them time to cool completely before judging the final texture.
A Few Helpful Questions
Yes, but the texture may be slightly different. Bread flour has a higher protein content, which helps give these cookies more chew and structure. For the best results, I recommend using bread flour.
You don’t need to replace it - simply leave it out. I love adding malted milk powder because it helps with browning and gives the cookies a subtle toasted, malty flavor, but the cookies will still work without it.
Yes! Double all the ingredients to make 8 large cookies. You can also divide the doubled batch into 10–12 cookies if you prefer smaller cookies. Smaller cookies may bake faster, so start checking them a little earlier.
Yes. Chill the portioned cookie dough for at least 1 hour before baking. However, I actually prefer chilling mine for 24 hours or longer. The extra time allows the flour to fully hydrate and helps develop deeper flavor and browning, resulting in cookies that spread less with thicker centers and crispier, more deeply browned edges.
I tested both side by side: the dough chilled for 1 hour spread more, while the dough chilled for over 24 hours baked up thicker with more defined edges.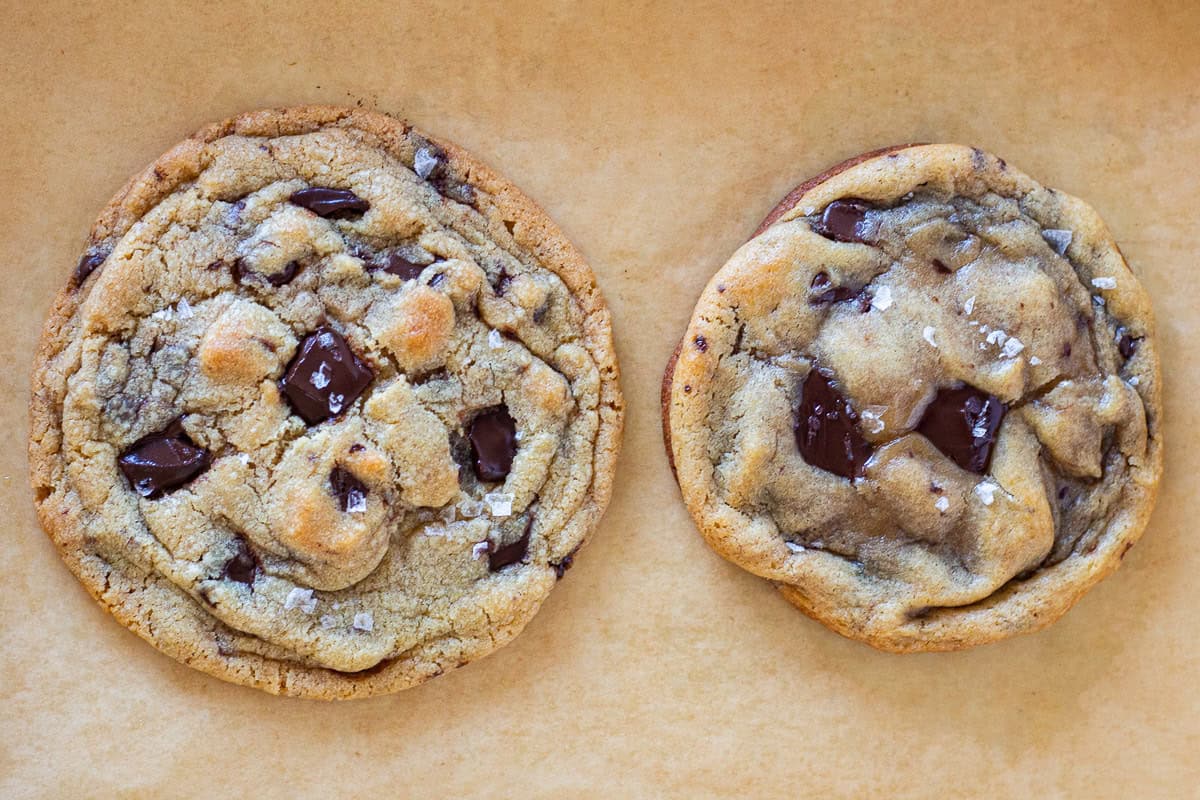
Storage & Make-Ahead
- Refrigerate cookie dough: Store the portioned cookie dough in an airtight container in the refrigerator for 3–5 days. I actually prefer the cookies after the dough has chilled for at least 24 hours, so they’re great for making ahead.
- Freeze cookie dough: Freeze the portioned dough balls for 2–3 months in a freezer-safe container or bag. Bake straight from frozen, adding about 2–3 minutes to the baking time, or thaw overnight in the refrigerator and bake as directed.
- Store baked cookies: Let the cookies cool completely, then store them in an airtight container at room temperature for 3–5 days.
If you’re looking for another easy dessert for two, try my 3-Ingredient Chocolate Mousse. For a cozy holiday dessert, my Mini Sticky Toffee Pudding is another favorite.
PrintSmall-Batch Chocolate Chip Cookies
These small batch chocolate chip cookies make just four large cookies with chewy centers, golden edges, and plenty of chocolate. Melted butter makes the dough easy to prepare with no mixer required.
- Prep Time: 10 minutes
- Chill Time: 1 hour
- Cook Time: 11 minutes
- Total Time: 1 hour 21 minutes
- Yield: 4 large cookies 1x
- Category: Dessert
- Method: Baking
- Cuisine: American
- Diet: Vegetarian
Ingredients
- 90 g (about ¾ cup, spooned and leveled) bread flour
- 4 teaspoons plain malted milk powder
- ¼ teaspoon baking soda, lightly measured and leveled (do not pack)
- ⅛ teaspoon salt
- 4 tablespoons unsalted butter, melted and slightly cooled
- 1 tablespoon granulated sugar
- ¼ cup packed light brown sugar
- 1 large egg yolk
- ½ teaspoon vanilla extract
- 1 ounce dark chocolate, roughly chopped, reserve a few pieces for finishing
- ¼ cup semisweet chocolate chips
- Flaky sea salt, for finishing (optional)
Instructions
- Mix the dry ingredients. In a small bowl, whisk together the bread flour, malted milk powder, ¼ teaspoon baking soda, and salt. Set aside.
- Mix the wet ingredients. Melt the butter in a large microwave-safe mixing bowl and let it cool slightly. Add the granulated sugar and brown sugar and whisk until well combined. Add the egg yolk and vanilla and whisk until smooth.
- Make the dough. Add the dry ingredients to the wet ingredients and stir just until no dry streaks remain. Reserve a few pieces of chopped dark chocolate for finishing, then fold the remaining chopped chocolate and semisweet chocolate chips into the dough.
- Portion and shape. Gently flatten the dough in the bowl and divide it into 4 equal portions. Using your fingertips, loosely shape each portion into a rough, slightly craggy mound rather than a perfectly smooth ball.
- Chill. Place the portioned dough on a parchment-lined baking sheet or plate and refrigerate for at least 1 hour.
- Preheat the oven. Toward the end of the chilling time, preheat the oven to 375°F. Line a baking sheet with parchment paper if needed.
- Bake. Arrange the chilled cookie dough at least 3 inches apart on the prepared baking sheet. Bake for 9–11 minutes, until the edges are lightly golden and the centers are just set.
- Finish. As soon as the cookies come out of the oven, gently press the reserved chopped chocolate into the tops. Sprinkle with flaky sea salt, if using.
- Cool. Let the cookies cool on the baking sheet for 5 minutes, then transfer to a wire rack to cool completely. The cookies will be soft while warm and become chewier as they cool.
Notes
-
Malted milk powder: I highly recommend using it! It helps the cookies brown beautifully and adds a subtle toasted, malty flavor. Use plain malted milk powder, not chocolate malt drink mix. You can omit it if you don’t have it.
-
Measure the flour carefully: For the most consistent results, weigh the bread flour. If using a measuring cup, spoon the flour into the cup and level off the top rather than scooping directly from the bag.
-
Save some chocolate for finishing: Reserve a few pieces of chopped dark chocolate and press them into the cookies as soon as they come out of the oven. The residual heat gently melts the chocolate without making it too runny. This is also the best time to sprinkle on flaky sea salt, if using, so it sticks to the cookies.
-
For less spread: Chill the portioned dough for 24 hours or longer. In my testing, the longer-chilled dough spread less and baked up thicker than the dough chilled for 1 hour.


Share your thoughts below!