Learn how to make quick caramelized onions in 20 minutes. Sweet, deeply browned, and perfect for burgers, sandwiches, and more.
Caramelized onions add so much flavor to everyday meals, but the traditional method can take a long time. This quick caramelized onions recipe gives you sweet, deeply browned onions in about 20 minutes, making it easy to enjoy them on a weeknight. They’re perfect for burgers, sandwiches, pizzas, or anywhere you want a little extra depth and sweetness.
Jump to:
Why You’ll Love This Recipe
- Ready in about 20 minutes, perfect for busy weeknights
- Simple ingredients you likely already have
- Sweet, deeply browned onions without long cooking time
- Onions keep their shape with a little texture, not overly jammy
- Works well for burgers, sandwiches, pizzas, breakfast, and more
Traditional vs Quick Caramelized Onions
| Feature | Traditional Caramelized Onions | Quick Caramelized Onions |
|---|---|---|
| Cooking time | 45 to 90 minutes | About 20 minutes |
| Cooking heat level | Low and slow | Medium-high |
| Texture | Very soft and jammy | Sweet and browned with some bite |
| Flavor | Deep and mellow | Rice and savory-sweet |
| Best uses | French onion soup, slow cooked dishes | Burgers, sandwiches, pizza, everyday meals |
| Weeknight friendly | No | Yes |
Why I Don’t Use Baking Soda
Some quick methods use baking soda to speed up browning by breaking down the onions more quickly. While it does work, baking soda can make the onions softer than intended and may leave a slightly soapy or metallic taste. For this recipe, I prefer using heat, timing, and a small amount of sugar to create sweet, deeply browned onions without baking soda.
Ingredients You’ll Need
- Onions
Yellow onions or Vidalia onions work best for quick caramelized onions because they balance sweetness and structure well. White onions or red onions also work, though red onions will turn a deeper purple color as they cook. - Salt
Salt is added at the beginning to help draw moisture out of the onions. This speeds up softening and browning, which is important when making caramelized onions quickly. - Water
Small splashes of water are used during cooking to loosen browned bits and control browning. Using water early helps soften the onions and keeps the recipe lighter. - Oil or butter
A small amount of oil or butter is added toward the end of cooking to enhance richness and flavor. Since the onions are cooked in a nonstick skillet and softened with water first, the oil is not needed to prevent sticking. - Brown sugar
A touch of brown sugar helps speed up caramelization and adds a subtle molasses flavor and deeper color at the finishing stage.
How to Make Quick Caramelized Onions
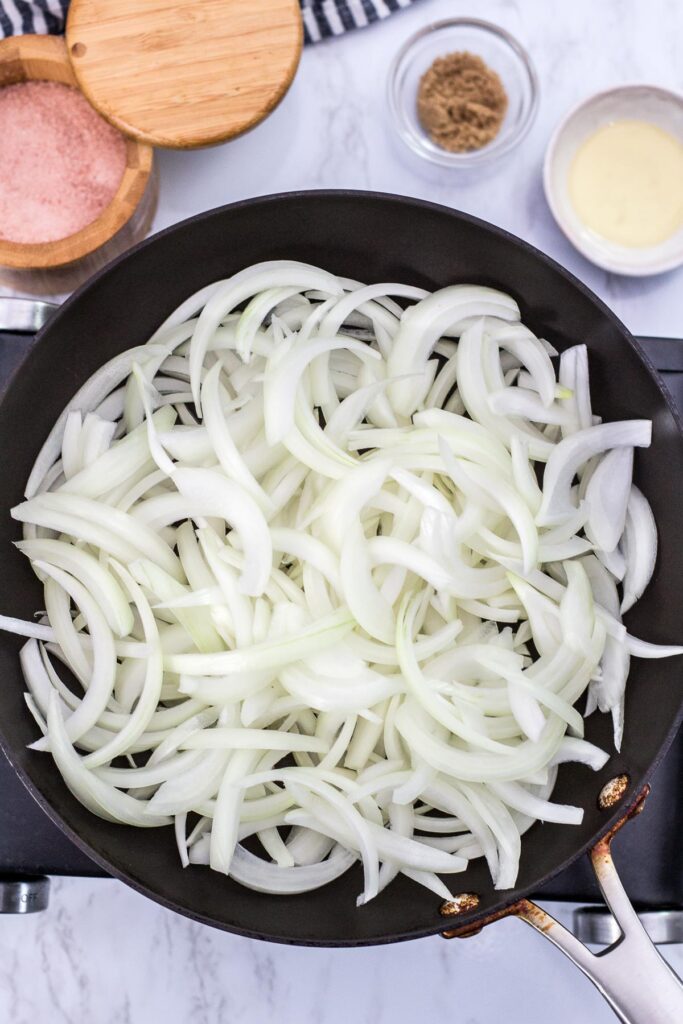
- Slice the onions pole to pole
Slice the onions from the root to the stem rather than into rings. This helps the onions hold their shape better during higher heat cooking and leads to more even caramelization. - Heat the pan and add onions with salt
Heat a large nonstick skillet over medium-high heat. Add the sliced onions directly to the dry pan along with a pinch of salt. Let the onions cook without stirring for 3 to 4 minutes until they begin to soften and lightly brown.
Adding salt early helps draw out moisture, which speeds up the softening and browning process. - Stir and build color
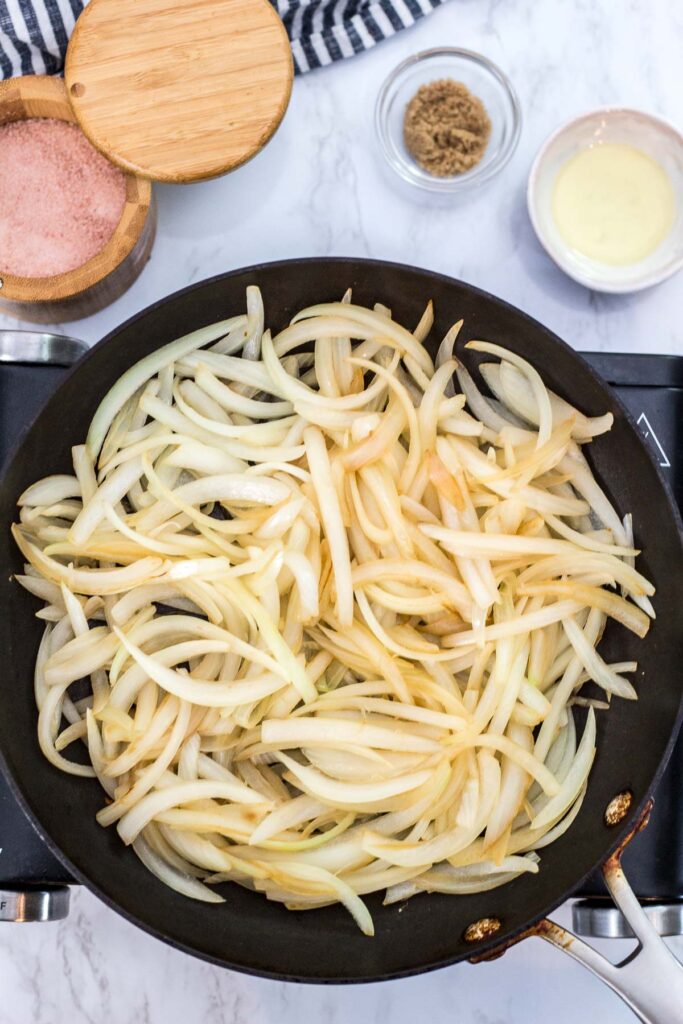
Stir the onions and continue cooking, stirring every couple of minutes, until they release more moisture and start sticking slightly to the pan. This usually takes about 6 to 8 minutes and helps build flavor without burning. - Add a splash of water to control browning
If the onions start browning too quickly or the pan looks dry, add a small splash of water and stir. The water loosens the browned bits and helps the onions soften evenly while continuing to caramelize. - Add oil and sugar
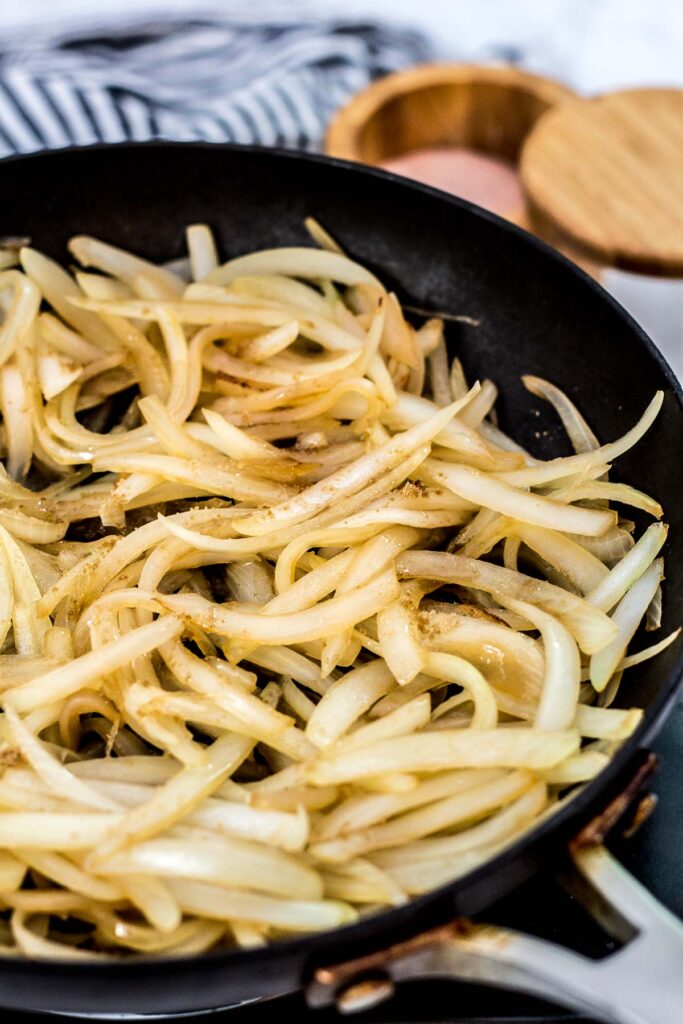
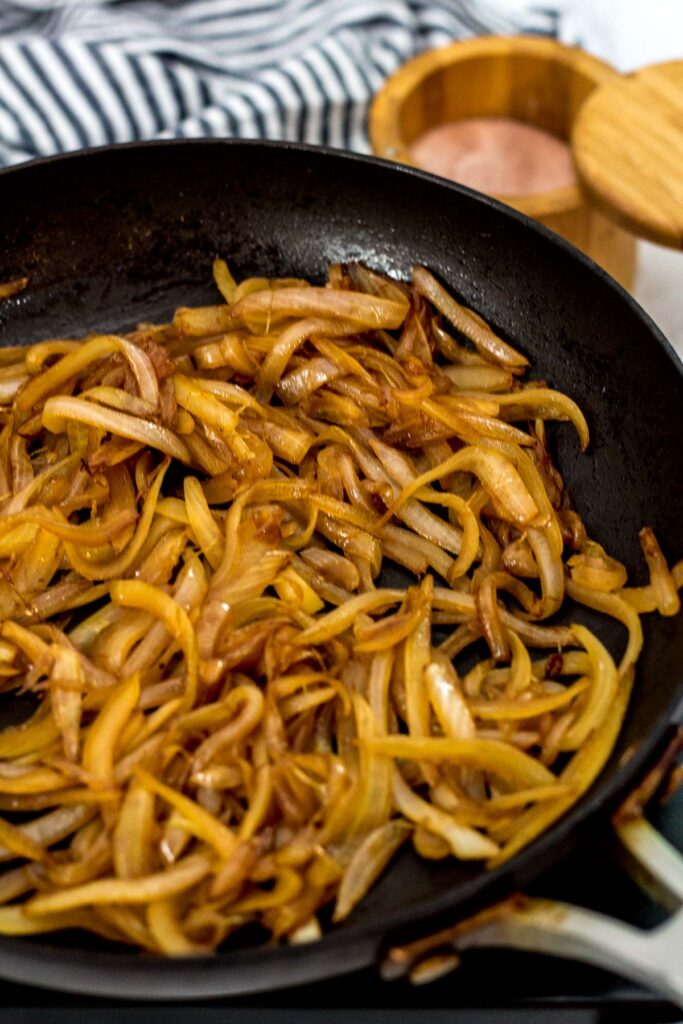
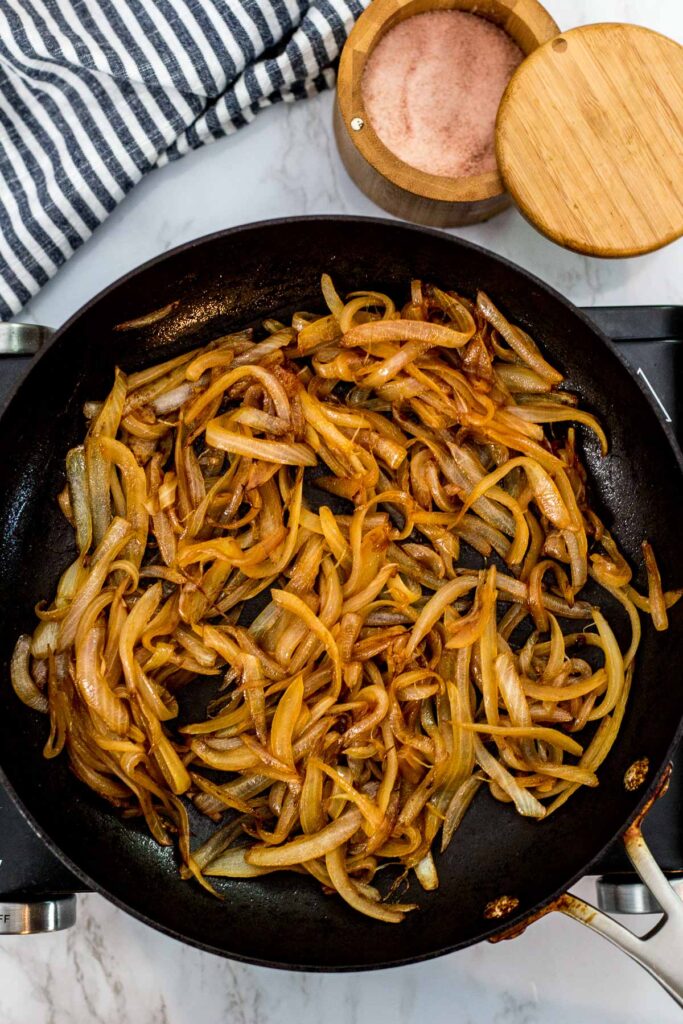
Once the onions are softened and evenly browned, add the oil or butter along with the brown sugar. At this point, the oil is used mainly to enhance richness and flavor rather than to prevent sticking. Using small splashes of water earlier allows the onions to soften and caramelize without relying on oil, keeping the dish lighter while still finishing with great flavor. - Finish caramelizing
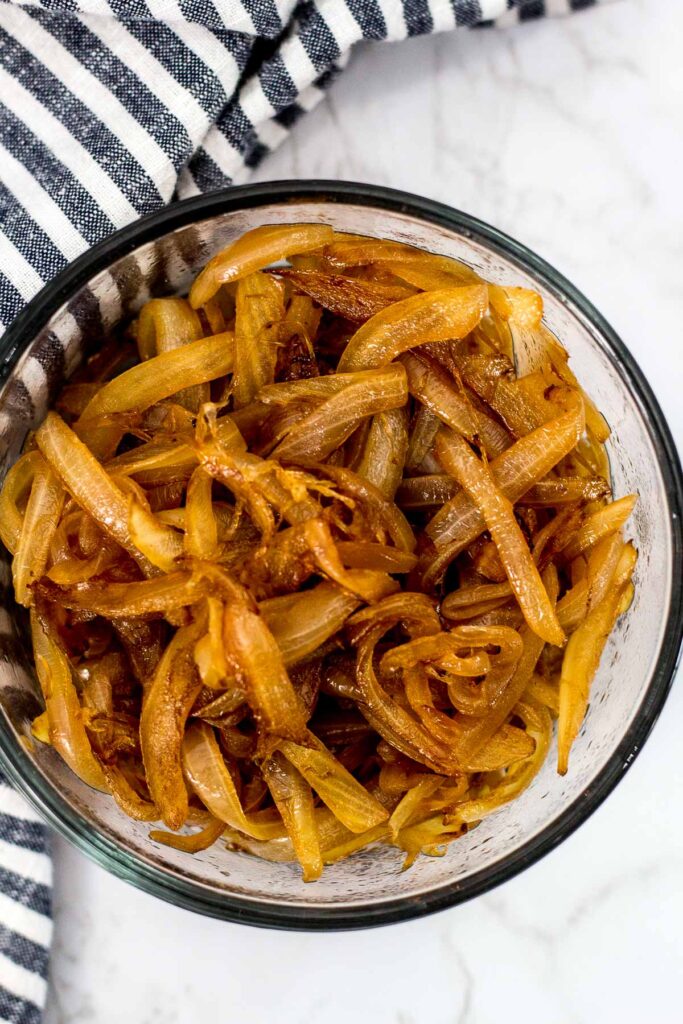
Continue cooking with frequent stirring until the onions are deeply golden brown and glossy. Add another small splash of water if needed to prevent burning. - Taste and adjust
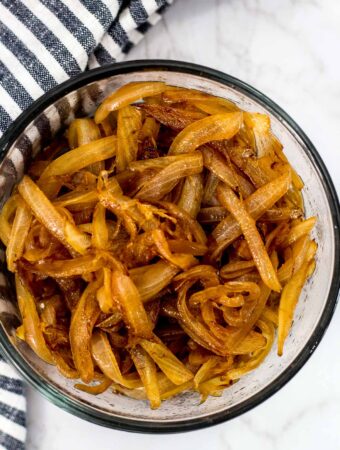
Remove from heat, taste the onions, and adjust seasoning if needed before serving.
Questions You Might Have About Quick Caramelized Onions
They are different. Quick caramelized onions are sweet and deeply browned but keep their shape and some texture, while traditional caramelized onions are softer and more jammy.
Adding salt early helps draw moisture out of the onions. This allows them to soften faster and speeds up the browning process, which is helpful when cooking onions quickly.
Lower the heat slightly and add a small splash of water. The water loosens the browned bits on the pan and helps the onions continue caramelizing without burning.
Yes. You can store quick caramelized onions in an airtight container in the refrigerator for up to 5 days. They also freeze well for longer storage.
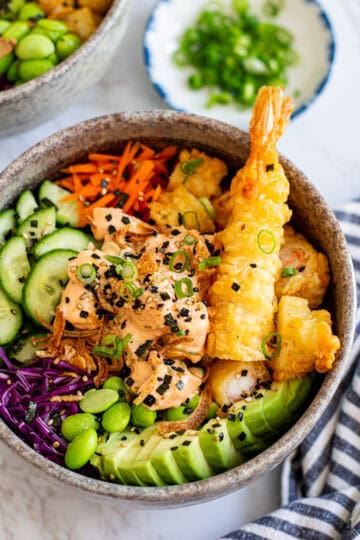
Quick caramelized onions are an easy way to add deep, savory sweetness to everyday meals without spending a lot of time at the stove. I often use them as a topping for Tater Tots Breakfast Hash, fold them into Puff Pastry Brie Bites, or use them as a flavorful base for Japanese Beef Curry. Once you get the timing down, this quick method fits easily into weeknight cooking and adds big flavor with minimal effort.
PrintQuick Caramelized Onions (Ready in 20 Minutes)
Sweet, deeply browned quick caramelized onions made in about 20 minutes. A simple stovetop method perfect for burgers, sandwiches, breakfast dishes, and more.
- Prep Time: 5 minutes
- Cook Time: 15 minutes
- Total Time: 20 minutes
- Yield: 2 cups 1x
- Category: Side Dish
- Method: Stovetop
- Cuisine: American
- Diet: Vegetarian
Ingredients
-
1 large onion, sliced pole to pole
-
Pinch of salt
-
Water, for cooking
-
1 to 2 teaspoons oil or butter
-
1 teaspoon brown sugar
Instructions
-
Heat a large nonstick skillet over medium-high heat.
-
Add the sliced onions to the dry pan along with a pinch of salt. Cook without stirring for 3 to 4 minutes until the onions begin to soften and lightly brown.
-
Stir the onions and continue cooking, stirring every couple of minutes, until they release moisture and start sticking slightly to the pan, about 6 to 8 minutes.
-
If the pan looks dry or the onions start browning too quickly, add a small splash of water and stir to loosen the browned bits.
-
Once the onions are softened and evenly browned, add the oil or butter and sprinkle the brown sugar over the onions. Stir well to coat.
-
Continue cooking with frequent stirring until the onions are deeply golden brown and glossy. Add another small splash of water if needed to prevent burning.
-
Remove from heat, taste, and adjust seasoning if needed before serving.
Notes
-
Slice the onions pole to pole to help them hold their shape during cooking.
-
Adding salt at the beginning helps draw out moisture and speeds up browning.
-
Small splashes of water help control browning and keep the onions from burning.
-
Oil or butter is added at the end to enhance richness and flavor.

Share your thoughts below!