
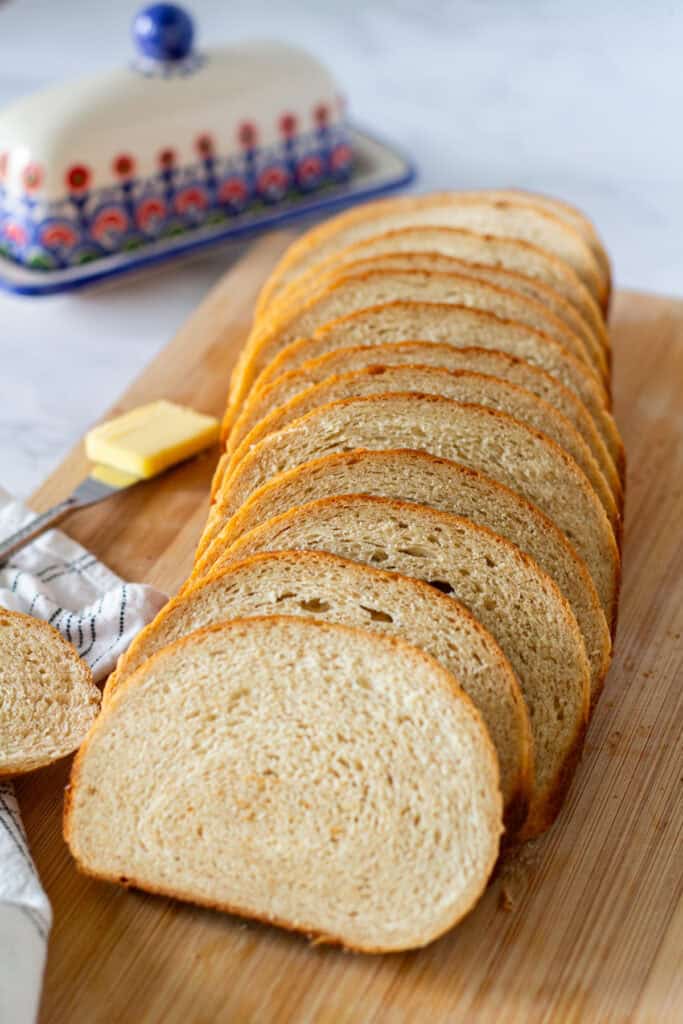
Homemade honey wheat sandwich bread that's soft, sweet, and perfect for sandwiches, toast, or enjoying warm with a little butter.
At a Glance
- What it tastes like: Soft, fluffy, and sweet with a wholesome wheat flavor. Think of it as a homemade, better-tasting version of store-bought honey wheat bread.
- When to make it: Make a loaf to keep on hand for everyday sandwiches, toast, or breakfast.
- How long it takes: Plan on about 4-5 hours from start to finish, including two rises and cooling time. Most of that time is hands-off, making this a great weekend baking project.
- Cooking for two: One loaf lasts well for a smaller household, and extra slices can be frozen for later.
- Skill level: Easy. The dough is easy to work with and the loaf doesn't require any complicated shaping.
Jump to:
This honey wheat sandwich bread is adapted from a recipe I used at the cooking school where I taught cooking classes. I adjusted the original recipe to make just one loaf, which is a much more practical amount for baking at home.
It makes a great everyday bread for sandwiches and morning toast, but one of my favorite ways to use it is for grilled cheese. The soft, slightly sweet bread gets beautifully golden and crisp while staying tender inside.
Ingredients
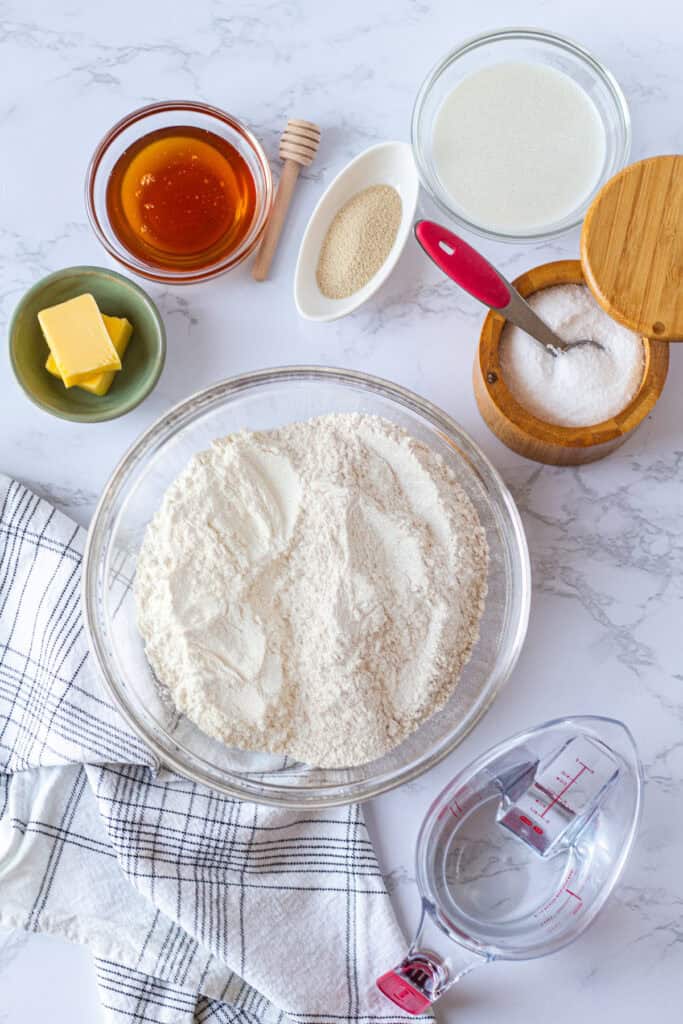
You’ll find exact measurements in the recipe card below.
- Water: Use warm, not hot, water to help activate the yeast.
- Yeast: I use instant yeast, but active dry yeast works too. Follow the recipe as written with either one. If using active dry yeast, let the wet mixture sit until the yeast blooms before continuing. With instant yeast, there’s no need to wait.
- Whole milk: Adds richness and helps keep the bread soft. Warm it slightly before using.
- Honey: Adds sweetness and gives the bread its signature honey flavor.
- Unsalted butter: Adds richness and helps create a soft, tender loaf. Melt and cool it slightly before using.
- Whole wheat flour: Gives the bread its hearty wheat flavor.
- All-purpose flour: Keeps the loaf softer and lighter than using all whole wheat flour.
- Kosher salt: I use Diamond Crystal kosher salt. Adjust the amount if using a different type of salt.
- Melted butter: Brush it over the warm loaf after baking to help soften the crust.
How to Make Honey Wheat Sandwich Bread
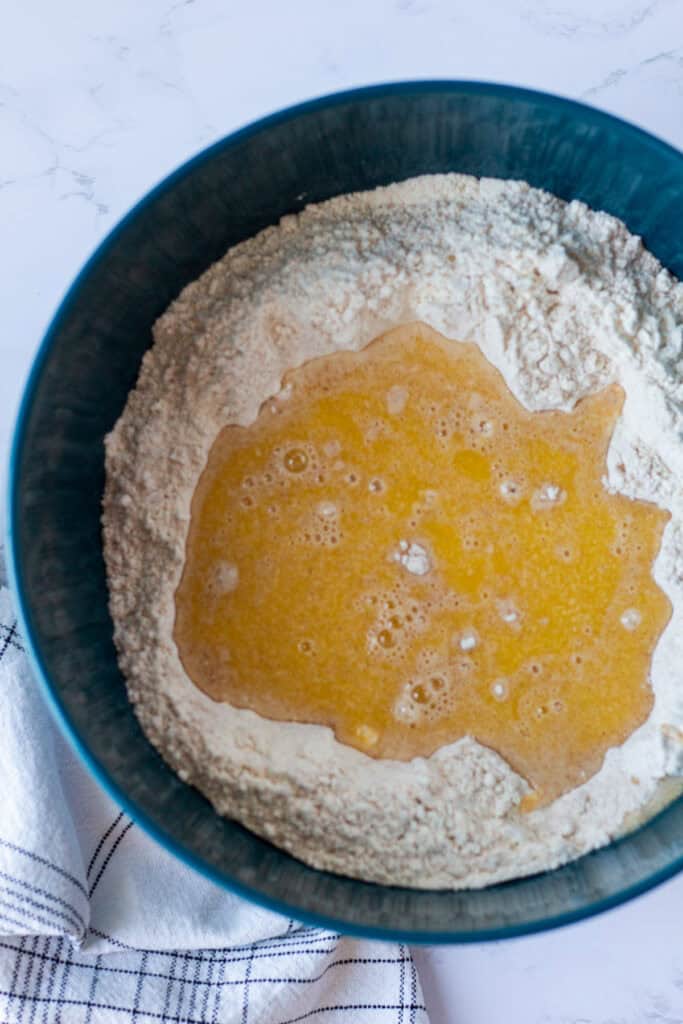
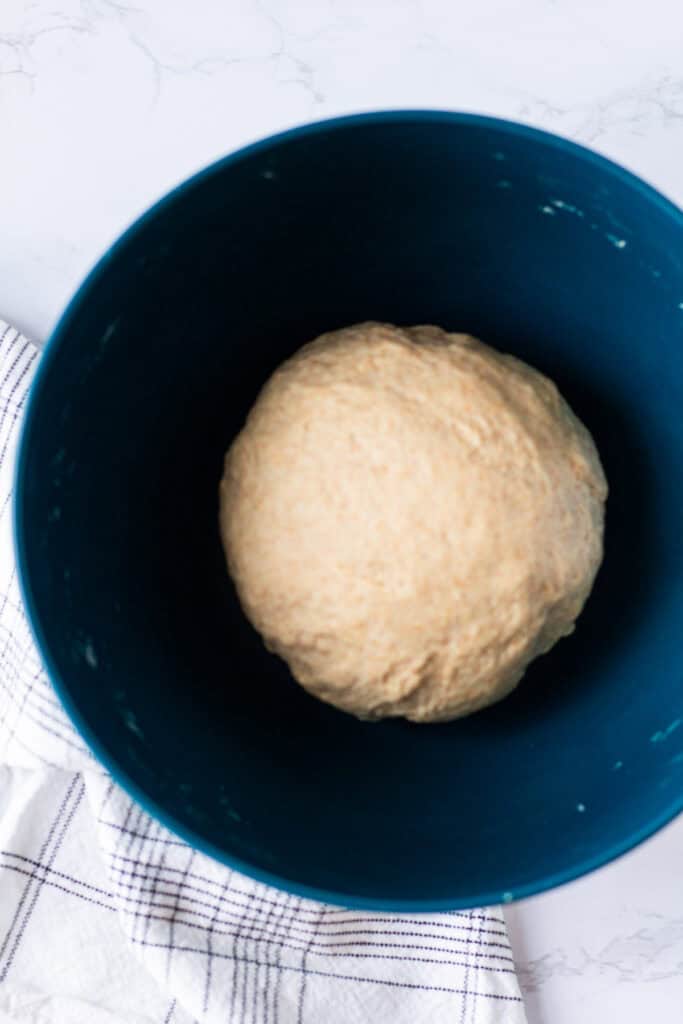
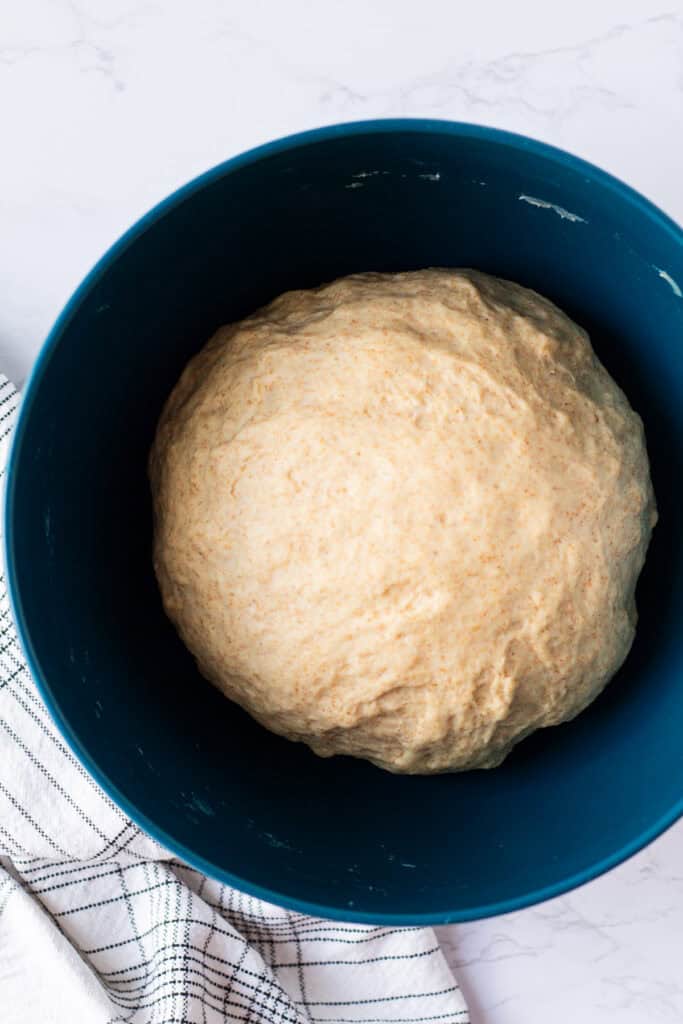
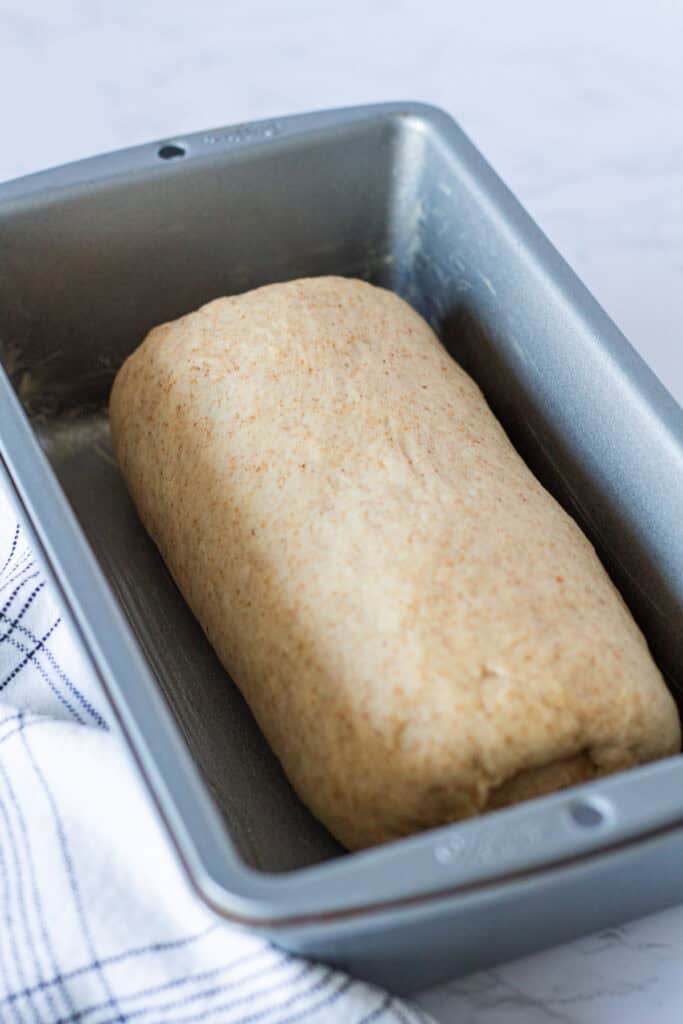
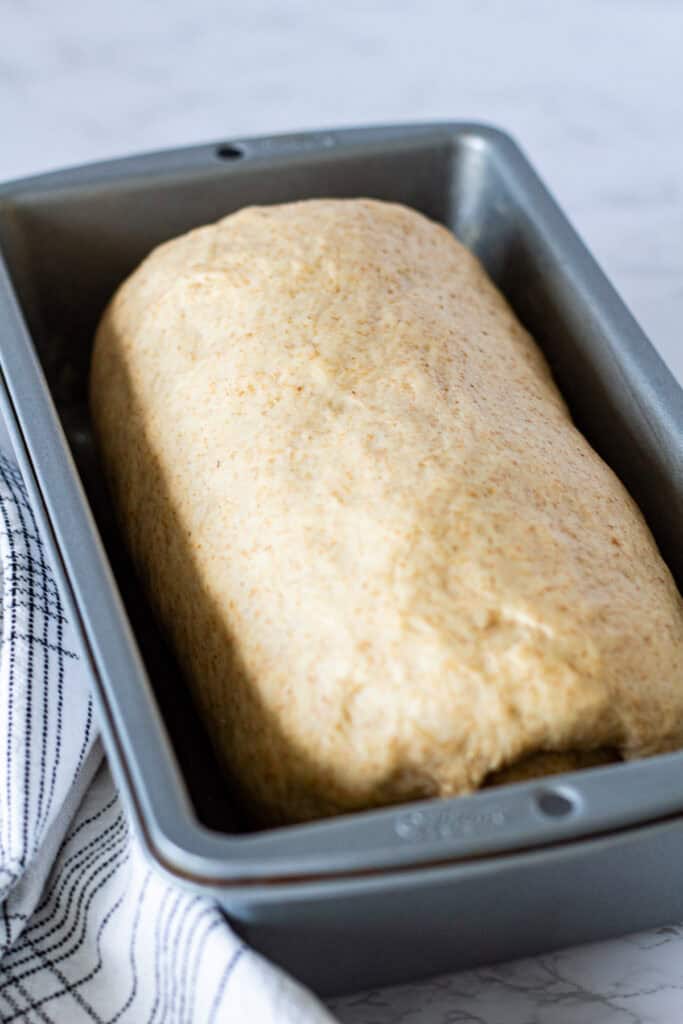

- Mix the dough.
- Stand mixer: Add the flours and salt to the mixer bowl. Combine the water, yeast, milk, honey, and melted butter separately. Add the wet ingredients to the dry ingredients and mix on low until the dough comes together. Cover and let rest for 10 minutes.
- By hand: Combine the flours and salt in a large bowl. Combine the water, yeast, milk, honey, and melted butter separately. Add the wet ingredients to the dry ingredients and mix until the dough comes together. Cover and let rest for 10 minutes. - Knead.
- Stand mixer: Knead on medium-low for 3–5 minutes.
- By hand: Knead for 5–7 minutes. The dough should be smooth and elastic. - Let it rise. Cover the dough and let it rise in a warm place until roughly doubled in size.
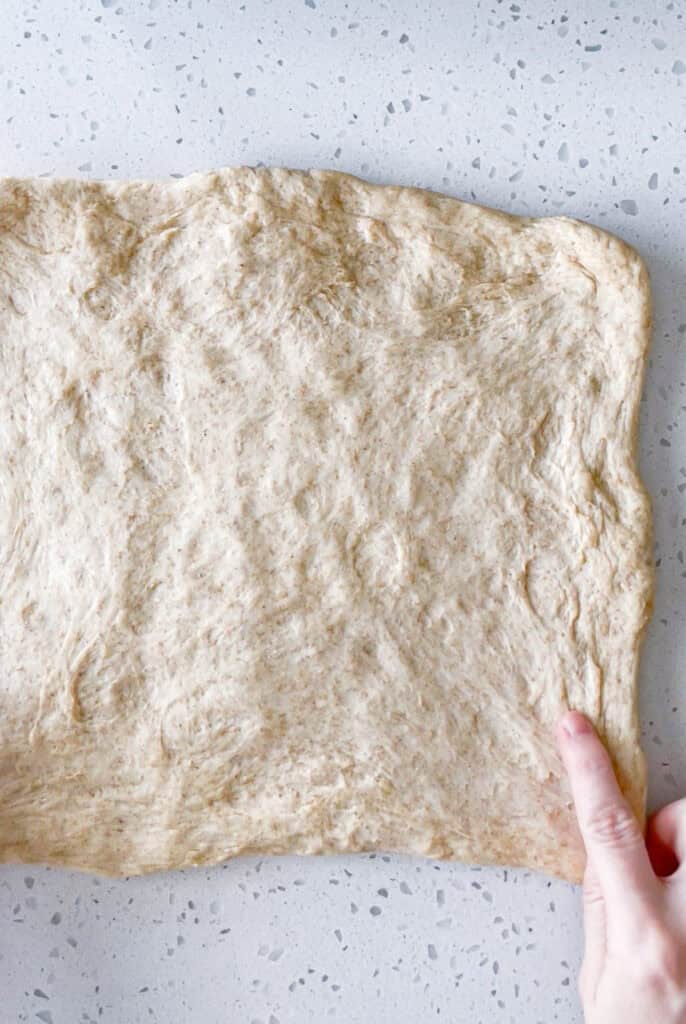
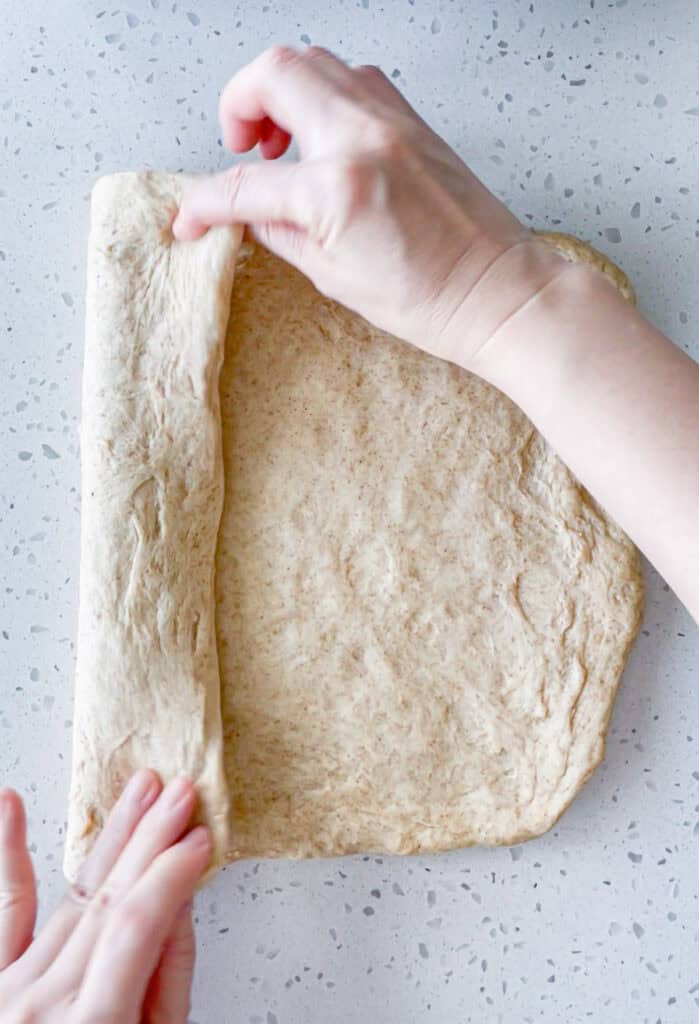
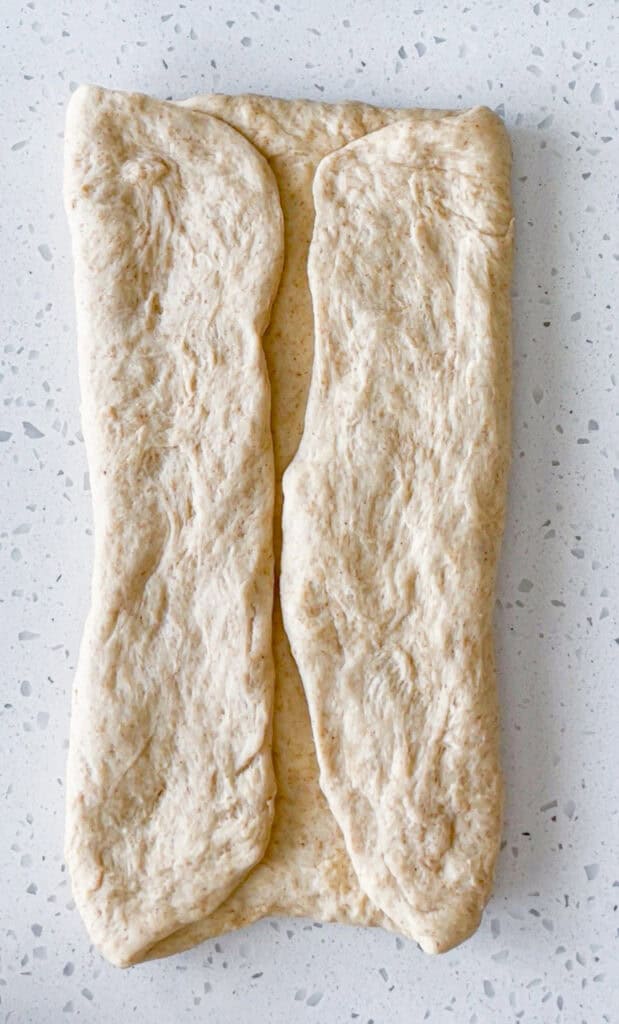
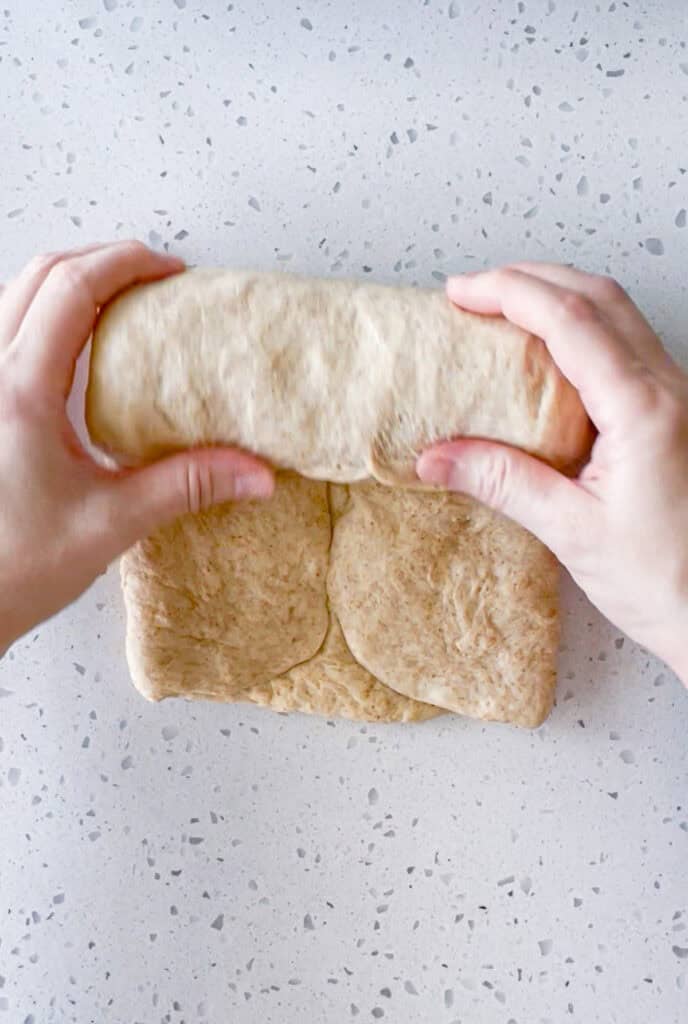
- Shape the loaf. Gently deflate the dough and press it into a rectangle. Fold both sides toward the center, then roll it up into a loaf. Pinch the seam closed and place seam-side down in a lightly buttered 9x5-inch loaf pan.
- Let it rise again. Cover and let rise until the dough is puffy and just above the rim of the loaf pan.
- Bake. Bake at 375°F for 25–30 minutes. Brush the warm loaf with melted butter, then cool completely before slicing.
Expert Tips
- Make it by hand or with a stand mixer. I usually make this bread by hand because the dough is soft and easy to work with, but a stand mixer works just as well.
- Give the dough time to rest before adding flour. After the initial mixing, let the dough rest for 10–15 minutes so the flour has time to absorb the liquid. If the dough is still too wet or tacky to knead comfortably after resting, add flour 1 tablespoon at a time. If you follow the measurements in the recipe, you shouldn't need much, if any, additional flour.
- Watch the dough, not the clock. Rising time will vary depending on the temperature of your kitchen and even the weather. For the first rise, look for the dough to roughly double in size rather than relying on a specific amount of time.
- Butter your loaf pan. I prefer butter over cooking spray because it adds a little extra flavor to the crust.
- Choose your loaf pan based on the shape you want. I use a 9x5-inch loaf pan, which makes a slightly wider, shorter loaf. For a taller, more traditional sandwich bread shape, use an 8½x4½-inch loaf pan.
- Use the rim of the pan as your guide. For the second rise, I’ve found that the loaf is ready to bake once the dough is puffy and has risen slightly above the rim of the loaf pan.
- Check the bread for doneness. Every oven is different, so I like to check the internal temperature rather than relying only on appearance. The center should reach about 190–200°F. If the top is browning too quickly before the bread is done, loosely cover it with foil.
- Brush with butter and let it cool completely. Brush the loaf with melted butter as soon as it comes out of the oven to help keep the crust soft. Then let it cool completely before slicing. The crumb continues to set as the bread cools, and slicing too soon can result in a gummy texture or slices that cave in as they cool.
Storage & Freezing
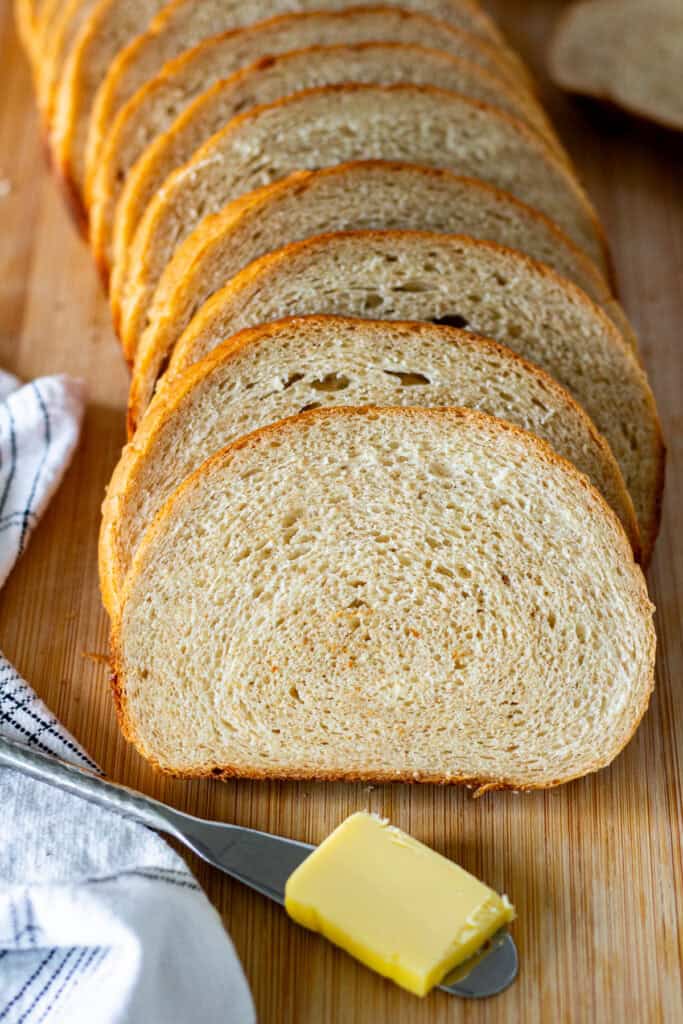
Once the bread has cooled completely, slice it and store it in a zip-top bag at room temperature in a cool, dry place for up to 3 days.
For longer storage, freeze the sliced bread in a freezer-safe bag. You can take out individual slices as needed and toast them straight from frozen or let them thaw at room temperature.
I don't recommend storing homemade bread in the refrigerator because it will dry out and become stale more quickly.
PrintHoney Wheat Sandwich Bread

Soft and sweet homemade honey wheat sandwich bread that's perfect for sandwiches, toast, grilled cheese, or enjoying with a little butter.
- Prep Time: 20 minutes
- Rise Time: 2 to 3 hours
- Cook Time: 30 minutes
- Total Time: 4 hours
- Yield: 1 loaf 1x
- Category: Bread
- Method: Baking
- Cuisine: American
- Diet: Vegetarian
Ingredients
- 4 ounces warm water (½ cup)
- 2 teaspoons instant yeast
- 2½ ounces milk, warmed (5 tablespoons)
- 3½ tablespoons honey (about 2.3 oz)
- 2 tablespoons unsalted butter, melted and slightly cooled
- 6 ounces whole wheat flour
- 7 ounces all-purpose flour
- 6 grams salt (about 2 teaspoons Diamond Crystal kosher salt)
- Melted butter, for brushing
Instructions
- Mix the wet ingredients. Combine the warm water, yeast, warm milk, honey, and melted butter in a bowl.
- Mix the dough. Add the whole wheat flour, all-purpose flour, and salt to the bowl of a stand mixer or a large mixing bowl. Add the wet ingredients and mix until the dough comes together. Cover and let rest for 10 - 15 minutes.
- Knead. Using a stand mixer, knead on medium-low for 3–5 minutes. By hand, knead for 5–7 minutes. The dough should be smooth and elastic.
- First rise. Cover and let the dough rise in a warm place until roughly doubled in size.
- Shape the loaf. Lightly butter a 9x5-inch loaf pan. Gently deflate the dough and press it into a rectangle. Fold both sides toward the center, then roll it up into a loaf. Pinch the seam closed and place seam-side down in the prepared pan.
- Second rise. Cover and let rise until the dough is puffy and has risen slightly above the rim of the loaf pan.
- Preheat the oven. Toward the end of the second rise, preheat the oven to 375°F.
- Bake. Bake for 25–30 minutes, checking at 25 minutes. The center of the loaf should reach 190–200°F.
- Brush with butter. Immediately after removing the loaf from the oven, brush the top with melted butter.
- Cool. Let cool in the pan for 10–15 minutes. Remove from the pan and transfer to a wire rack to cool completely before slicing.
Notes
- Cooling time: Total time does not include cooling time.
- Yeast: I use instant yeast, but active dry yeast also works. Follow the recipe as written with either one. If using active dry yeast, let the wet mixture sit until the yeast blooms before continuing. With instant yeast, there's no need to wait.
- Rise time: Rise times will vary depending on the temperature of your kitchen. Watch the dough rather than the clock.
- Loaf pan size: A 9x5-inch pan produces a wider, slightly shorter loaf. For a taller sandwich loaf, use an 8½x4½-inch loaf pan.
- Browning: If the top browns too quickly, loosely cover the loaf with foil while it finishes baking.
- Before slicing: Cool completely before slicing to allow the crumb to set.
- Storage & freezing: Store completely cooled bread in a zip-top bag at room temperature for up to 3 days. For longer storage, slice and freeze in a freezer-safe bag. Thaw individual slices at room temperature or toast from frozen. Avoid refrigerating, as it can dry out the bread.



Share your thoughts below!