A bold and easy homemade vegan kimchi recipe with traditional flavor without fish sauce.
I’ve been making vegan kimchi for years now, and this is the version I come back to again and again. When I first started sharing Korean recipes on my blog, I was just beginning to explore how to veganize many traditional dishes. Over time, I kept refining and simplifying — and eventually realized it was time to update this recipe.
This post brings together everything I’ve learned: bold flavor, classic texture, and no fish sauce — just simple, homemade Korean-style kimchi that even my non-vegan family loves.
Jump to:
What Is Kimchi? Is It Vegan or Vegetarian?
Kimchi is a traditional Korean fermented vegetable dish, typically made with napa cabbage, Korean radish, garlic, ginger, and gochugaru (Korean chili flakes). It’s bold, tangy, spicy, and packed with umami.
While delicious, traditional kimchi is usually not vegan because it often includes fish sauce or salted shrimp for savory depth. The good news? You can make a flavorful, authentic-tasting kimchi without any animal products by using a few simple, plant-based swaps — and this recipe shows you how.
Ingredients for Homemade Vegan Kimchi
You don’t need complicated ingredients to make bold, flavorful vegan kimchi at home. Here’s what I use:
Vegetables:
- Napa cabbage – The base of most traditional kimchi. One medium head is perfect.
- Korean radish (mu) – Adds crunch and a subtle natural sweetness. Daikon is a good substitute.
- Carrot (optional) – Adds color and mild sweetness.
- Green onion(optional) – Adds flavor and color, but not essential.
Seasoning Paste:
- Flour – Used to make a simple porridge that helps the seasoning cling to the veggies. Sweet rice flour is traditional, but regular all-purpose flour works just fine.
- Sugar – Just a touch to balance the heat and tang.
- Apple – I like to blend or grate it into the seasoning for natural sweetness and depth.
- Garlic – Essential for that classic kimchi flavor.
- Gochugaru (Korean red pepper flakes) – The heart of kimchi’s spice. Adjust to your preferred heat level.
- Kombu broth – A small amount of kelp broth adds natural umami, replacing the fish sauce found in traditional versions.
- Korean coarse sea salt – Used for brining/salting. It’s clean-tasting and less harsh than regular table salt. This is a must for proper texture and flavor.
Curious about the ingredients I use in Korean cooking?
- Check out my Vegan Korean Pantry Essentials for how to stock a kitchen with plant-based Korean must-haves.
- Or explore my full Korean Pantry Guide to see how I stock my kitchen for everyday Korean meals at home.
How to Brine/Salt Napa Cabbage for Kimchi
Brining gives kimchi its signature crunch and seasoned flavor — it’s a slow, simple step that makes a big difference. Here’s how I do it:
- Cut the cabbage: I chop Napa cabbage into large bite-sized pieces (about 2–3 inches). This makes it easier to mix with the seasoning paste and perfect for bite size.
- Quick rinse: After cutting, I give the cabbage a quick rinse. Don’t worry about draining it thoroughly — some moisture helps with salting.
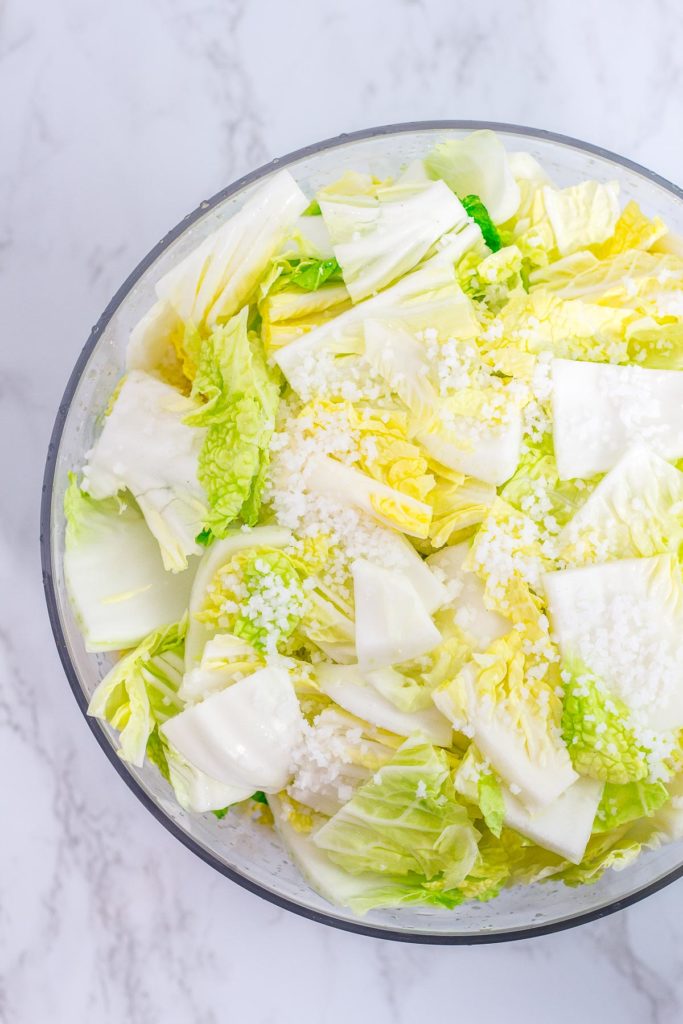
- Salt + a little water: Sprinkle coarse Korean sea salt evenly between the pieces and toss well. I also add/sprinkle about 1 cup of water to help the salt cling to the cabbage more effectively.
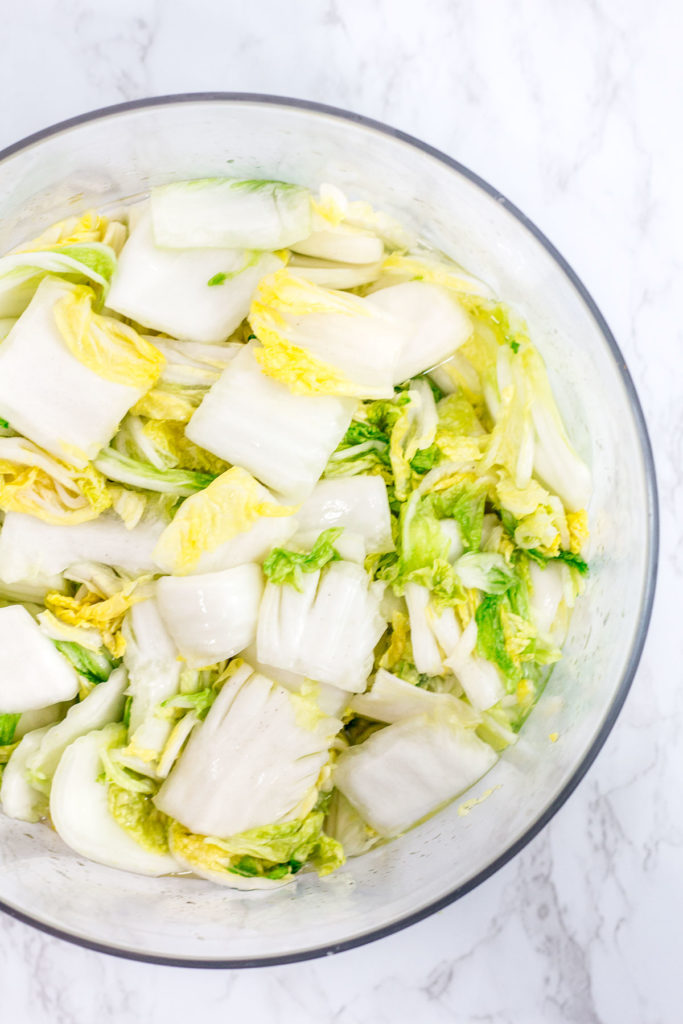
- Rest and test: Let the cabbage sit in a large bowl for about 2 hours, tossing every 30 minutes to ensure even brining. To test doneness, press the thick white stem — it should still resist a bit when bent. You can also rinse a piece and taste it: it should be mildly salty, not bland.
- Rinse and drain: Rinse the cabbage 2–3 times under cold water to remove excess salt. Drain thoroughly, and let it sit in a colander for 20–30 minutes to release any remaining moisture before mixing in the seasoning.
How to Make the Seasoning Paste for Vegan Kimchi
This is where all the bold, signature flavor of kimchi comes in — spicy, savory, slightly sweet, and deeply umami. Even without fish sauce or salted shrimp, this version delivers authentic taste using a few plant-based tricks I’ve refined over time.
- Make kombu broth: Soak a 2x2" piece of kombu in about 1 cup warm water for 10–15 minutes. Remove the kombu.
- Cook the flour paste: In a small pot, whisk the kombu broth with 2 tablespoons of flour over medium heat until slightly thickened (2–3 minutes). Let cool.
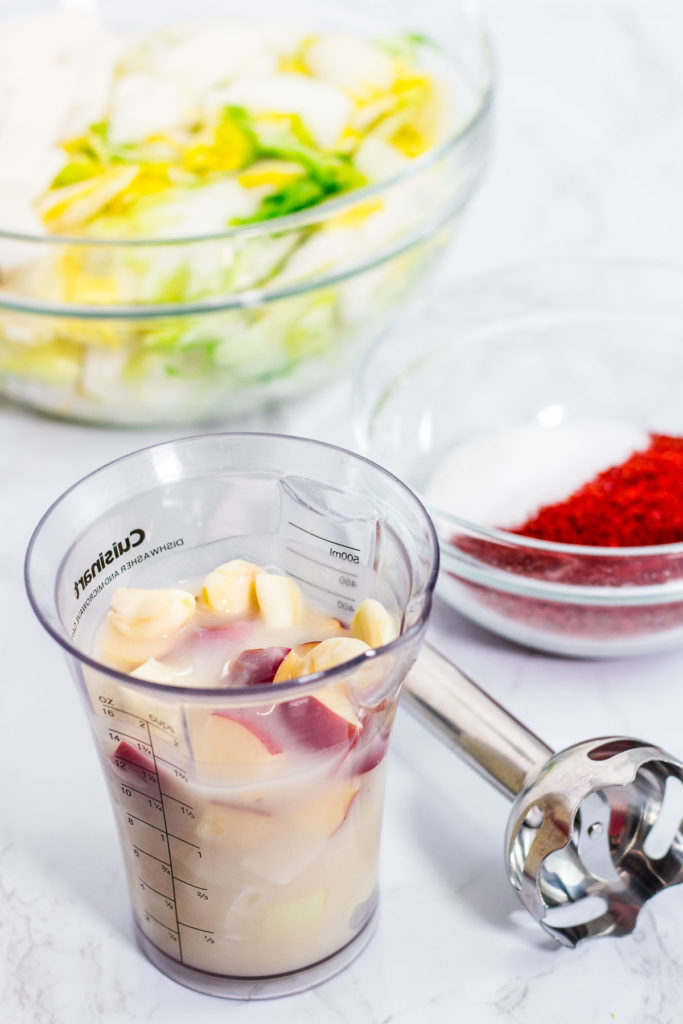
- Blend aromatics: In a blender or food processor, combine garlic, onion, apple, sugar and kombucha flour mixture. Blend until smooth.
- Mix the paste: Stir in gochugaru and season with Korean coarse sea salt to taste.

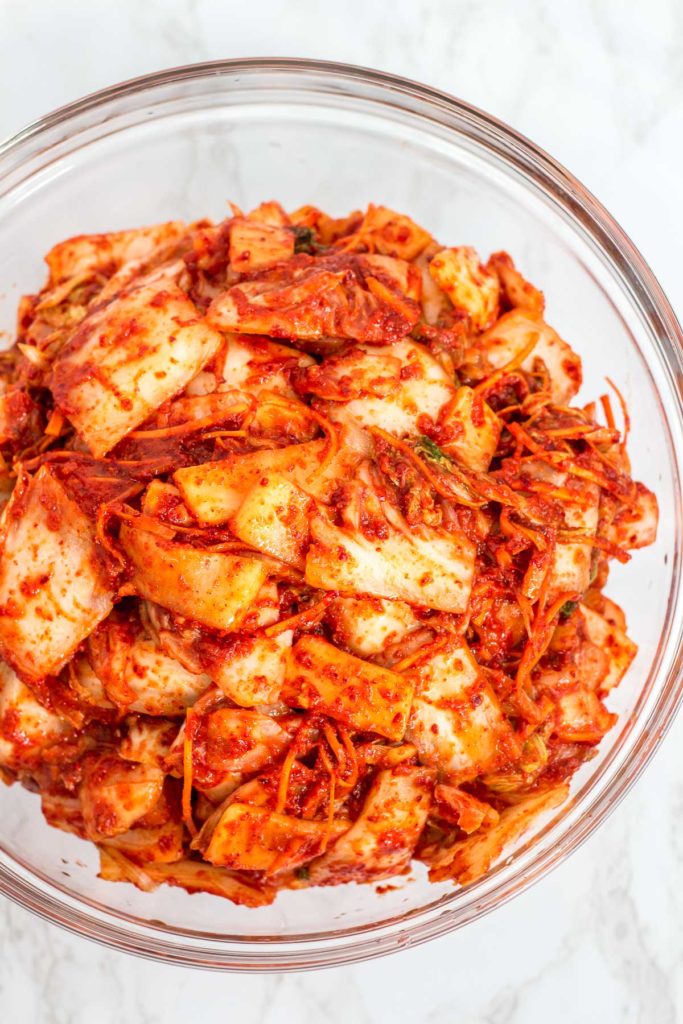
How to Mix the Kimchi & Let It Ferment
Toss the salted cabbage and veggies with about half the seasoning paste in a large bowl, using gloves - they protect your hands from the strong garlic and pepper aroma. Add more paste as needed, and mix gently to avoid bruising the vegetables.
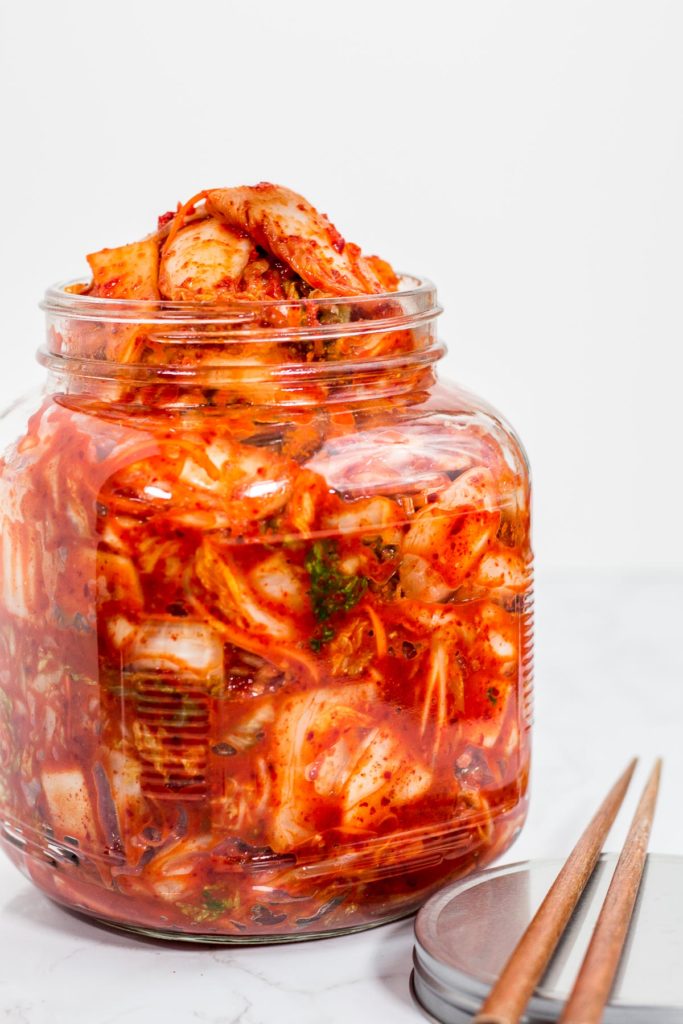
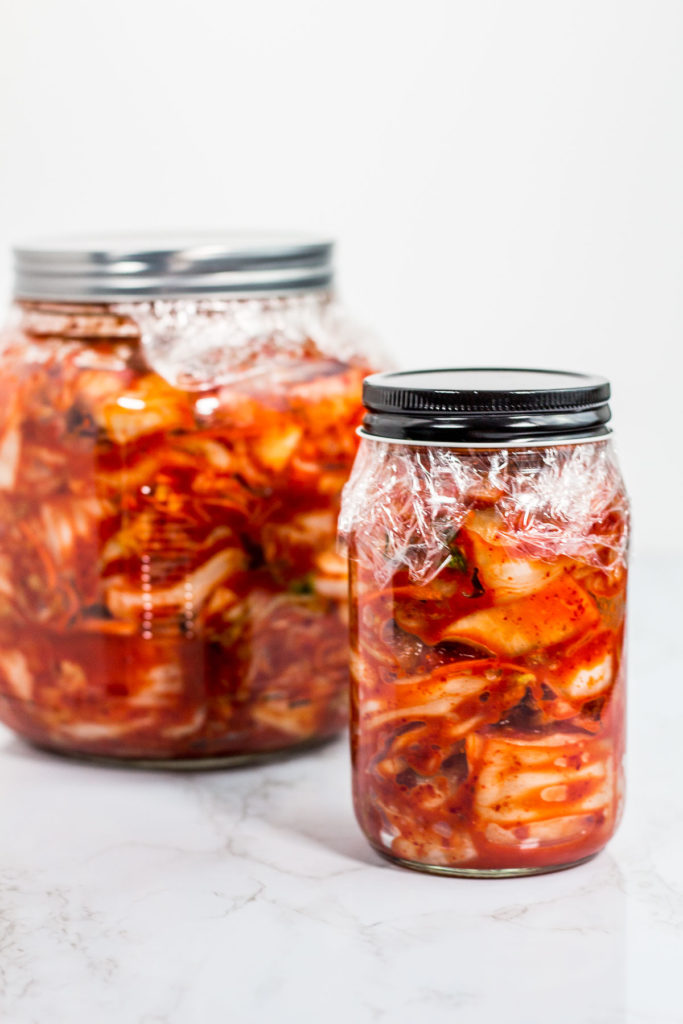
Pack the kimchi into a glass jar, pressing down lightly to remove air pockets but leaving 2–3 inches at the top - it needs space to expand as it ferments. Let sit at room temperature for 1–2 days, then refrigerate once it’s tangy to your liking.
Storage Tips
- Use a glass jar with a tight lid, leaving 2–3 inches of space at the top.
- Store in the back of the fridge to keep it fresher, longer.
- Place fresh coffee grounds or baking soda nearby to absorb odors.
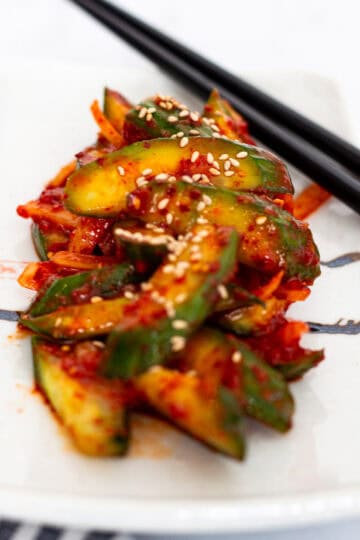
Serving Suggestions
- As a side with any Korean meal, such as bulgogi.
- Stirred into fried rice or savory pancakes.
- Added to kimchi stew (jjigae) for bold flavor.
FAQ about Vegan Kimchi
Yes! Traditional kimchi often includes fish sauce and/or fermented shrimp, but this version uses kombu broth, salt, and a flavorful fruit-and-garlic paste to create bold, savory flavor without any animal products.
About 2–3 months, sometimes longer. The flavor deepens and becomes tangier over time. Keep it tightly sealed and always use clean utensils.
Kimchi has a strong aroma, especially once it starts to ferment. I like to keep a small container of unused coffee grounds or baking soda near the jar — both work well in absorbing odors.
I always use Korean coarse sea salt — it's the traditional choice and seasons the cabbage evenly. Since I’ve only ever used this type of salt for kimchi, it’s what I recommend for best results.
The paste helps the seasoning cling to the cabbage and adds body to the mixture. I simmer plain flour in kombu broth, but for a gluten-free version, you can blend in a spoonful of cooked rice — it works just as well.
I hope this recipe helps you feel confident making your own batch of vegan kimchi at home. It’s a simple, flavor-packed way to enjoy a beloved Korean staple without the fish sauce. Whether you’re new to fermenting or you’ve made kimchi before, this version is approachable, satisfying, and made with ingredients you can find. Don’t forget to check out my Vegan Korean Pantry Essentials and Full Korean Pantry Guide if you want to stock your kitchen for more Korean meals!
Homemade Vegan Kimchi (No fish sauce)
Getting low on your kimchi supply? Worry not! Homemade vegan kimchi (version 2) is as delicious as my original vegan kimchi made with fewer ingredients!
- Prep Time: 4 hours
- Total Time: 4 hours
- Yield: About 5 pounds of kimchi 1x
- Category: Side Dish
- Method: Mix
- Cuisine: Korean
- Diet: Vegan
Ingredients
-
1 large Napa cabbage, about 4 pounds
-
½ cup + 1-2 tablespoons Korean coarse sea salt
-
2 cups of water
-
2-3 pieces of Korean dried kelp/kombu (Da-shi-ma)
-
2 tablespoons flour
-
6-7 cloves garlic
-
1-2 tablespoons sugar
-
¼ large onion, roughly chopped
-
1 small apple, roughly chopped
-
1 carrot, cut into match stick
-
1 small size daikon (about 1 pound), cut into small pieces
-
¾ cup Korean red pepper flakes (gochugaru)
Instructions
-
Cut the cabbage in half, lengthwise. Cut them again lengthwise. Cut them once again lengthwise. Cut the cabbage into big bite-size ( they will shrink after the salting process). Place the cabbage in a large bowl and soak them under cold water.
-
In another large bowl, take some of the cabbage out of the water (No need to drain them well) and sprinkle about a couple of tablespoons of Korean coarse sea salt on top. Repeat the process until all the cabbages are sprinkled with salt. Pour about 1 cup of water on top. Let the cabbage salt for about 90 minutes.
-
About after 90 minutes, mix the cabbage around. It is perfectly normal to see a large amount of water collected at the bottom of the bowl. Try to place the cabbage that was soaked under the water to the top and bring cabbages they were on top to be submerged on the bottom. This ensures all the cabbage pieces to be salted evenly. Continue to salt the cabbage for additional 45-60 minutes.
-
Cut the daikon into small pieces. In a medium-size bowl and pour about ½ cup of the salted water that was collected on the bottom of the cabbage. Soak the daikon for 15-20 minutes. Drain the daikon and set it aside.
-
Prepare your kimchi sauce. Boil about a cup of water. Once the water comes to a boil, turn off the heat and place the dried kelp/kombu in the water. Let it steep for 10 min. Take the kelp out of the water and add 2 tablespoons of flour and whisk until you no longer see the clumps of flour. Turn on the heat to medium and let it simmer for a couple of minutes until it thickens. After a couple of minutes, turn off the heat and let this mixture comes to room temperature.
-
Either using an immersion blender or regular blender, blend the garlic cloves, onion, apple, and flour mixture until smooth. Transfer this mixture to a bowl and mix together Korean red pepper flakes, sugar, and 1-2 tablespoon of Korean coarse sea salt. Set aside.
-
Grab a piece of salted cabbage (the white stem part of the cabbage) and try to bend the piece. If the piece bends without breaking, it is ready. Rinse the cabbage under cold water a couple of times. Squeeze out the water from the cabbage and transfer them into a large bowl.
-
Gently toss together (don’t be rough with the vegetables) your daikon, cabbage, carrots, and half of the sauce until all the veggies are well coated with kimchi sauce. Taste your kimchi and adjust the sauce. If you want it to be a little spicier, add more.
-
Transfer the kimchi into a big container. You can enjoy the kimchi right away. If you want your kimchi to be sour, let your kimchi sit on the countertop for a day or two until it ferments to your liking. Keep in the fridge afterward.
Notes
- When making the sauce, you can adjust the sugar and salt amount. Don't be afraid to taste your sauce to adjust the amount.
- Don't be rough mixing the sauce and the vegetables. Gently toss them together until all the veggies are coated with the sauce. This helps your kimchi stay crisp longer.
- When transferring your kimchi to a container, do NOT overfill. Leave about 3 inches of room on top of kimchi. I overfilled the kimchi for picture taking purposes only. I transferred my kimchi into a second container afterward. When kimchi ferments, it produces water. If you overfill your kimchi, the water produced by the cabbage and other vegetables WILL leak out and make a stinky mess.


Ailee says
The first and only recipe I use. I add more apple in making the kimchi sauce. It is refreshing to eat right after making it.
George says
Ailee, thank you so much for the lovely review! I’m really glad you enjoyed the fresh flavor. My husband also loves the fresh kimchi right after making it, too. Adding more apples to the sauce sounds wonderful. Thank you for sharing your tip!