Kimchi Fried Rice 101 - Everything you need to know about kimchi fried rice here! A foolproof recipe to helpful tips on making this delicious dish!
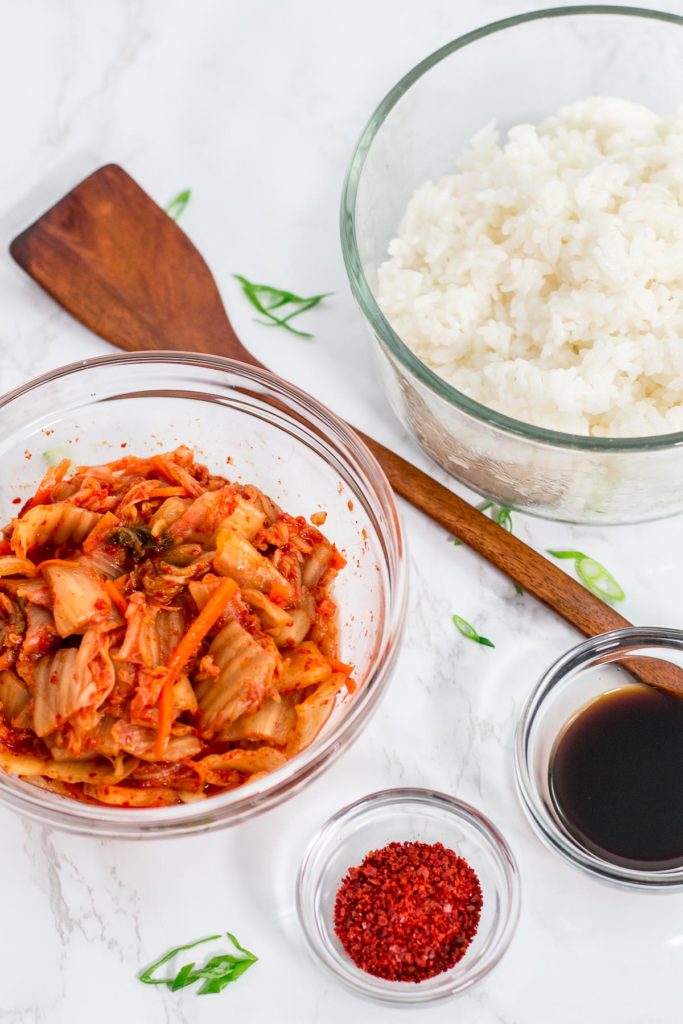
Oh Kimchi fried rice, how I love you! And I'm surprised to find more and more people who love this dish these days. Why am I surprised? Well, the fermented kimchi smell is not everyone's cup of tea. It smells pungent and funky. But nonetheless, it is super delicious - spicy, tangy, salty, and crunchy. It's so good. And I thought I'd share all of my kimchi fried rice knowledge here with you guys. Shall we get started?
Kimchi Fried Rice 101
What is kimchi fried rice?
Kimchi fried rice is one of the most popular dishes in Korea. It is easy, simple, and takes no longer than 15 to 20 minutes to cook. There are many different types of kimchi fried rice. They all use fermented cabbage kimchi but what makes them different is what you add to the rice. A popular addition to this dish in Korea is often fried egg, spam, canned tuna, or pork belly.
The "star" of the dish, Kimchi:
- First and foremost, kimchi is NOT vegan or vegetarian. Traditionally kimchi sauce is made with fish sauce and salted baby shrimps. If you are vegan or vegetarian, make sure to use vegan kimchi. Or you can make your own. I have two amazing homemade vegan kimchi recipes: the original Homemade Vegan Kimchi and the quarantine version of Homemade Vegan Kimchi Version 2.
- Use sour, fermented kimchi to make kimchi fried rice. Kimchi fried rice should taste tangy and spicy. These flavors come from fermented kimchi. If you use fresh kimchi, it simply won’t taste the same.
- What if you only have fresh kimchi? No problem! Let your kimchi sit on the countertop overnight. That should do the trick. Unfortunately, you gotta make your fried rice the next day but waiting one day is worth it.
- Every kimchi is a little different. Some are slightly saltier, some are made a little sweeter, and some are spicier. So adjust the seasoning of your fried rice accordingly.
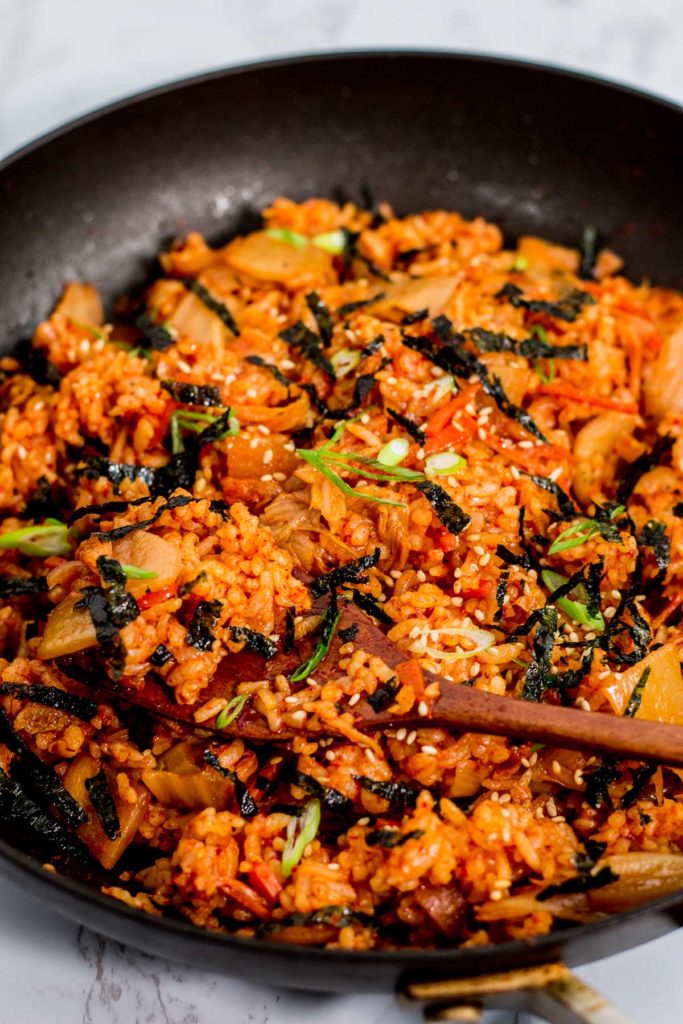
How is this recipe fool proof?
- Kimchi fried rice recipe is one of the first dishes people learn how to make in Korea (besides ramen noodles) because it is that simple and easy.
- This recipe requires 6 ingredients in total. The list includes oil to fry the kimchi in the pan and one of the ingredients is optional. So essentially it’s a five ingredients recipe. Few ingredients often is a sign of an easy recipe.
- This is an extremely forgiving recipe. There are recipes that you need to follow the instruction very carefully and have to measure everything precisely. This is not that kind of recipe. Because the recipe is very simple, it is hard to mess it up but even if you do, there are always ways to fix the problem. For example, if your fried rice is too salty, add more rice. If it is too bland, add more soy sauce or kimchi. If it needs extra something, add whatever your heart desires. Get the idea? 😉
Helpful tips on making delicious kimchi fried rice:
- When cutting the kimchi into bite-size, cut the kimchi in a bowl using kitchen scissors. I don’t recommend using your cutting board unless you don't mind your board being permanently orange from kimchi juice.
- If you are using leftover rice that was stored in a fridge, microwave your rice until it's no longer hard. The rice doesn't necessarily need to be hot but once you take the chill out of the rice, it's much easier to mix with fried kimchi in the pan.
- Korean red pepper flakes are an optional ingredient. It gives the kimchi fried rice its signature red color. If you are using your kimchi only, it may not look as vibrant. This ingredient gives the dish the color and added spiciness.
- If you do not like spicy food, this should not be a reason to stay away from this delicious dish. You can wash your kimchi in water, squeeze out the water, and use washed kimchi instead. Add a teaspoon of sugar and it mellows out the pungent flavor of the kimchi. My mom used to make it this way for my sister when she was young.
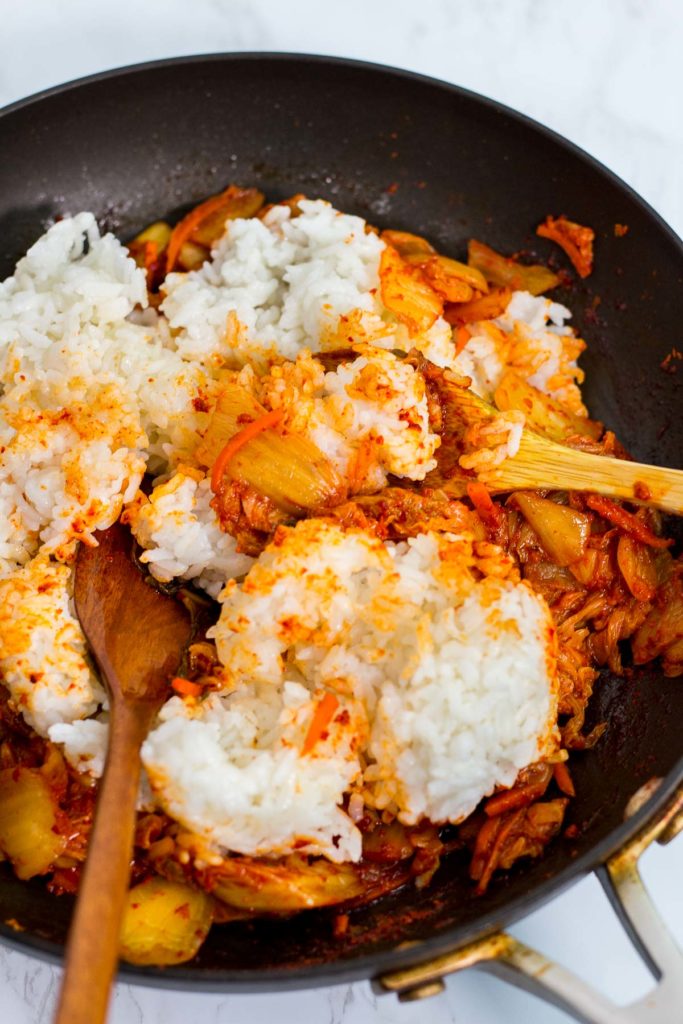
- When mixing your rice with fried kimchi, use two spoons/spatulas instead of one. This makes the process a whole lot faster and easier.
- Some recipes use kimchi juice in the recipe. My kimchi fried rice with soy chorizo recipe actually uses kimchi juice as well. Kimchi juice is packed with the essence of fermented kimchi. So it makes sense to use it to flavor your fried rice but it tends to make the fried rice wet and that's why I didn't use it in this recipe. If you want extra kimchi flavor, use a little bit of kimchi juice and less soy sauce.
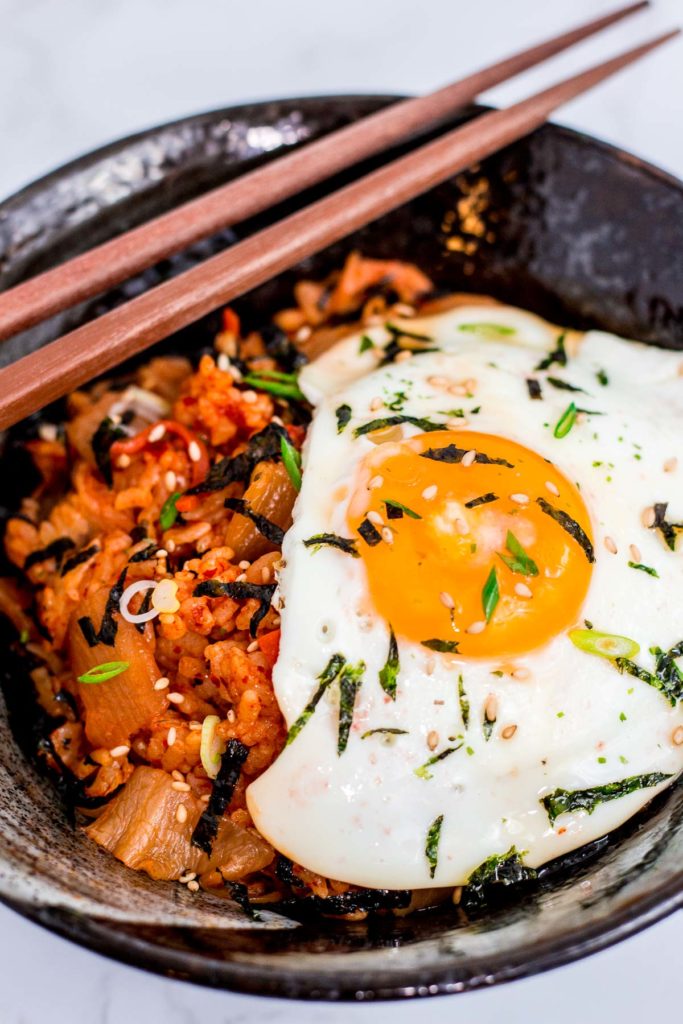
Kimchi Fried Rice 101 (Everything you need to know)
Classic kimchi fried rice recipe that's simple, easy, quick, and customizable. This tangy, spicy, and salty kimchi fried rice will never disappoint you.
- Prep Time: 5 minutes
- Cook Time: 10 minutes
- Total Time: 15 minutes
- Yield: Serves 2
- Category: Fried Rice
- Method: Sauté
- Cuisine: Korean
- Diet: Vegetarian
Ingredients
- 1 tablespoon grapeseed oil (or any neutral tasting oil)
- 1 heaping cup of fermented kimchi, cut into bite-size
- 2 teaspoons Korean red pepper flakes (optional)
- 4 teaspoons soy sauce
- 2 cups cooked rice
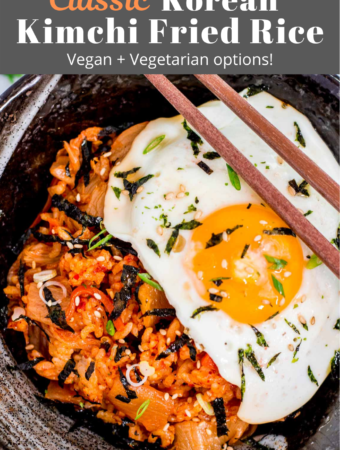
- 2 Fried eggs (for a vegetarian version, skip for vegan)
- 2-3 teaspoons sesame oil, for garnish
- Green onion and seaweed paper strips, for garnish
Instructions
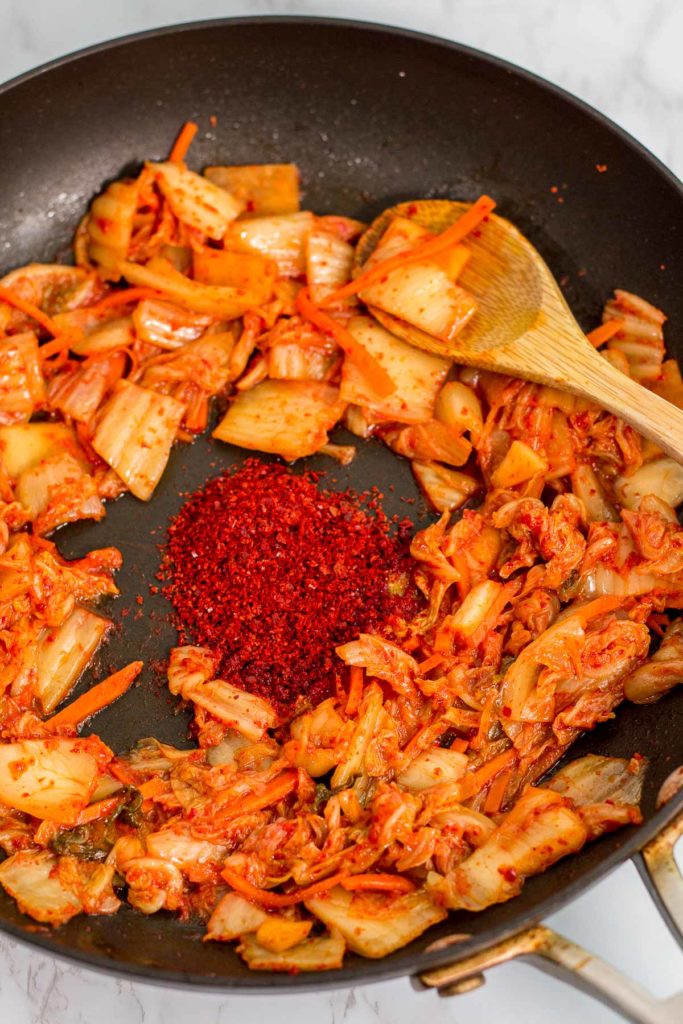
- On a large skillet, heat the oil and fry the kimchi for a couple of minutes
- Once your kimchi smells fragrant, add the Korean red pepper flakes if using. Continue to fry kimchi for couple more minutes.
- Add the sauce to the mixture. Do not stir the kimchi mixture and let the soy sauce bubbles and cook down a bit, about a minute.
- Add the rice and turn the heat down to medium. Using two wooden spoons, mix together the rice and kimchi mixture until everything is well incorporated.
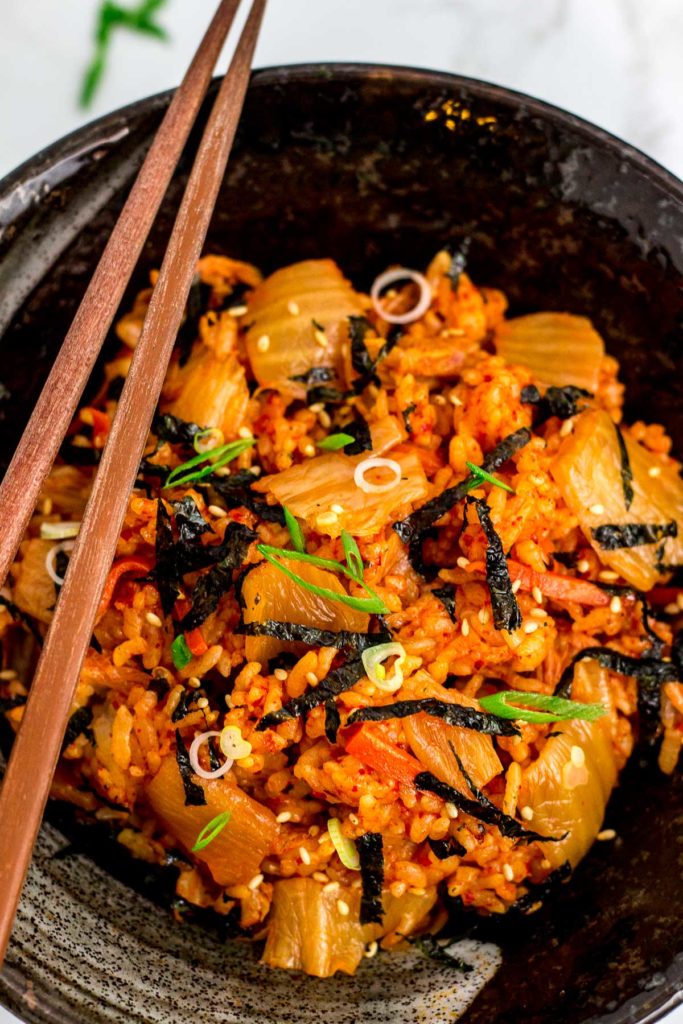
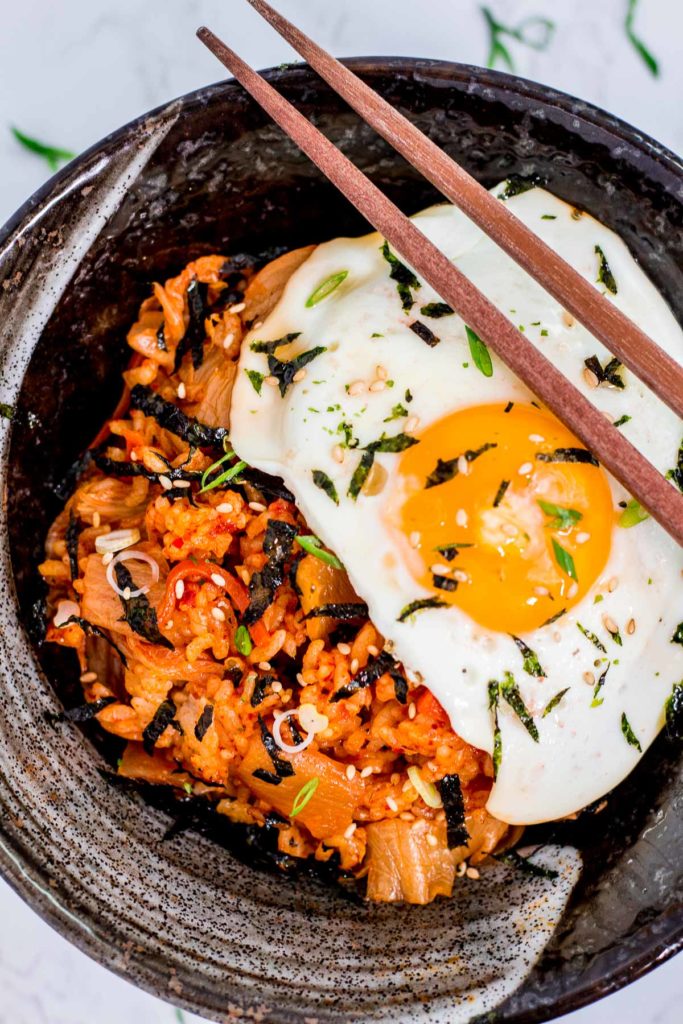
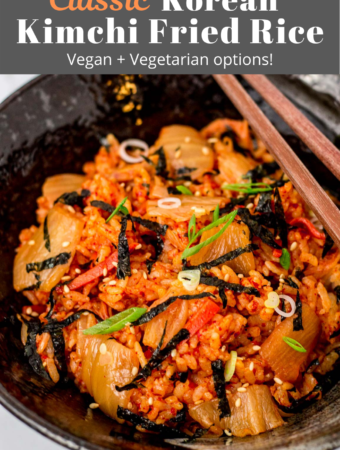
- Garnish with sesame oil, green onion, and seaweed paper strips. For a vegetarian option, top your fried rice with a fried egg.
Notes
- Please read the helpful tips sections above for adjusting the spice and salt level of the dish.



Mimi
This is 2nd time I have made this recipe. So good, so fast! Thank you! I love it!
George
I'm so happy to hear that, Mimi! Thank you so much for your review!