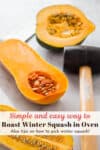
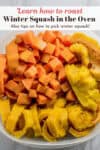
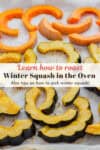
Master how to roast winter squash with safe cutting tips, roasting methods, flavor pairings, and ideas for using it in easy, delicious meals.
The first time I tried to cut a butternut squash, I nearly lost a finger. No one warned me the stem was as hard as a rock! Over the years, I’ve figured out a safe, stress-free way to cut and roast winter squash so you can skip the mishaps. Whether you’re making a silky soup, a cozy mash, or caramelized squash for salads and grain bowls, this guide will help you get it right every time.
Jump to:
What You’ll Learn in This Post
- Safest way to cut winter squash (with my favorite tool)
- How to pick them for best flavor and texture
- When to roast cut side down vs. cut side up — and why it matters
- Flavor ideas beyond the usual cinnamon and maple
- Easy ways to use roasted squash in meals all week
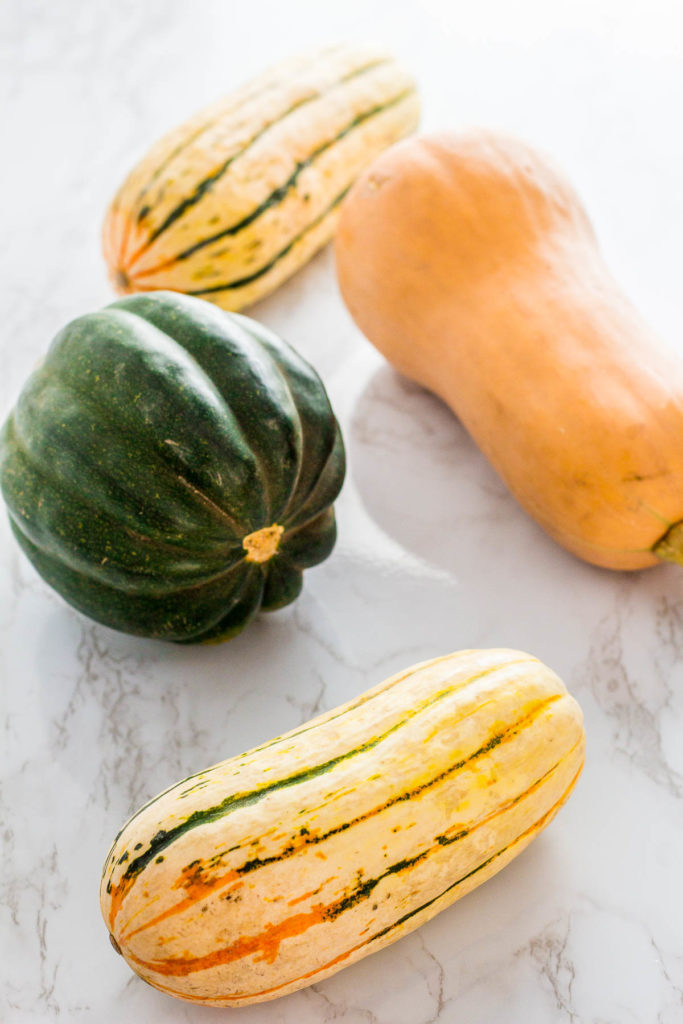
What is Winter Squash & How to Pick It
Winter squash is harvested fully mature, with developed seeds and a tough rind. (Fun fact: it’s technically a fruit!)
Well-known varieties include butternut, kabocha, acorn, delicata, spaghetti, sugar pumpkin, and pie pumpkin.
When choosing winter squash, look for:
- Firm, heavy feel for its size
- Hard skin with no soft spots
- Dry, intact stem
| Variety | What to Look For |
|---|---|
| Butternut Squash | Uniform, dark beige; heavy; hard skin, firm stem |
| Kabocha Squash | Uniform, dark beige; heavy; hard skin, firm stem |
| Acorn Squash | Deep green; hard skin; avoid blemishes or soft spots |
| Delicata Squash | Creamy yellow with green stripes; firm, heavy; brown, dry stem |
| Spaghetti Squash | Deep golden or dark yellow; thick, firm, matte skin; heavy, no cracks or soft spots |
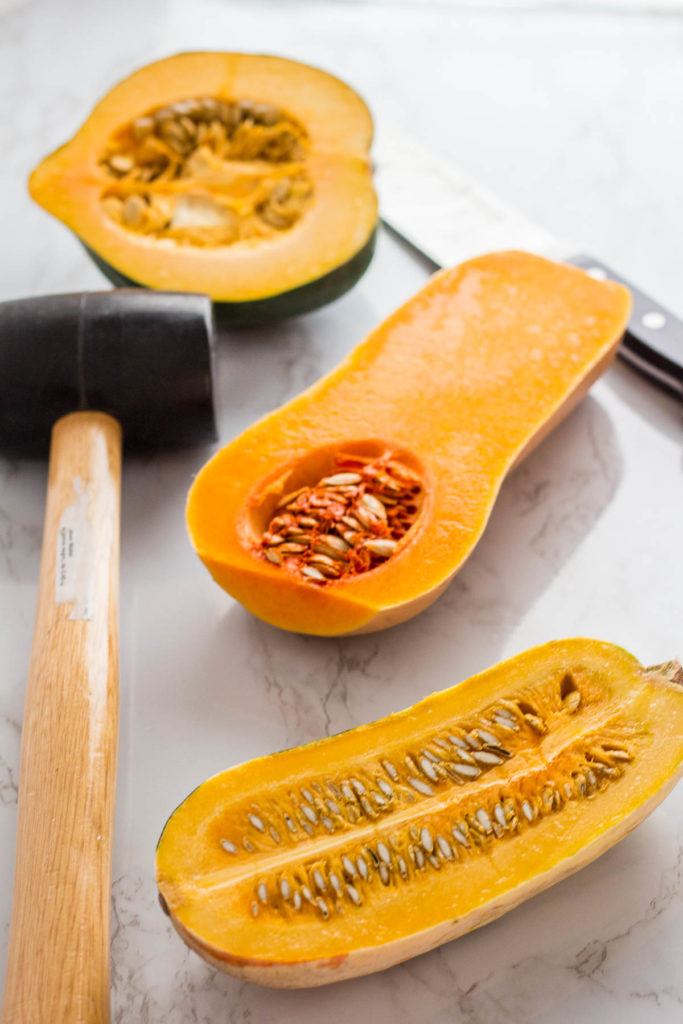
Safe Cutting Technique

Butternut Squash
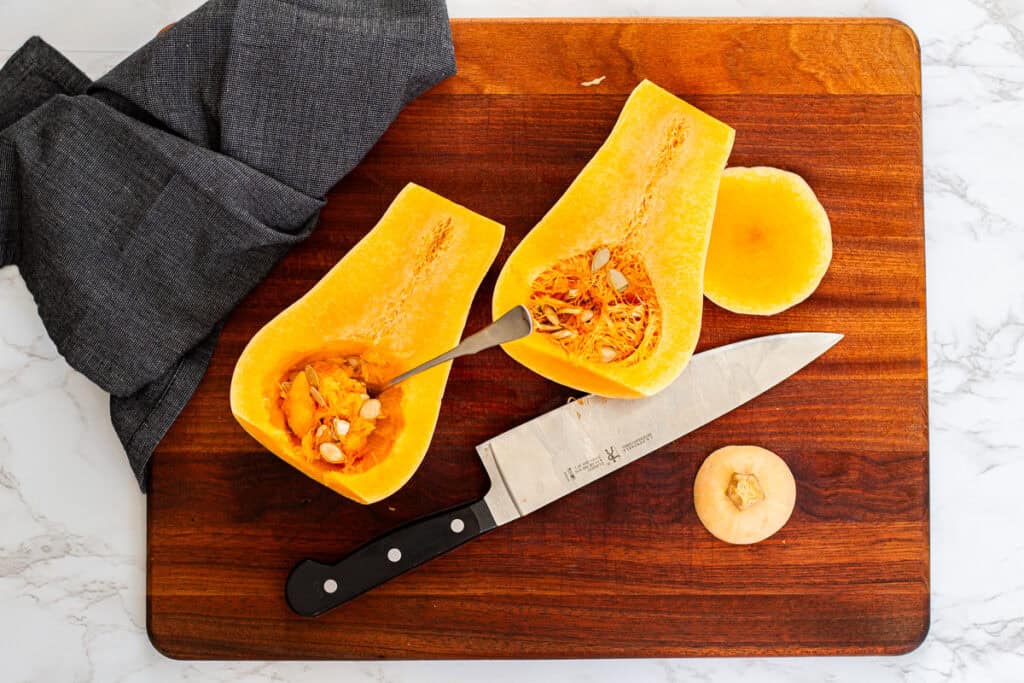
- Cut off stem and bottom end for stability.
- Stand upright on a flat end.
- Use a sharp chef’s knife and rubber mallet to tap through without forcing.
- For halves: scoop seeds and roast.
- For cubes: peel after cutting ends, then cut to size.
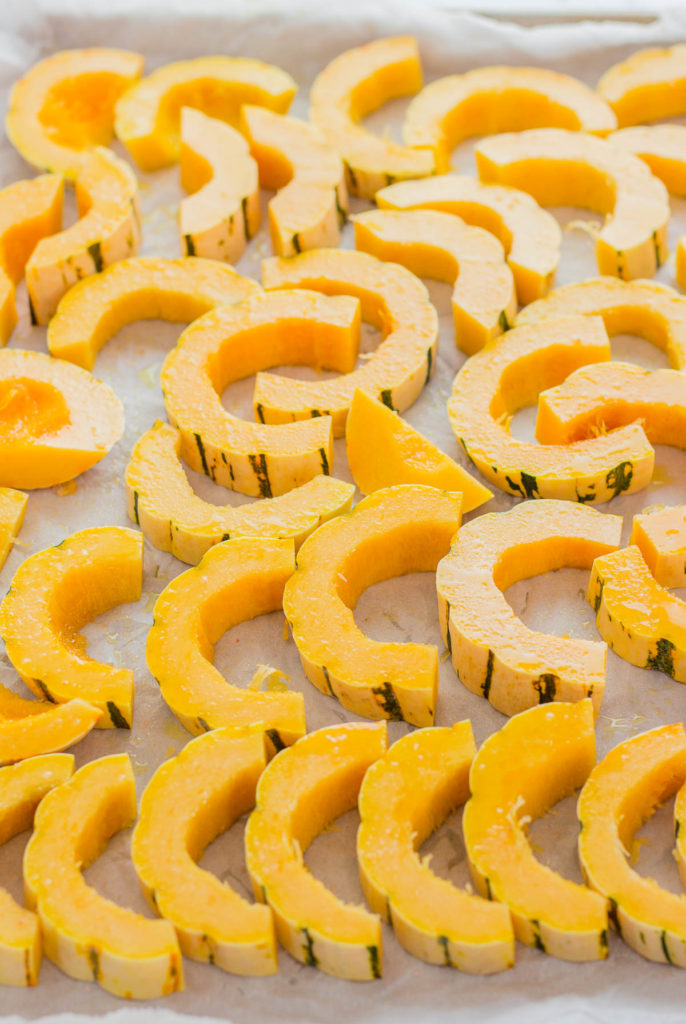
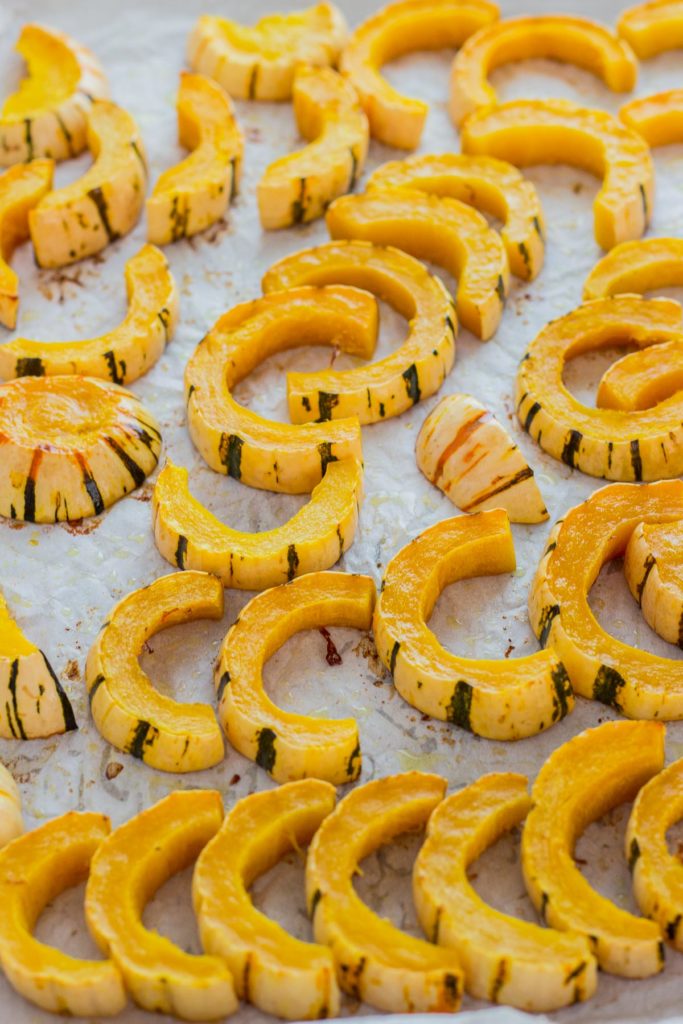
Delicata Squash
- Cut off ends, slice in half lengthwise, scoop seeds.
- Slice into half-moons or wedges.
- Skin is edible — no peeling needed.
Acorn Squash
- Cut off ends, slice in half lengthwise, scoop seeds.
- Cut into wedges if desired.
- Peel after roasting if you prefer skinless.
Spaghetti Squash
- Cut in half lengthwise (or crosswise for shorter strands), scoop seeds.
- Roast cut side down for tender strands.
Kabocha Squash
- Cut off ends; use mallet method if rind is hard.
- Scoop seeds, cut into wedges or cubes.
- Skin is edible once cooked.
Pro Tip:
- Never try to cut through the stem — it’s tough, inedible, and risky.
- If you have a grapefruit spoon, it works wonderfully for scooping out seeds and stringy fibers quickly.
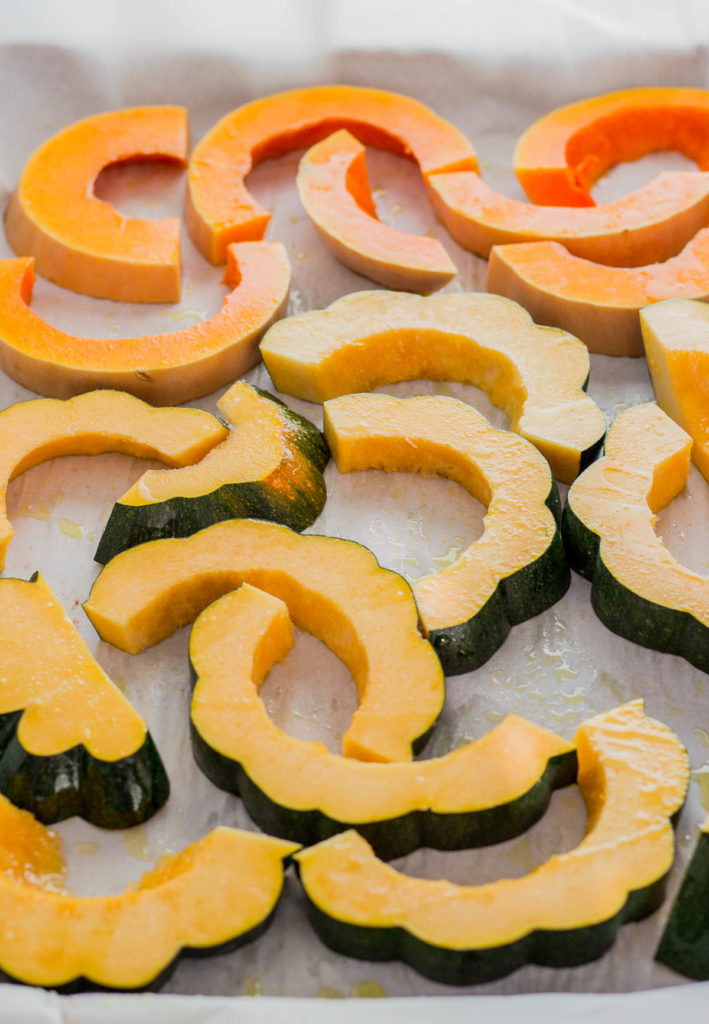
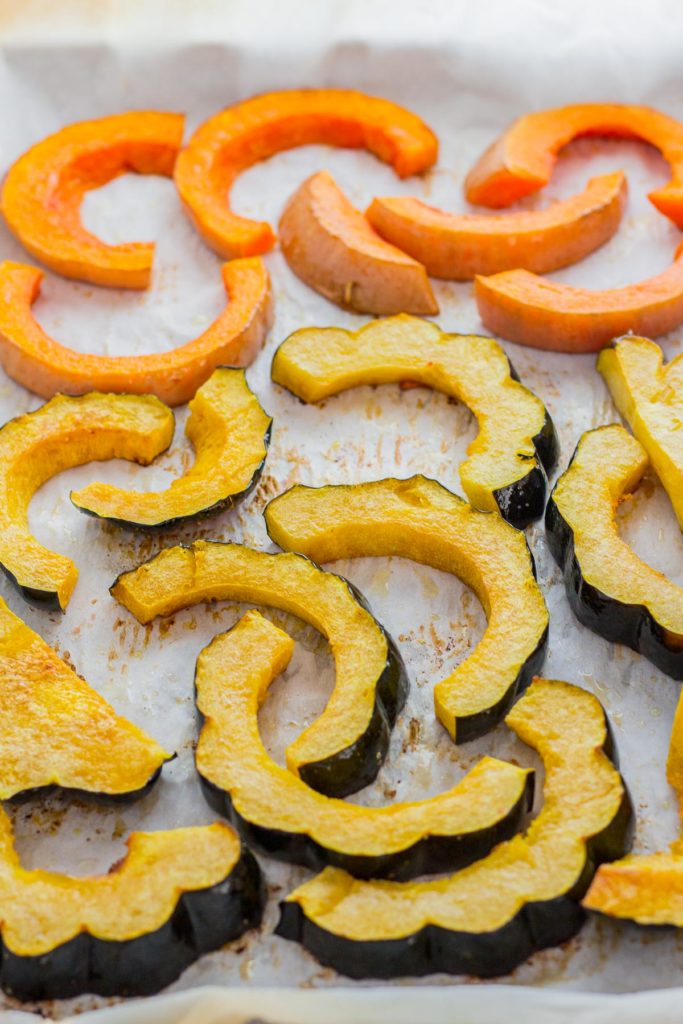
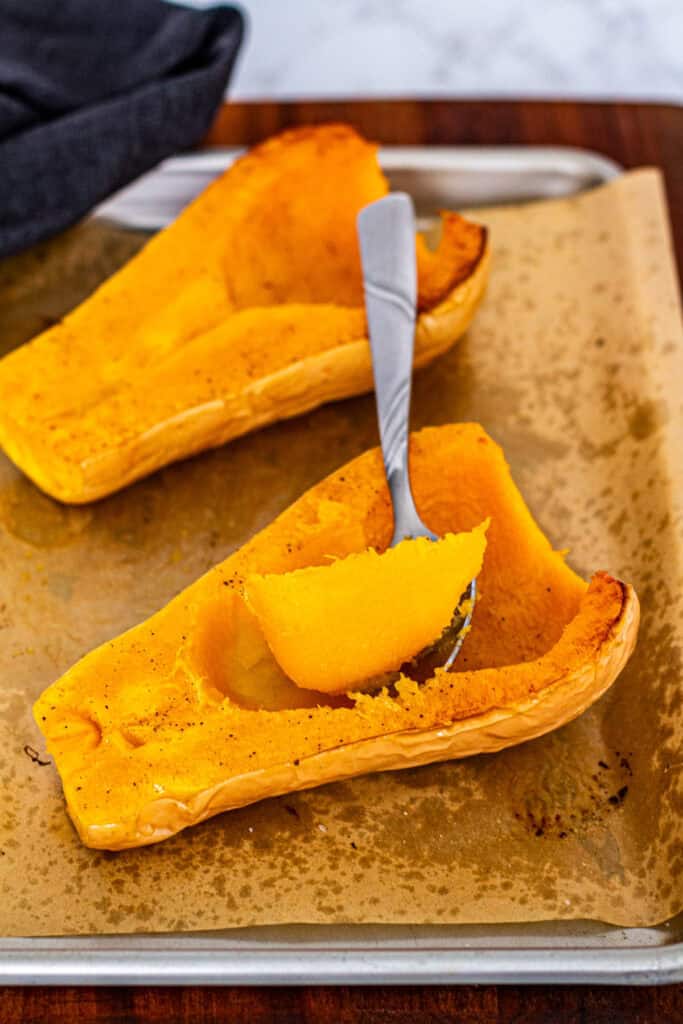
Roasting: Cut Side Down vs. Cut Side Up
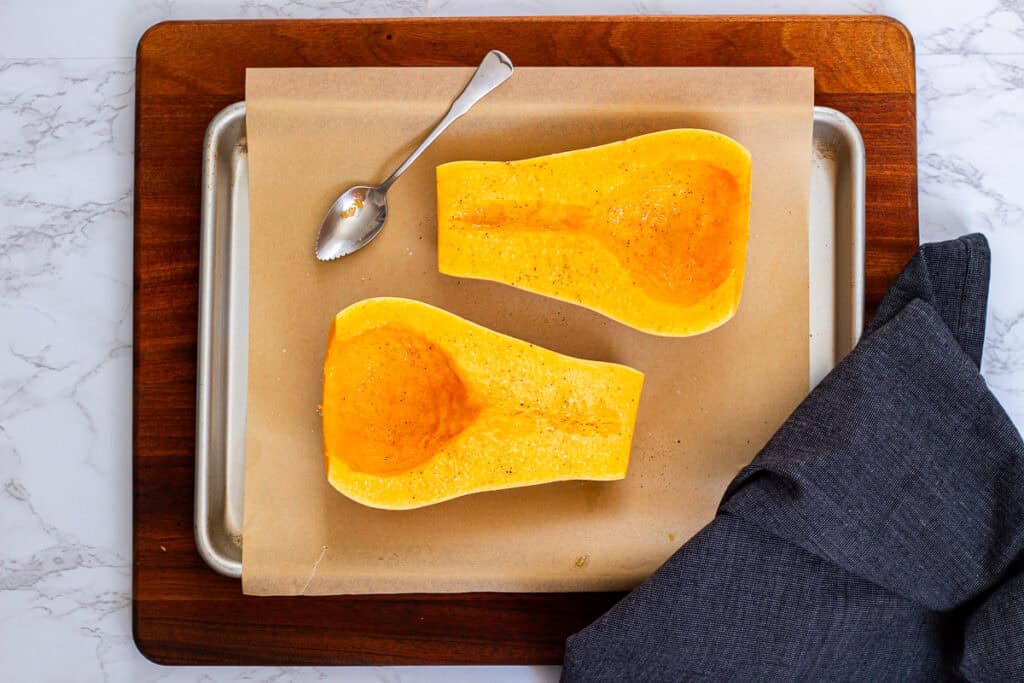
Cut Side Down
- Best for soups, purees, and mashes.
- Traps steam for moist, tender flesh.
- Example: Butternut squash for creamy bisque.
Cut Side Up
- Best for slices, wedges, or cubes served as a side.
- Exposes more surface area for caramelization.
- Example: Acorn squash wedges for rich flavor and golden edges.
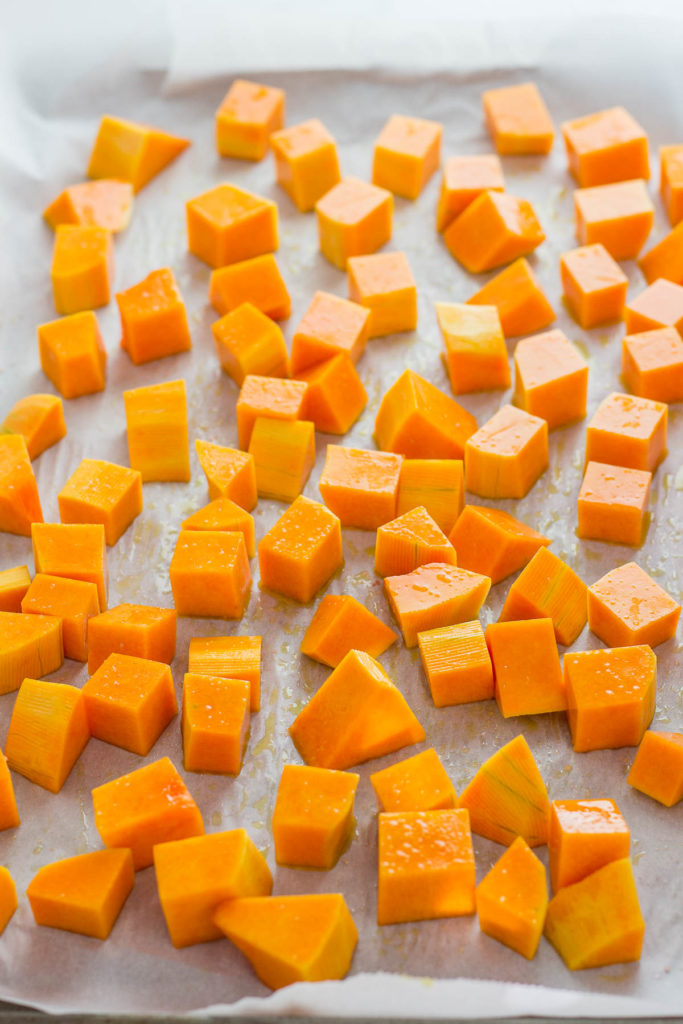
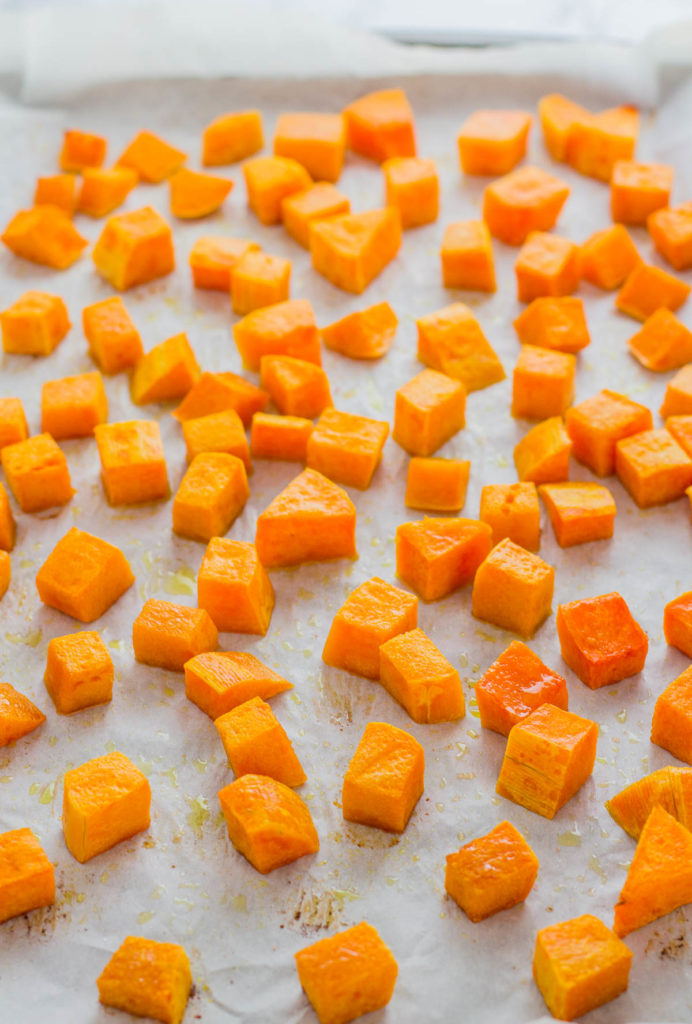
Cubed Squash
- Toss with oil and seasonings, spread in single layer, leave space for browning.
Spaghetti Squash
- Always roast cut side down so strands release easily.
Creative Flavor Ideas
- Sweet & Cozy — Maple syrup, honey, or brown sugar with cinnamon or nutmeg.
- Tangy & Creamy — Yogurt, tahini, or labneh with lemon zest and herbs.
- Sweet–Spicy Kick — Hot honey, red pepper flakes, or gochujang glaze.
Pro Tips & Troubleshooting
- For better browning: Give pieces space so they roast instead of steam.
- If it’s undercooked: Increase oven temp by 25°F and/or roast longer. Check doneness by piercing with a knife — it should glide in easily.
- Avoid soggy squash: Pat cut sides dry before seasoning if moist.
- Peeling made easy: For tough skins like acorn, roast with skin on and peel after.
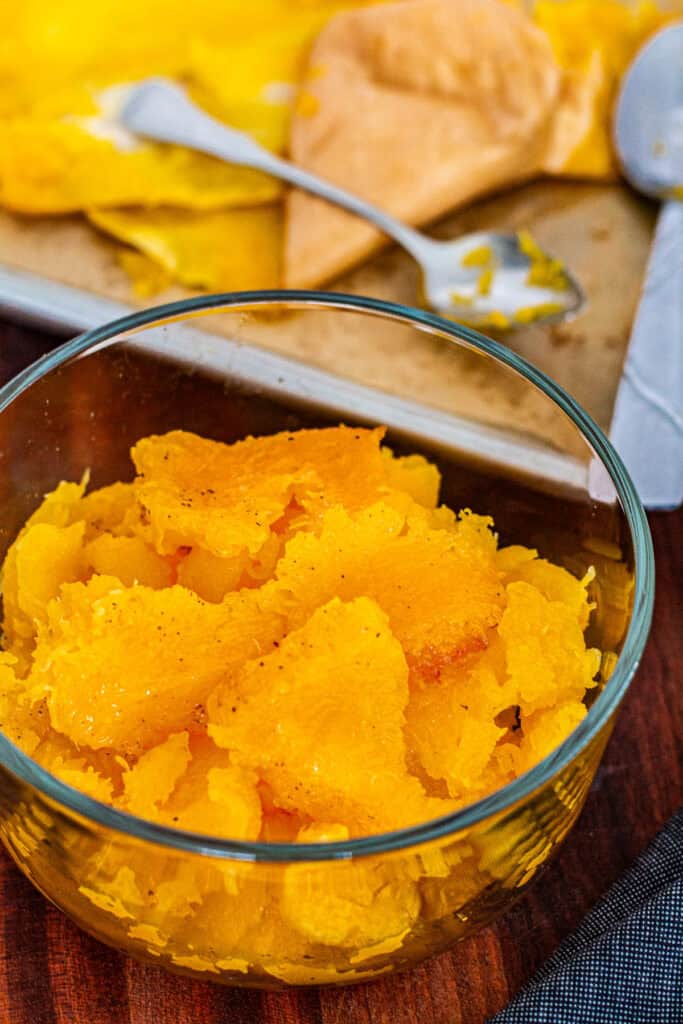
Multi-Use Ideas for Roasted Winter Squash
Roasting a batch is perfect for meal prep. Add it to vegetarian chili, a savory hash with kale, or blend into vegan butternut squash soup. I’m also working on a creamy butternut squash bisque with an Asian flare spiced with star anise and ginger.
Roasted squash also shines in salads, grain bowls, pasta, or risotto, and makes an easy seasonal side with your favorite protein.
Winter squash is as versatile as it is delicious. Whether you roast it cut side down for tender soups or cut side up for caramelized edges, these tips will help you get perfect results every time. I hope this guide inspires you to try new flavors, explore different varieties, and make roasted squash a staple in your fall and winter cooking.
How to Roast Winter Squash
Learn the safest way to cut and roast winter squash for any recipe. Includes roasting methods for tender soups or caramelized edges, plus flavor ideas and storage tips.
- Prep Time: 10 minutes
- Cook Time: 50 minutes
- Total Time: 1 hour
- Yield: Varies by squash size
- Category: Side Dish
- Method: Bake
- Cuisine: American
- Diet: Vegan
Ingredients
- 1 winter squash (butternut, kabocha, acorn, delicata, spaghetti, etc.)
- 1 to 2 tablespoons olive oil (optional for cubes or extra browning)
- Salt, to taste
- Optional: herbs, spices, or drizzles (see flavor ideas in post)
Instructions
For Halved Squash
- Preheat oven to 400F.
- Prepare squash: Cut off stem and bottom, stand upright, slice in half (use a rubber mallet for hard rinds if needed), and scoop out seeds.
- Choose roasting method:
- Cut Side Down: For tender, moist flesh (soup, mashes)
- Cut Side Up: For caramelized edges (sides, salads)
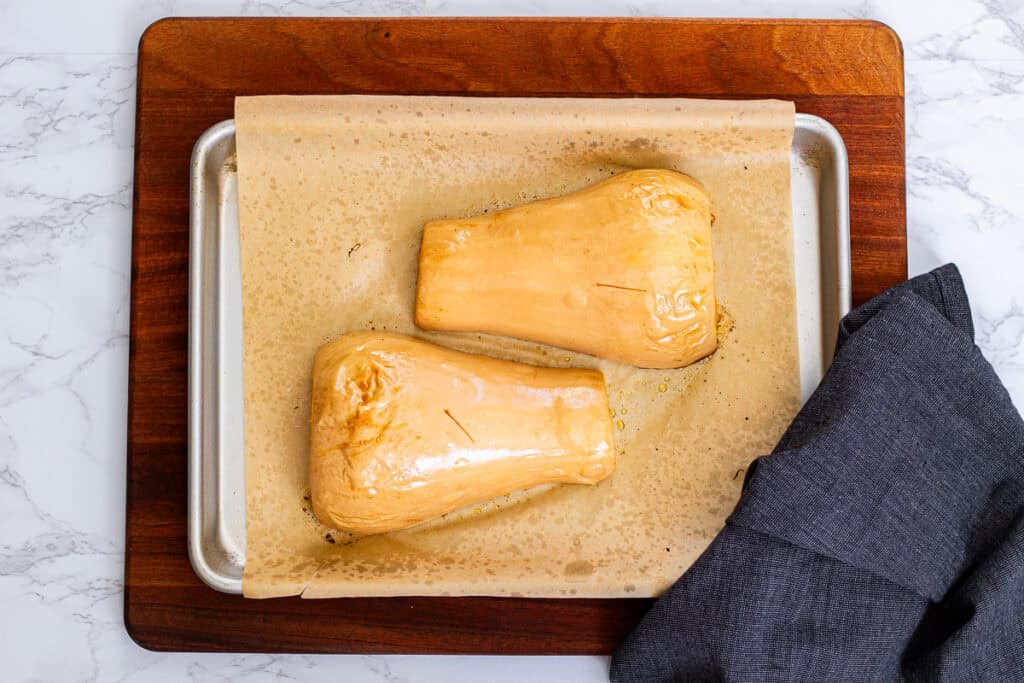
- Roast on a parchment-lined baking sheet until fork-tender:
- Small squash: 25 to 35 minutes
- Large squash: 40 to 50 minutes
- Cool slightly before scooping or slicing.
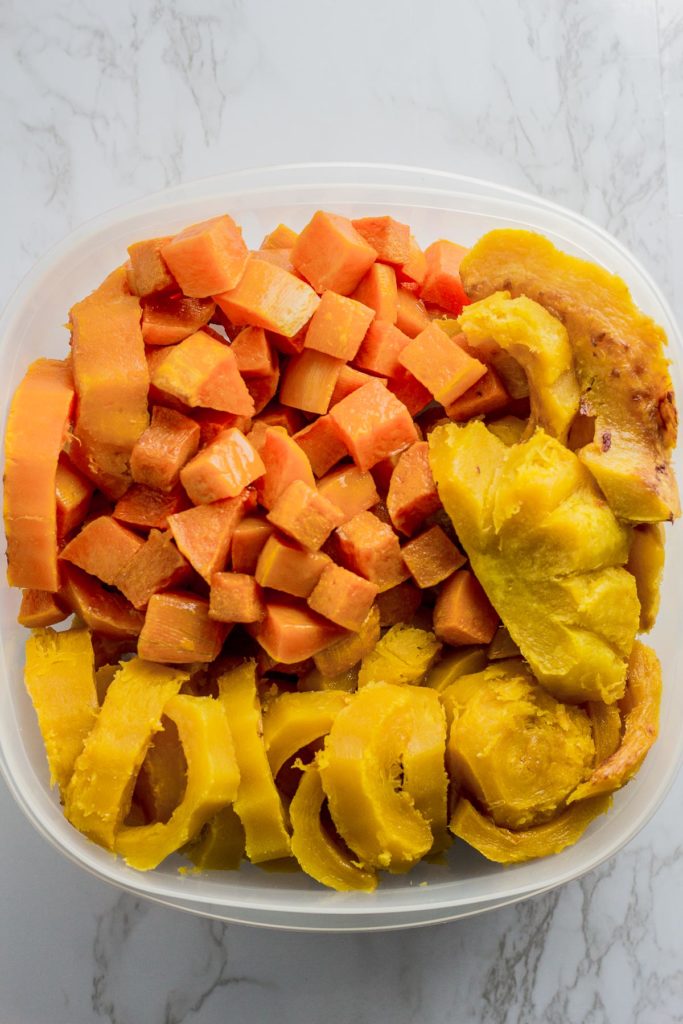
For Cubed Squash
- Cut off ends, peel if needed, remove seeds, and cut into cubes.
- Toss with olive oil, salt, and desired seasonings.
- Spread in a single layer on a baking sheet, leaving space between cubes.
- Roast 25 - 35 minutes, flipping halfway, until golden and tender.
For Spaghetti Squash
- Cut in half lengthwise, remove seeds.
- Roast cut side down 35 to 45 minutes, until strands pull apart easily with a fork.
Notes
-
Cooking time varies by squash type and size. As a reference, a 1.5 lb butternut squash (about 18 oz once seeds and stem are removed) takes around 30 minutes at 400°F.
-
Don’t overcrowd the pan for better browning.
-
To check doneness, pierce with a knife - it should slide in without resistance.
-
For tough-skinned varieties like acorn, roast with skin on and peel after cooking.
-
A grapefruit spoon makes quick work of removing seeds and stringy fibers.


Share your thoughts below!