This easy sushi rice recipe (rice cooker method) gives you perfectly fluffy, seasoned rice every time - ideal for homemade sushi rolls, hand rolls, and nigiri.
One of my mom’s good friends, a sushi chef, taught me how to make sushi at home. Over the years, I’ve shared his tips in cooking classes, and now I’m excited to share them with you!
Sushi can feel intimidating, but this simple, approachable method makes perfect sushi rice every time. I’m not a sushi chef, and I don’t claim to be. True sushi mastery takes years. My goal is to share a method that’s easy, approachable, and fun, so you can enjoy making and eating sushi at home. This amount of rice makes about three standard rolls or six thin rolls, perfect for two people.
Jump to:
Why you will love this sushi rice recipe
- Tested method: This rice cooker approach is reliable and consistent.
- Balanced flavor: Seasoned with the right ratio of vinegar, sugar, and salt, giving you that authentic sushi restaurant taste
- Versatile: Perfect as the foundation for sushi rolls, hand rolls, and nigiri.
- Beginner-friendly: This recipe is approachable and easy to follow, even if you’ve never made sushi before.
Ingredients You’ll Need
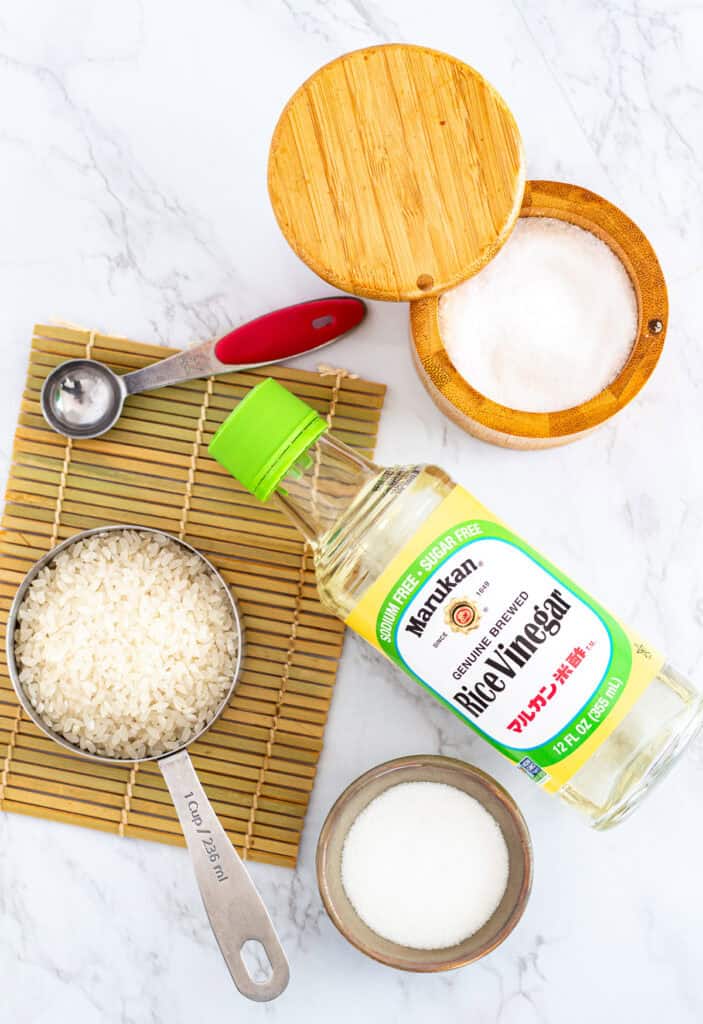
- Japanese short-grain white rice: Look for rice labeled “sushi rice” at Asian grocery stores or brands like Nishiki or Kokuho Rose. Korean short-grain rice works well too. Short-grain rice has a higher starch content, which creates the slightly sticky texture perfect for sushi. Long-grain varieties (like jasmine, basmati, or American long-grain - they’re too dry and separate easily) are not recommended.
- Rice vinegar seasoning: You can buy bottled seasoned rice vinegar. But I prefer making my own so I can adjust the sugar and salt to taste.
- Rice vinegar: Milder than white vinegar and ideal for sushi rice. You can use apple cider vinegar in a pinch (though it may slightly darken the rice and has a sharper taste). I used to mix rice vinegar with apple cider vinegar sometimes. Avoid using other vinegars, as they will change the flavor of the rice.
- Sugar: Use white sugar so it doesn’t alter the color of the rice and keep the flavor clean
- Salt: I use kosher salt because the flakes are larger and less “salty” per teaspoon than table salt. If you’re using table salt, reduce the amount slightly.
- Kombu (dried kelp): Adds a subtle umami to the rice. That said, if you don’t have it, don’t worry - it’s not essential, and the difference is minimal in my opinion.
For more tips on sushi rice, vinegar, and other essentials, check out my Japanese Pantry guide - it’s full of helpful shopping and storage advice.
Step-by-Step Sushi Rice Recipe (Rice Cooker Method)
Follow this sushi rice recipe (rice cooker) to get perfect results:
- Rinse the rice - Measure the rice and rinse it in a bowl with cold water, gently swishing the grains through your fingertips. Drain and repeat until the water runs mostly clear - I usually rinse 4–6 times. Be gentle to avoid breaking the grains, which makes the water cloudy. Let the rice drain, then transfer it to the rice cooker. I don’t soak the rice, because I prefer it slightly on the drier side so it can absorb the seasoning better after cooking.
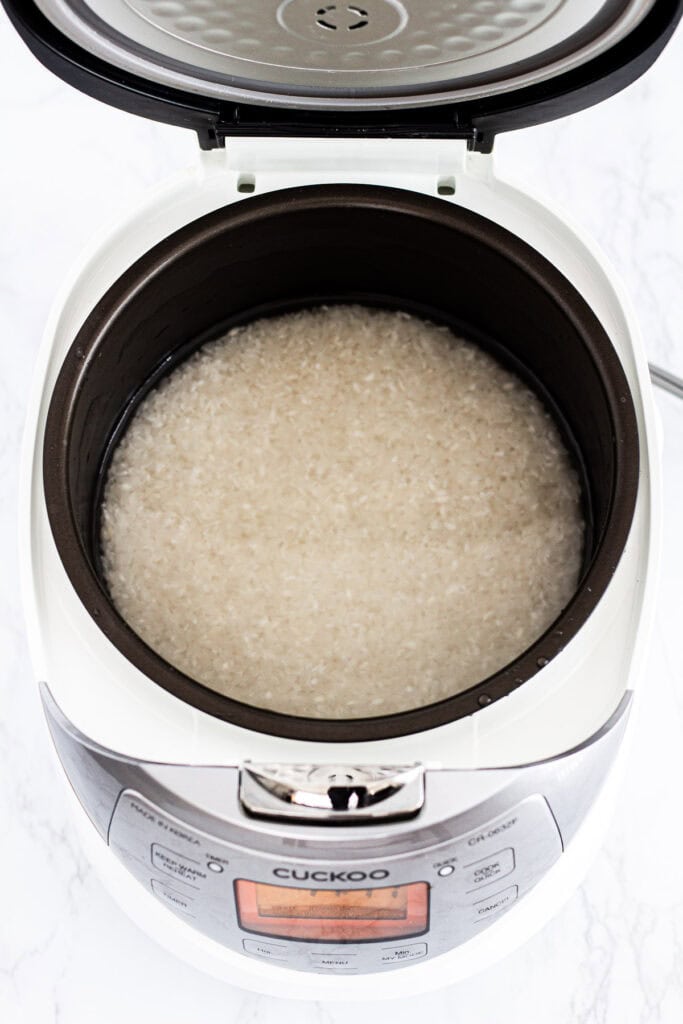
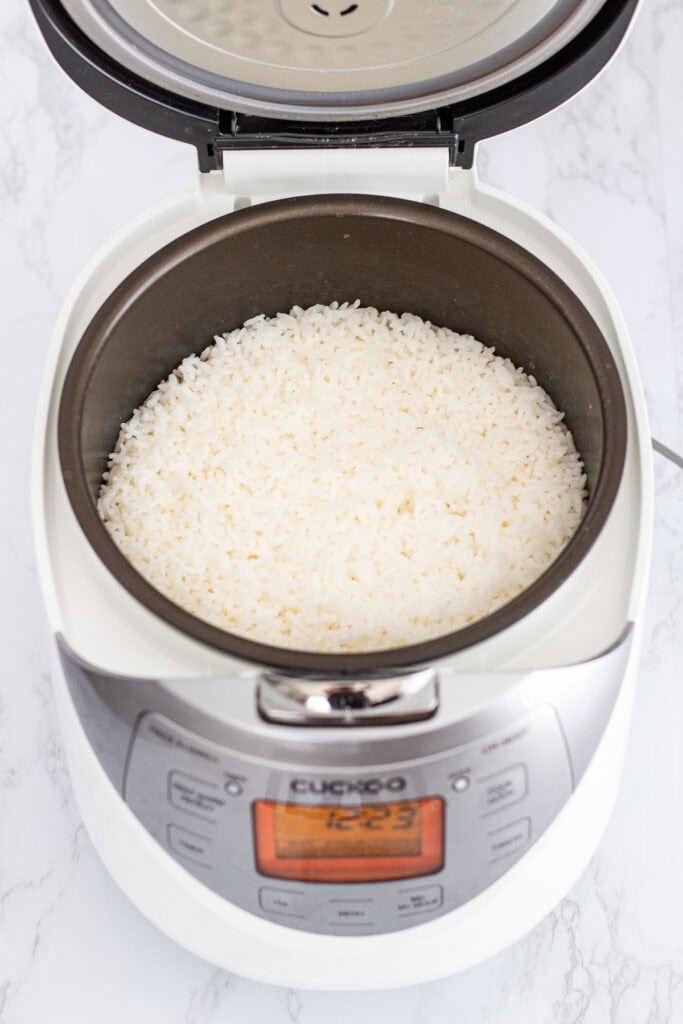
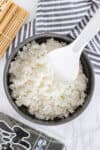
- Cook the rice - Add the rinsed and drained rice to the rice cooker with water (I use a 1:1 ratio of rice to water). Set the cooker to the “white rice” setting and let it cook.
- Make the seasoning - While the rice cooks, gently heat the rice vinegar in a small saucepan. Then add sugar and salt, stirring until dissolved. Alternatively, you can heat the vinegar in a microwave-safe bowl for about 30 seconds before stirring in the sugar and salt until fully dissolved. Set aside.
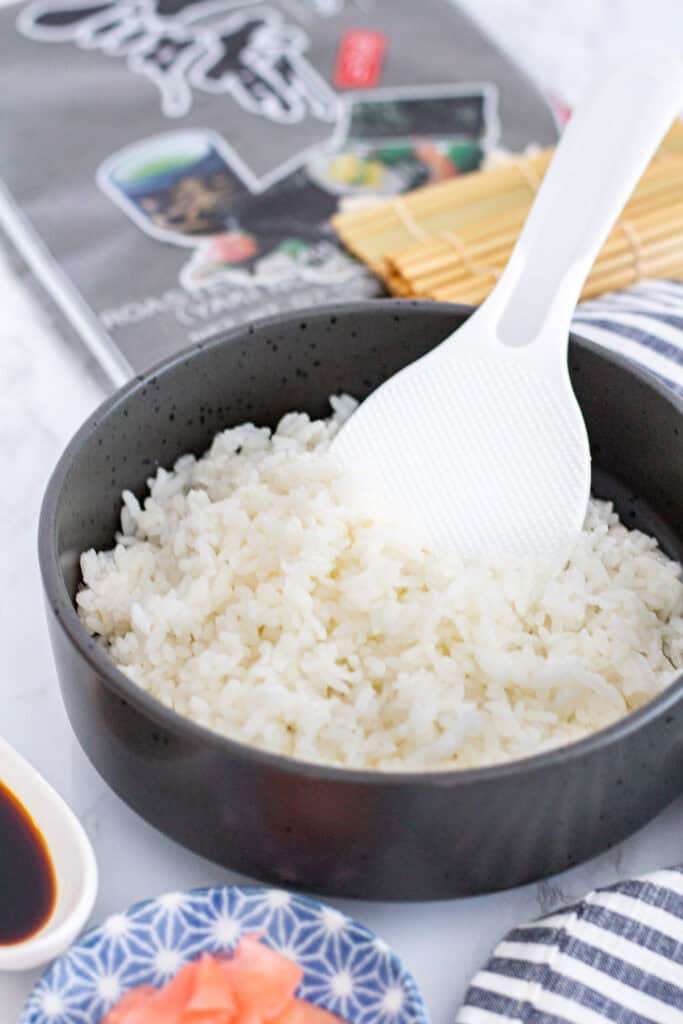
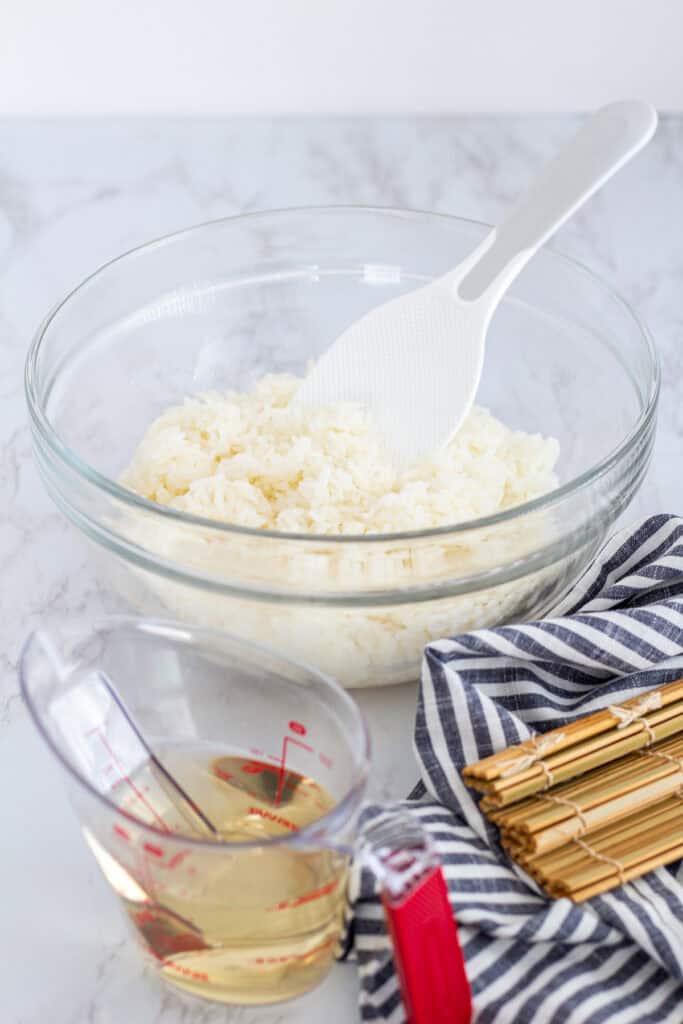
- Season the rice - When the rice is done, transfer it to a large bowl and drizzle the seasoning evenly over the hot rice.
- Fold and cool - I like to use a plastic rice paddle or rubber spatula. Gently fold the rice, using a cutting and lifting motion to mix.
- Cover and use - Once mixed, keep the rice covered with a damp paper towel to prevent it from drying out. Let it cool slightly before using.
Pro Tips for Sushi Rice
Here are a few extra tips I’ve learned from years of making sushi at home — these little habits make the process smoother and more enjoyable:
- Season generously.
In my opinion, homemade sushi often tastes bland because the rice isn’t seasoned enough. I recommend adding 1½ to 2 tablespoons of sushi seasoning per cup of cooked rice. Don’t worry if the rice looks a little wet right after seasoning — it will absorb the liquid as it cools, leaving you with flavorful, glossy grains. - Season while it’s hot — and fold gently.
Always drizzle the seasoning over the rice while it’s still hot, as the grains absorb flavor better. To mix, use the edge of your rice paddle and a gentle cutting and lifting motion. Avoid stirring or pressing the rice, which can make it mushy — you want to keep the grains fluffy and distinct. - Why slightly warm rice is best.
When it’s time to roll your sushi, aim for slightly warm or room-temperature rice. Hot rice will cause the nori sheet to wrinkle, making it difficult to handle, while cold rice becomes stiff and hard to spread evenly. - Make a big batch of seasoning.
I like to make a double or even triple batch of sushi seasoning and store it in a glass jar in the fridge. It keeps for a couple of months and makes it easy to whip up sushi anytime.
My Favorite Rice Cookers:
You don’t need anything fancy to make great sushi rice, but a good rice cooker makes the process so much easier and more consistent. Here are a few I’ve personally used or my family and friends own and recommend:
- Zojirushi Neuro Fuzzy Rice Cooker (NS-ZCC10) - This is the Cadillac of rice cookers. I used to have this model, and it cooked flawless rice every time, kept it perfectly warm for hours, and was incredibly reliable. If you cook rice often and want something premium that’ll last for years, this is worth the investment.
- Cuckoo CR-0633F 6-Cup Rice Cooker - This is the one I currently use, and I really enjoy it. It’s a slightly larger version of the 3-cup model my sister has. Cuckoo is a trusted Korean brand, and this model is perfect for families of 2–4 who want a little more capacity without taking up too much space.
- Cuckoo 3-Cup Rice Cooker - My sister’s favorite. Compact, budget-friendly, and perfect for a small household of 2–3. Also great if you’re short on counter space
- Toshiba 6-Cup Fuzzy Logic Rice Cooker - A friend of mine uses this model and has nothing but good things to say about it. It’s another dependable mid-range option that works really well for everyday rice.
If you already have a basic rice cooker, that works perfectly fine for this recipe. And if you have an America’s Test Kitchen subscription, their rice cooker review is also a great resource for more options.
Storage and Make Ahead
Sushi rice is best enjoyed the same day. If needed, you can make it a few hours ahead by covering it with a damp paper towel and plastic wrap. It will keep at room temperature for up to 3–4 hours.
I don’t recommend refrigerating sushi rice, as it hardens and changes its texture. If you must, keep the rice and seasoning separate. Then reheat the rice and mix in the seasoning. However, keep in mind that it may turn out a bit drier than fresh. Whenever possible, I prefer making it fresh!
Frequently Asked Questions About Sushi Rice
I don’t recommend it. Long-grain rice (like jasmine or basmati) is too dry and doesn’t stick together properly, which makes it difficult to roll and shape.
As a general rule, 1 cup of uncooked sushi rice yields about 2.5 to 3 cups of cooked rice. The amount of rice you’ll use per roll depends on the type of sushi you’re making. For a simple hosomaki (thin roll with one filling), I typically use about ½ cup of cooked rice per roll. For larger rolls with multiple fillings, plan on about 1 cup of cooked rice per roll.
You can, but the texture and flavor will be different. Brown rice tends to be drier and less sticky than white rice. If you want to try it, I recommend using short-grain brown rice and soaking it for 20–30 minutes beforehand. Then cook it with the same rice-to-water ratio. I’ve had decent results mixing half brown rice and half white rice, if you want to use brown rice.
No. The word sushi actually refers to rice that’s seasoned with vinegar. Without the seasoning, it’s just plain white rice, which lacks the signature flavor and texture that makes sushi so special.
I recommend this sushi rice recipe rice cooker method. I prefer and recommend using a rice cooker - it’s the most reliable and beginner-friendly. You’ll also find recipes for Instant Pot sushi rice (which uses about the same rice-to-water ratio) and stovetop methods (which usually require a different ratio). I haven’t personally tested those methods myself, so I can’t vouch for them. But there are options if you don’t have a rice cooker.
I don’t recommend either, especially if your sushi includes raw fish. Cold rice hardens, and reheating changes the texture and can compromise food safety. Instead, I suggest making only as much sushi as you plan to eat the same day. As a reference, I usually make about 3–4 rolls total for my husband and me.
Use This Sushi Rice For:
This seasoned rice is the foundation for many types of sushi. With this batch, you can make about three standard rolls or six thin rolls, making it perfect for a simple sushi night at home for two. Here are some of my favorite ways to use it:
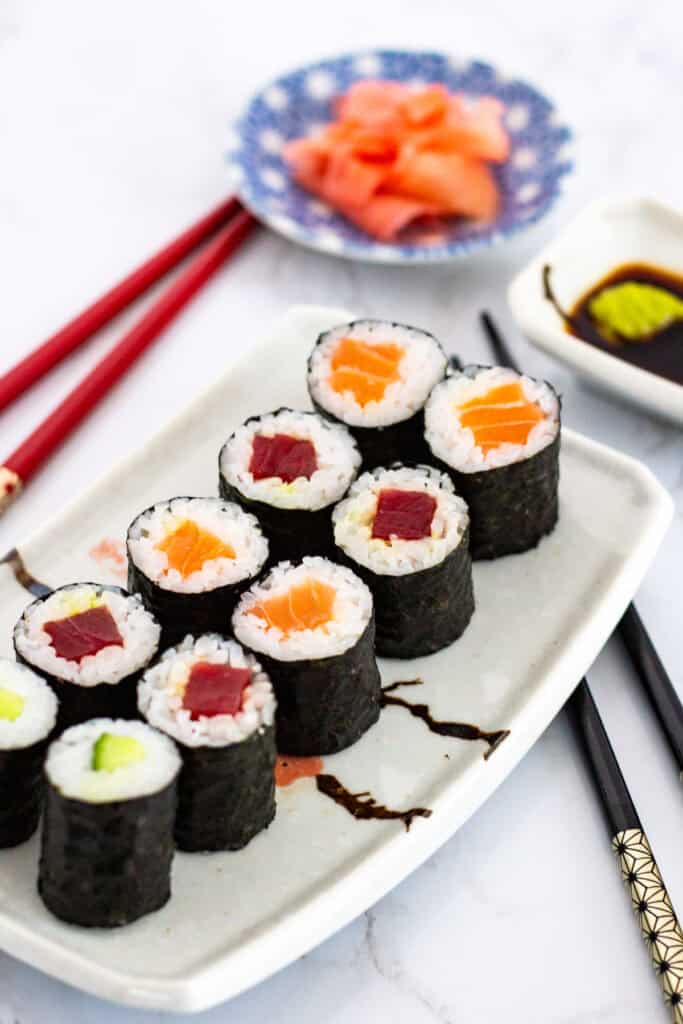
- Sushi rolls (maki): Perfect for classic rolls like cucumber, avocado, spicy tuna, or dragon rolls.
- Hand rolls (temaki): Great for casual, cone-shaped sushi that’s fun to assemble.
- Nigiri: Shape small mounds of rice and top with fish, egg, or vegetables.
If you’re not sure how much rice to cook for different meals, I share a simple portion guide that can help.
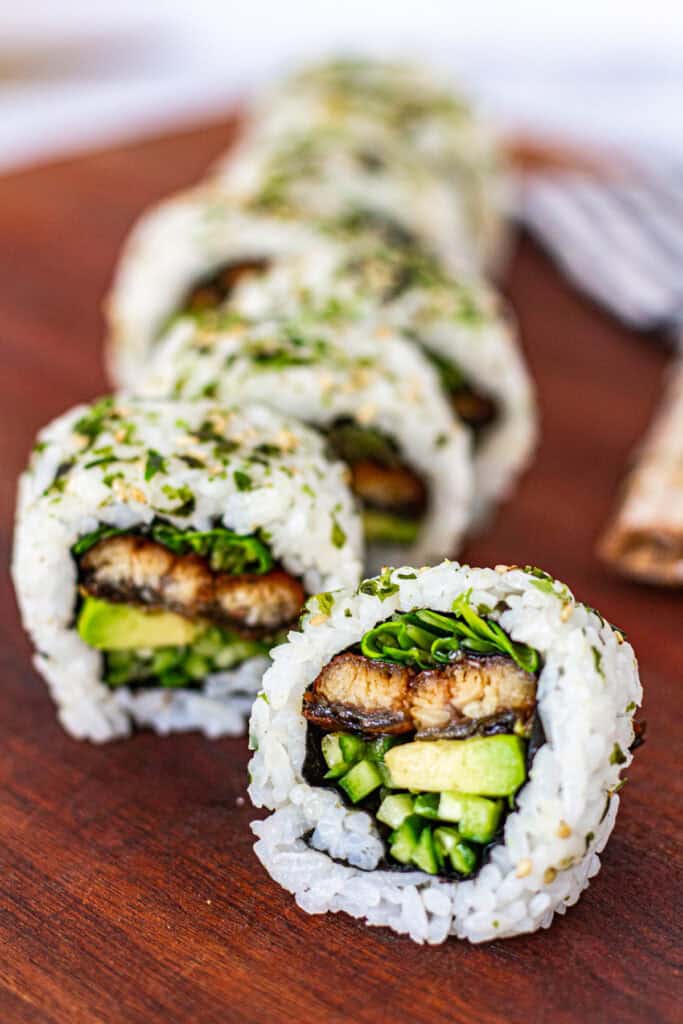
I hope this recipe gives you the confidence to make sushi rice at home! It’s the perfect foundation for relaxed, homemade sushi nights. Start with my Simple Maki, try Spicy Tuna Hand Rolls, or build a full spread with my Unagi Roll. To round out the meal, serve it with a warm bowl of Miso Soup with Dashi for a simple and comforting pairing. For ingredient tips, browse my Japanese Pantry Guide and stock your kitchen with the essentials.
Sushi Rice in a Rice Cooker (Perfect Every Time)
Learn how to make fluffy, perfectly seasoned sushi rice at home with this easy rice cooker method (ideal for rolls, nigiri, and hand rolls).
- Prep Time: 10 minutes
- Cook Time: 30 minutes
- Total Time: 40 minutes
- Yield: 2 servings 1x
- Category: Rice, Side Dish
- Method: Rice Cooker
- Cuisine: Japanese
Ingredients
- 1 and ¼ cup Japanese short-grain rice (uncooked)
- 1 small piece kombu (optional)
For the seasoning:
- 5 tablespoons rice vinegar
- 2 tablespoons sugar
- 2 teaspoons kosher salt (or 1 teaspoon table salt)
Instructions
1. Rinse the rice
Measure the rice and rinse it in a bowl with cold water, gently swishing the grains through your fingertips. Drain and repeat until the water runs mostly clear, usually 4 to 6 times.
2. Cook the rice
Add the rinsed and drained rice to the rice cooker with water (use a 1:1 ratio of rice to water). Place the kombu on top if using. Set the cooker to the “white rice” setting and let it cook.
3. Make the seasoning
While the rice cooks, gently heat the rice vinegar in a small saucepan. Add the sugar and salt, stirring until dissolved. Alternatively, heat the vinegar in a microwave-safe bowl for ~30 seconds, then stir in the sugar and salt until fully dissolved. Set aside.
4. Season the rice
When the rice is done, discard the kombu if used. Transfer the hot rice to a large bowl and drizzle the seasoning evenly over the rice.
5. Fold and cool
Using a plastic rice paddle or rubber spatula, gently fold the rice with a cutting and lifting motion. Avoid mashing the grains - keep them fluffy and distinct.
6. Cover and use
Cover the rice with a damp paper towel to prevent it from drying out. Let it cool slightly before using - warm or room-temperature rice works best for rolling sushi.
Notes
- 1 and ¼ cups of uncooked sushi rice makes about 3 cups of cooked rice. The seasoning in this recipe card is for about 3 cups of cooked sushi rice.
- This recipe card gives you a quick overview of the steps, but be sure to read the full post above for more detailed instructions, especially if you’re new to making sushi rice.
- Don’t miss the Pro Tips for the Best Sushi Rice section in the post, where I share extra advice on how to season, fold, and store the rice for the best texture and flavor.
- If you’re stocking up on ingredients, check out my Japanese Pantry Essentials post for tips on choosing the best rice, vinegar, and other key items for sushi at home.
- This recipe makes enough rice for about 6 simple maki rolls (hosomaki) or 2 larger rolls (like dragon roll or futomaki).
Share your thoughts below!