Sourdough discard bread for beginners made easy. Get rich flavor and a reliable rise with this small batch artisan loaf recipe perfect for two.

I created this sourdough discard bread while learning how to handle softer, stickier doughs without the long wait of a true sourdough loaf. Most discard breads are no knead or sandwich style, and I wanted something more artisan but still beginner-friendly. This recipe uses discard with a little bit of yeast so you can practice different techniques to feel more confident. Baking this loaf made me feel more prepared to take on other artisan sourdough breads.
Before you begin, here are a few small reminders that make the process much easier:
- The dough will feel sticky and that’s normal!
- Use wet hands and a scraper to prevent sticking during folds and shaping.
- Don’t rush the folds. Each round gently builds strength and tension over time.
Jump to:
- Why You’ll Love This Sourdough Discard Bread
- Ingredients You’ll Need
- Tools You’ll Need (and easy alternatives)
- Techniques You’ll Practice in This Recipe
- How to Make Sourdough Discard Bread
- Troubleshooting Sourdough Discard Bread
- How to Adapt This Into a True Sourdough Loaf
- How to Store Sourdough Discard Bread
- Questions You Might Have About Sourdough Discard Bread
- More Sourdough Resources
- Easy Sourdough Discard Bread (Small-Batch Loaf)
Why You’ll Love This Sourdough Discard Bread
- Small artisan loaf for two. Cozy, manageable, and perfect when you don’t want a huge batch.
- Beginner friendly and reliable. Discard plus a little yeast gives you a steady rise without the long sourdough schedule.
- Great practice dough. You get comfortable with folds, preshaping, shaping, and handling slightly stickier doughs.
- Easier bulk fermentation. Faster rise times take away the guesswork and anxiety of waiting all day.
- Better texture than most discard breads. You still get that artisan feel without needing a full sourdough routine.
Ingredients You’ll Need
- Sourdough discard: Brings mild tang and depth without needing a full levain build.
- Bread flour: Gives the dough strength and chew for an artisan-style loaf.
- Whole wheat flour: A small amount adds a mild nutty flavor and a little color to the loaf. If you don’t have it, you can substitute with more bread flour.
- Water: Hydrates the dough and creates that slightly sticky texture that’s great for practice.
- Salt: Balances the flavor and strengthens the dough structure.
Tools You’ll Need (and easy alternatives)
You don’t need a lot of special tools to bake this loaf, but a few basics will make the process smoother and more beginner-friendly.
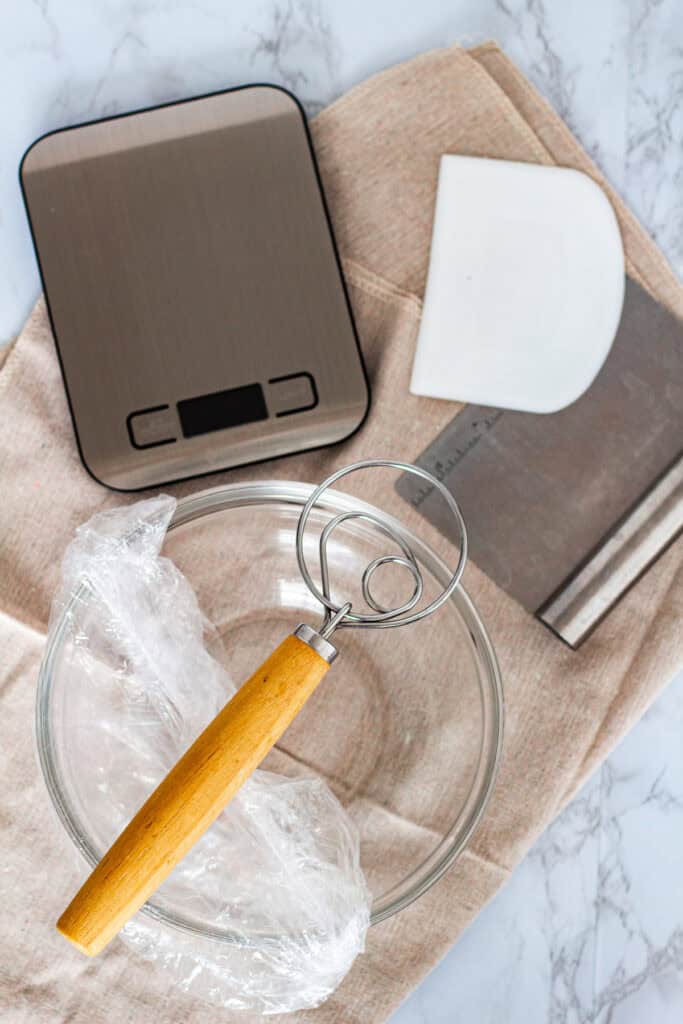
- Kitchen scale: The one tool I consider essential. It keeps your measurements accurate, helps your dough stay consistent, and all of my sourdough recipes are written in grams.
- Large clear mixing bowl: I like clear bowls because I can see bubbles forming on the sides and bottom, but any large bowl or Cambro works.
- Danish dough whisk: Helpful for mixing sticky doughs, but clean hands or a wooden spoon are fine.
- Reusable bowl cover, plastic wrap, or disposable shower cap: Keeps moisture in during bulk fermentation.
- Bowl scraper + bench scraper: Makes folding and shaping easier without adding extra flour.
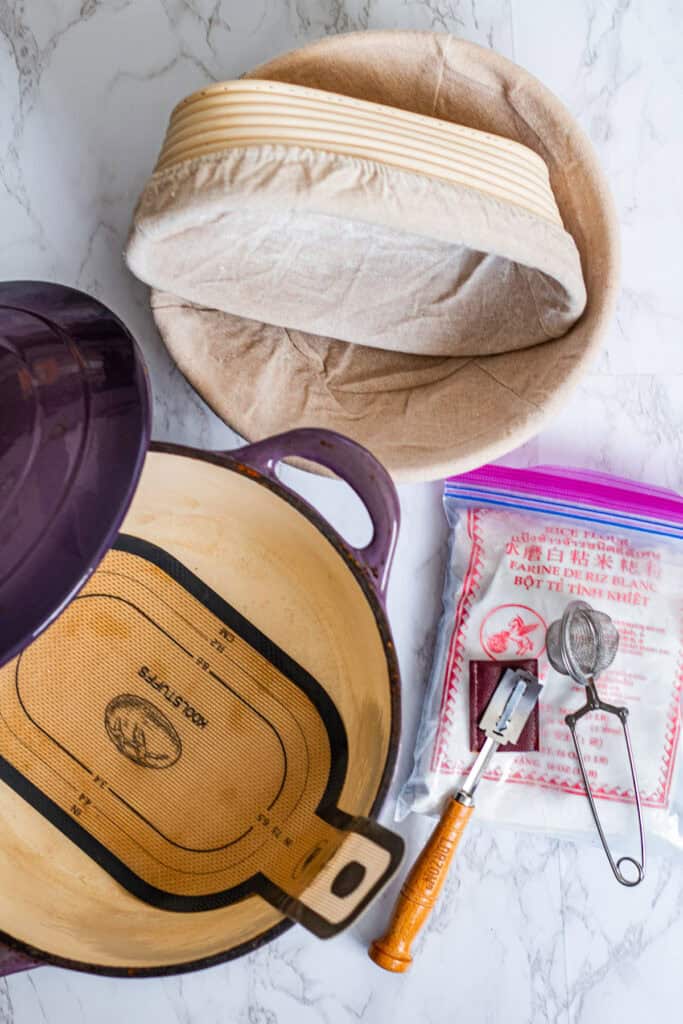
- Banneton: Holds the dough’s shape during the final rise. A medium bowl lined with a floured towel also works.
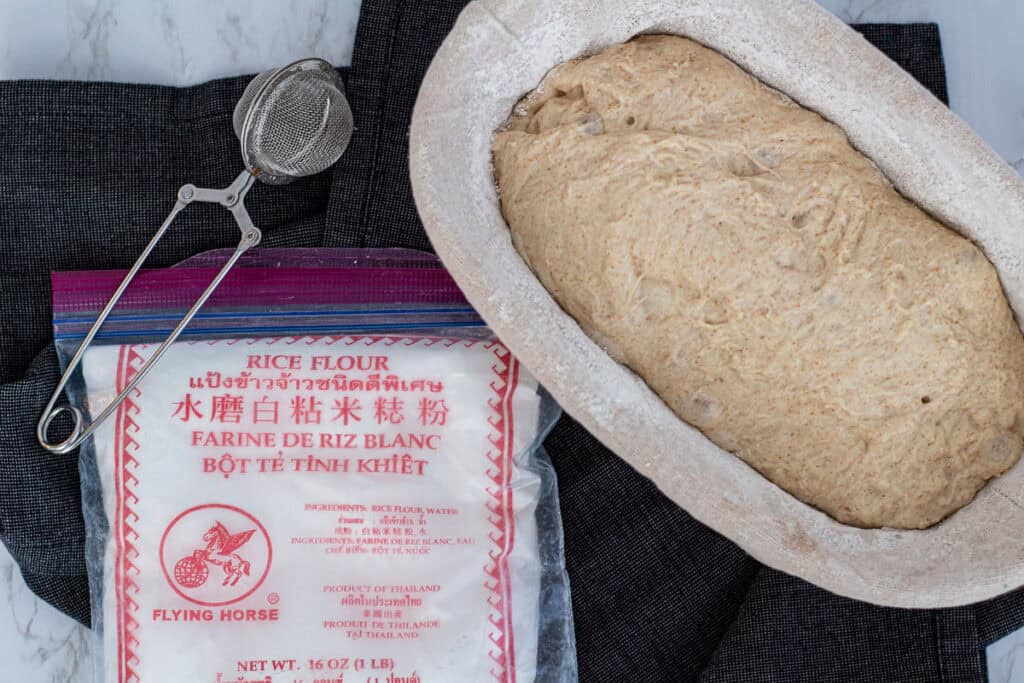
- Rice flour: Prevents sticking in the banneton. I buy mine at Asian grocery stores because it’s much more affordable.
- Dutch oven: Creates steam and helps your loaf rise well. If you don’t have one, a baking stone with a tray of hot water also works.
- Bread sling or parchment paper: Makes transferring the dough into the Dutch oven easier.
- Lame: For scoring, though a sharp knife works too.
Affordable sourdough kits are easy to find online, and many include most of these tools. With a simple kit, a scale, rice flour, and a Dutch oven, you’ll have everything you need for this recipe and the ones that build from it.
Techniques You’ll Practice in This Recipe
1. Bowl Folds (also called stretch and fold)
This strengthens the dough without kneading.
- With your wet hand, grab the dough at the top edge (12 o’clock).
- Lift straight up until the dough stretches and gently resists.
- Fold the stretched part down toward 6 o’clock.
- Rotate the bowl 90 degrees so a new side becomes 12 o’clock.
- Stretch and fold again.
- Repeat until you complete four folds total (North, East, South, West).
2. Preshaping
This tightens the dough and helps prepare it for shaping.
- Dump the dough out after bulk fermentation.
- Lightly wet your hands or bench scraper.
- Pull and tuck the dough to create a round “bao dumpling” shape.
- Flip it seam-side down.
- Rotate and sweep with your hands or scraper to create gentle tension.
- Rest for 15 to 20 minutes.
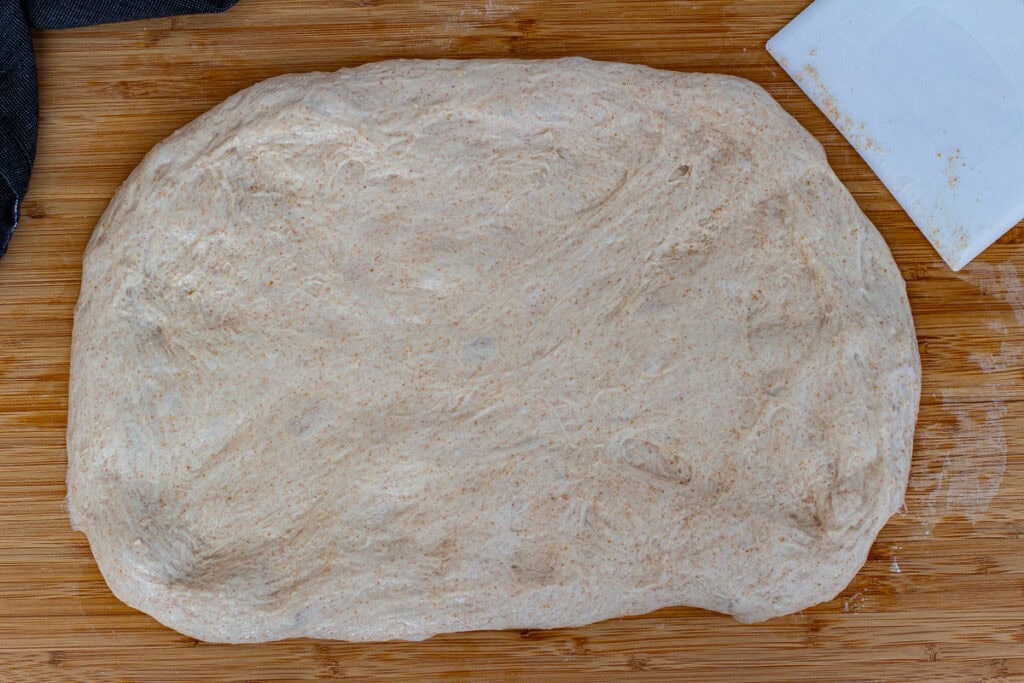
3. Shaping (batard or boule)
Shaping builds surface tension so the loaf rises upward.
Batard (oval loaf)
- Flip the dough smooth-side down.
- Gently stretch it into a rectangle.
- Fold one side in, then the other (letter fold).
- Fold the top down.
- Roll tightly from top to bottom.
- Pinch the seam and tuck the ends to build tension.

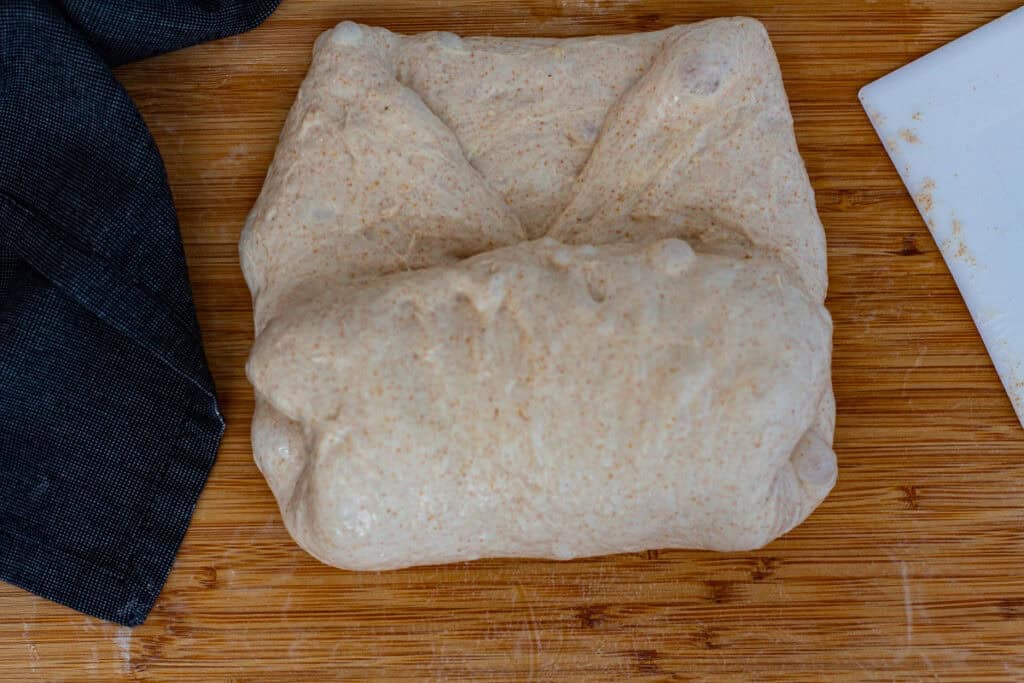
Boule (round loaf)
- Flip the dough smooth-side down.
- Gently stretch into a circle.
- Fold each “corner” toward the center like a package.
- Flip seam-side down.
- Rotate and sweep with your hands or scraper to tighten the surface.
4. Scoring
Scoring guides how the loaf expands in the oven and creates the artisan look.

- Flip the dough out of the banneton onto a bread sling or parchment paper.
- Brush off excess rice flour.
- With a sharp lame held at a slight angle, make one confident cut ¼–½ inch deep along the length of the loaf.
How to Make Sourdough Discard Bread
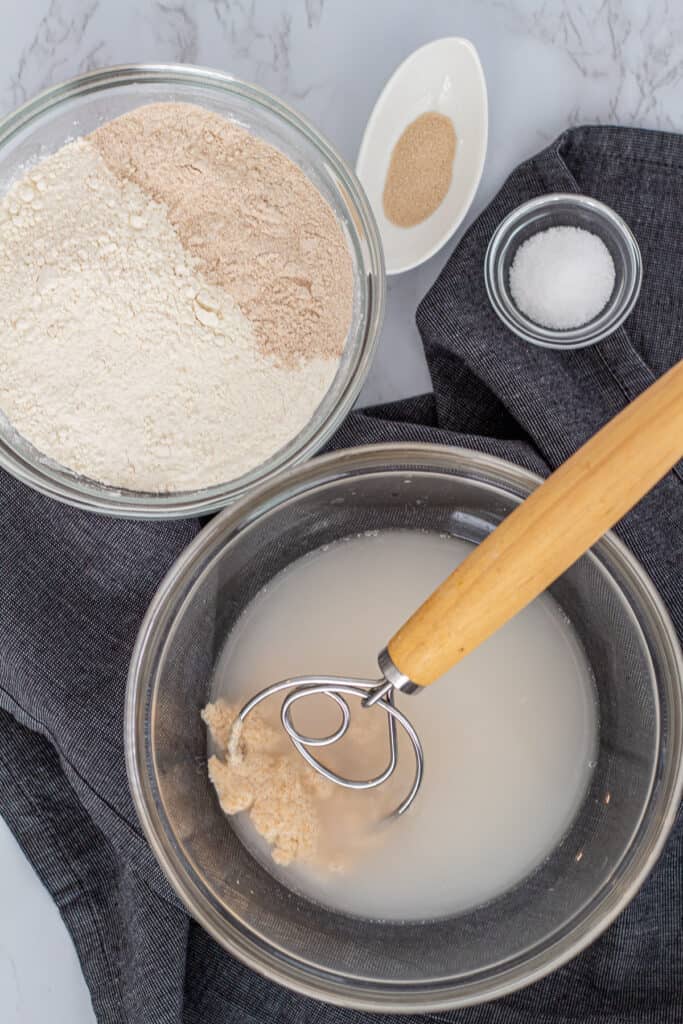
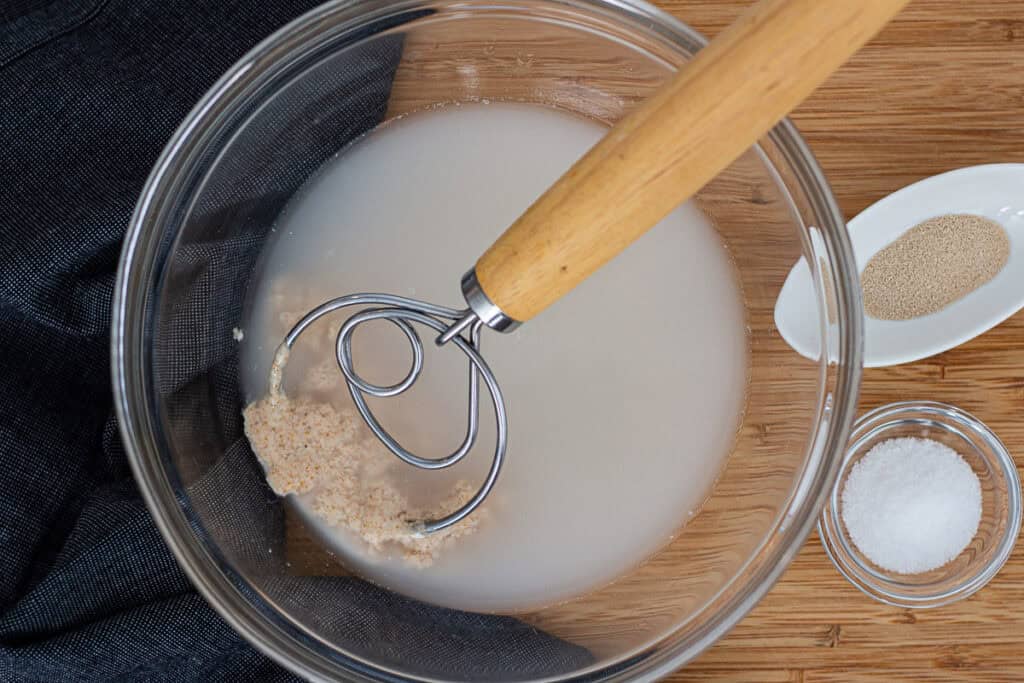
1. Mix the discard, water, and yeast: Add your sourdough discard, water, and instant yeast to a large bowl. Whisk or stir until the discard dissolves into the water and everything is evenly combined. If you are using discard straight from the fridge, warm water (about 100–110°F) helps loosen it and makes mixing easier.
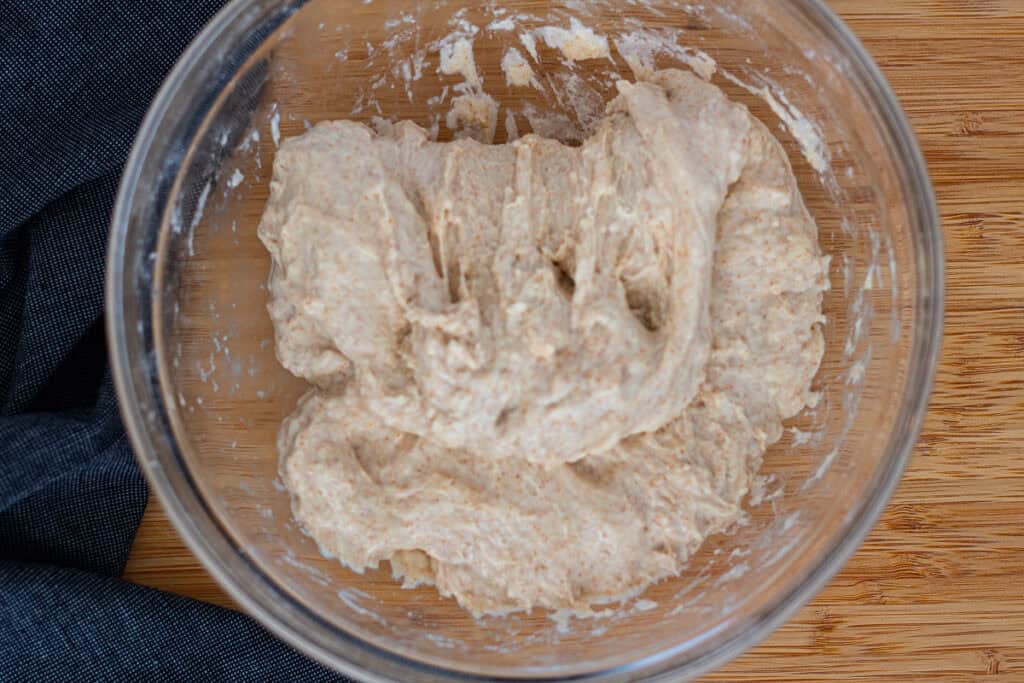
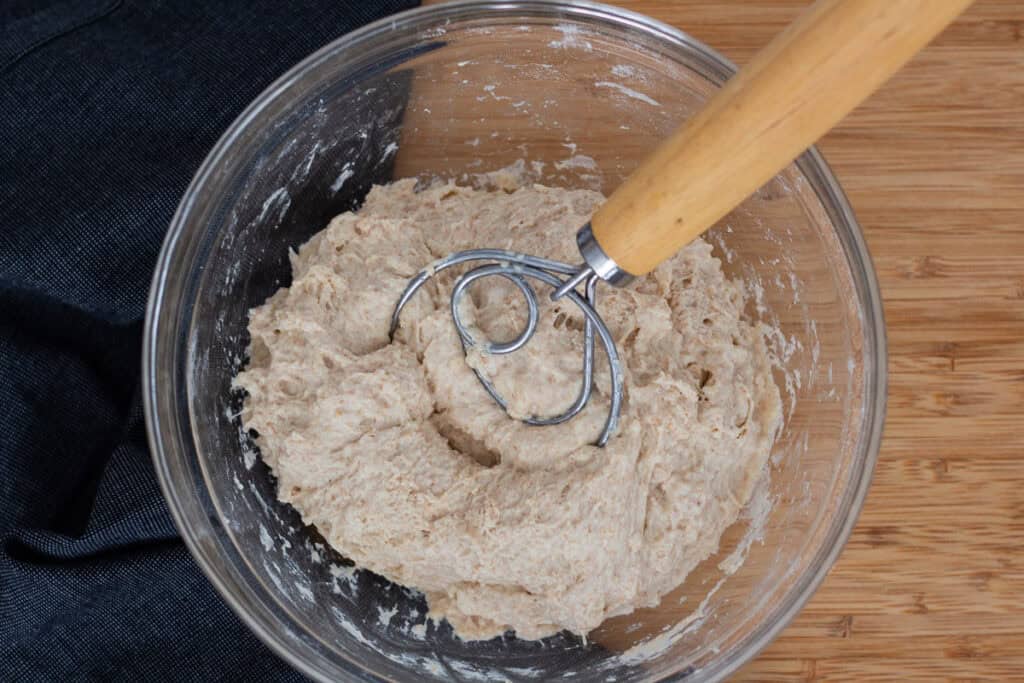
2. Add the flours and salt: Add bread flour, whole wheat flour, and salt. Mix until you no longer see dry bits. Cover and rest for 15 to 20 minutes so the flour fully hydrates.
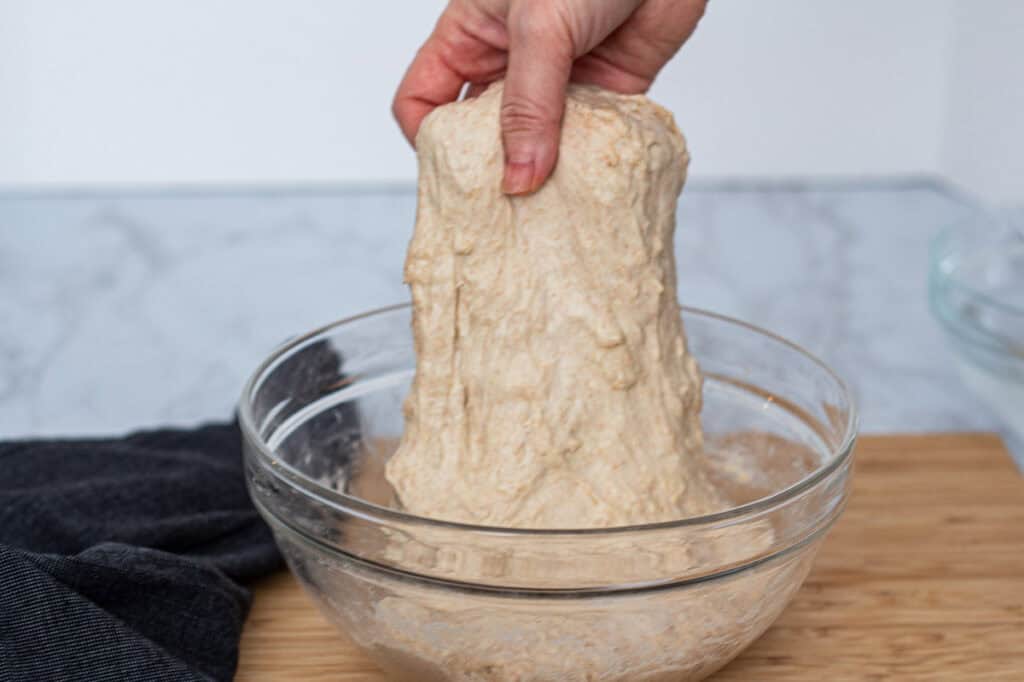
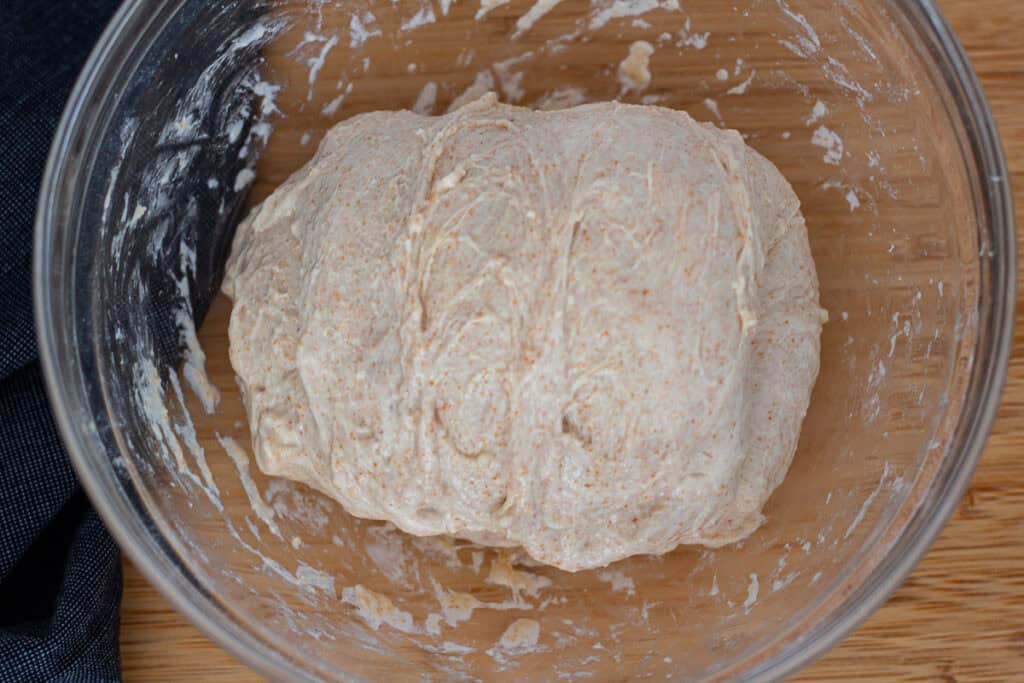
3. Strengthen the dough with bowl folds: Perform one full set of bowl folds (North, East, South, West). Cover and rest for 30 minutes.
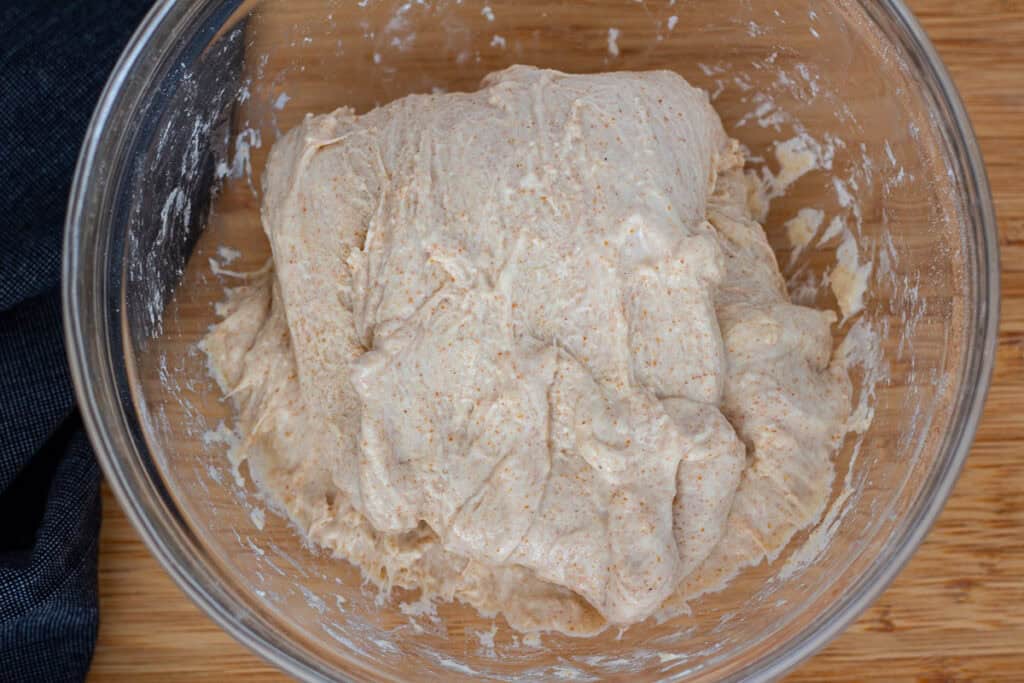
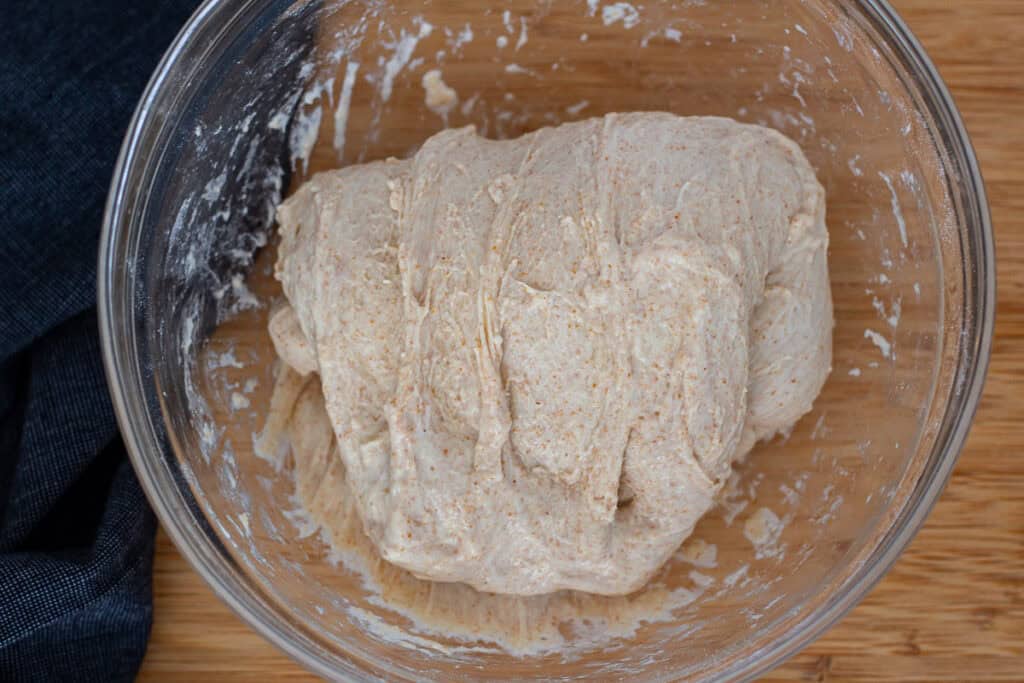
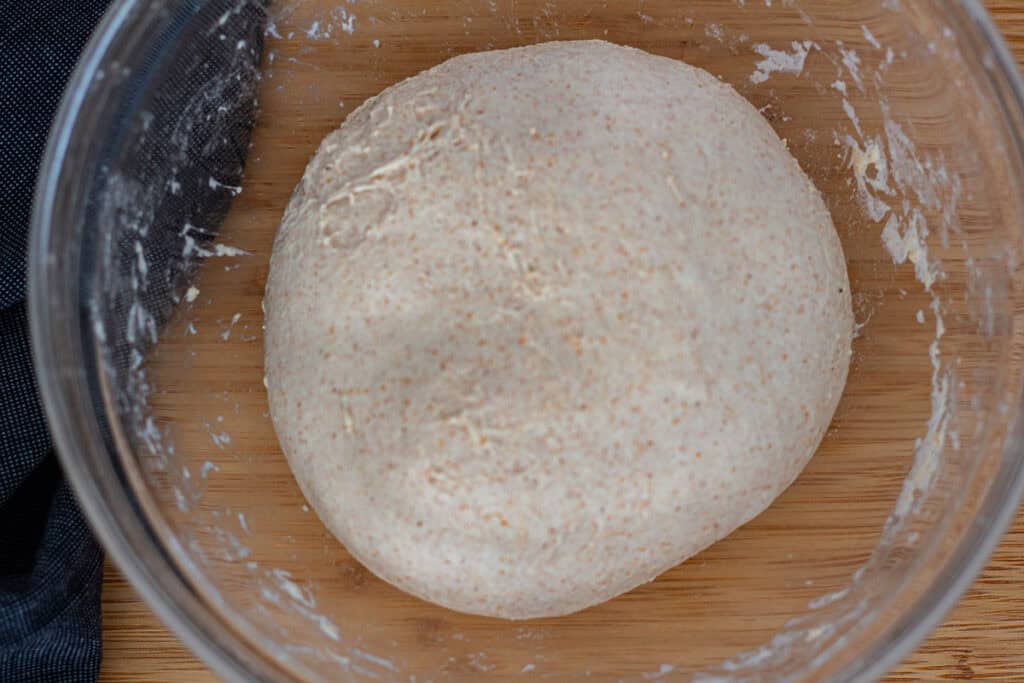
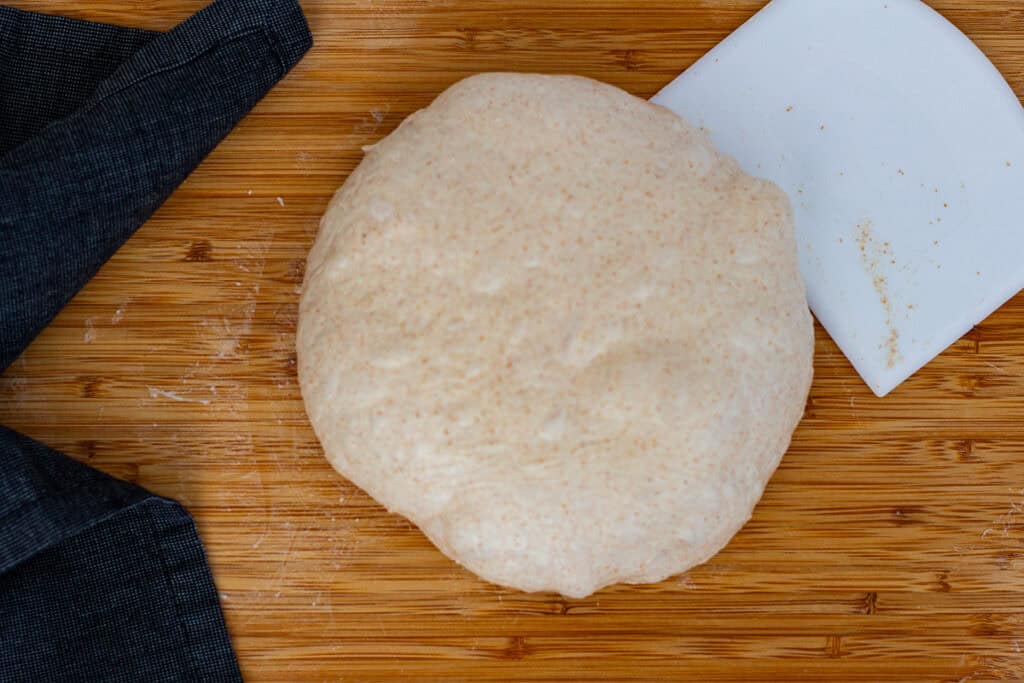
4. Repeat folds and let the dough rise: Do 3 to 4 sets of bowl folds, each 15 to 30 minutes apart. During your last set of folds, the dough should feel tight, smooth, and slightly resistant to stretching. If the dough still feels loose or spreads quickly, give it one more round of folds. After the final fold, let the dough rise until it looks puffy, slightly domed on top, about 70 percent bigger, and starting to pull away from the bowl.
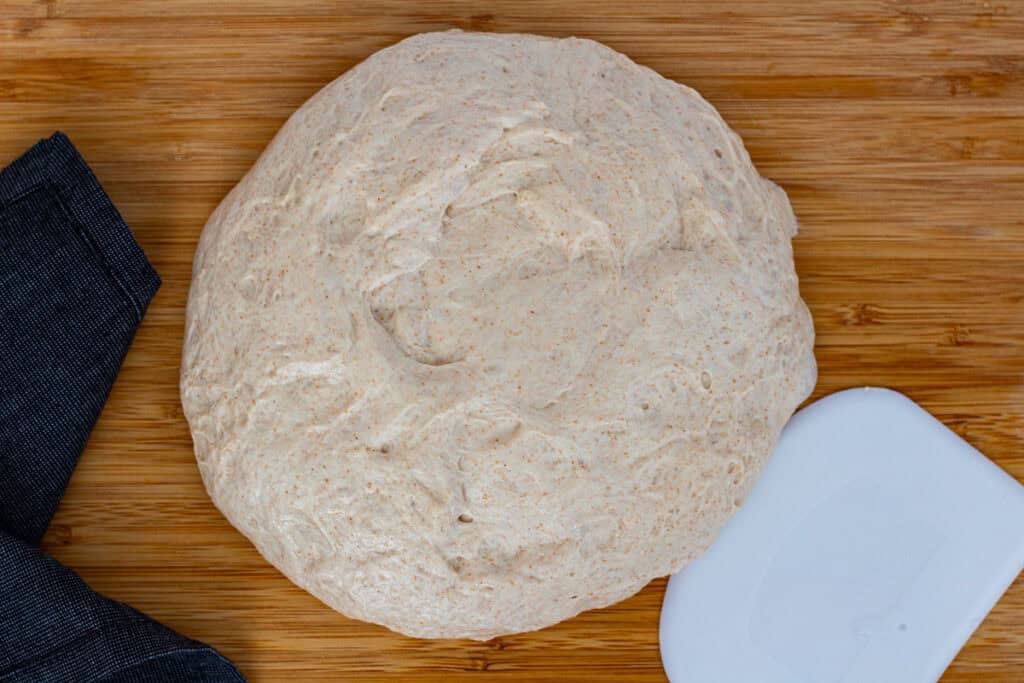
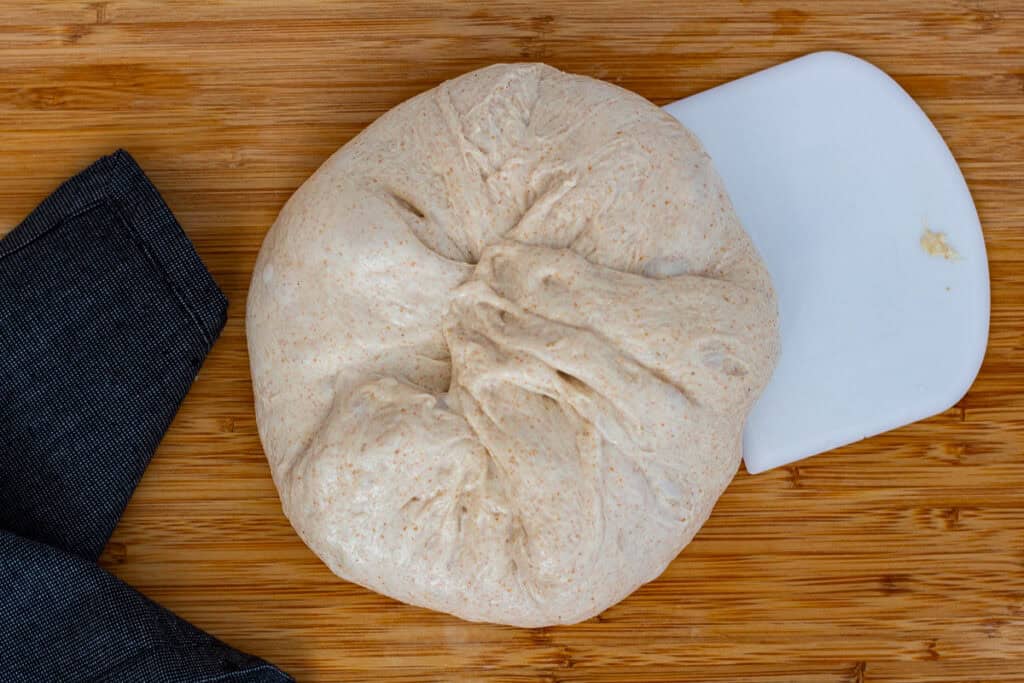
5. Preshape the dough: Turn the dough out onto your counter and preshape it into a tight round using the “bao dumpling” method. Let it rest for 15 to 20 minutes.
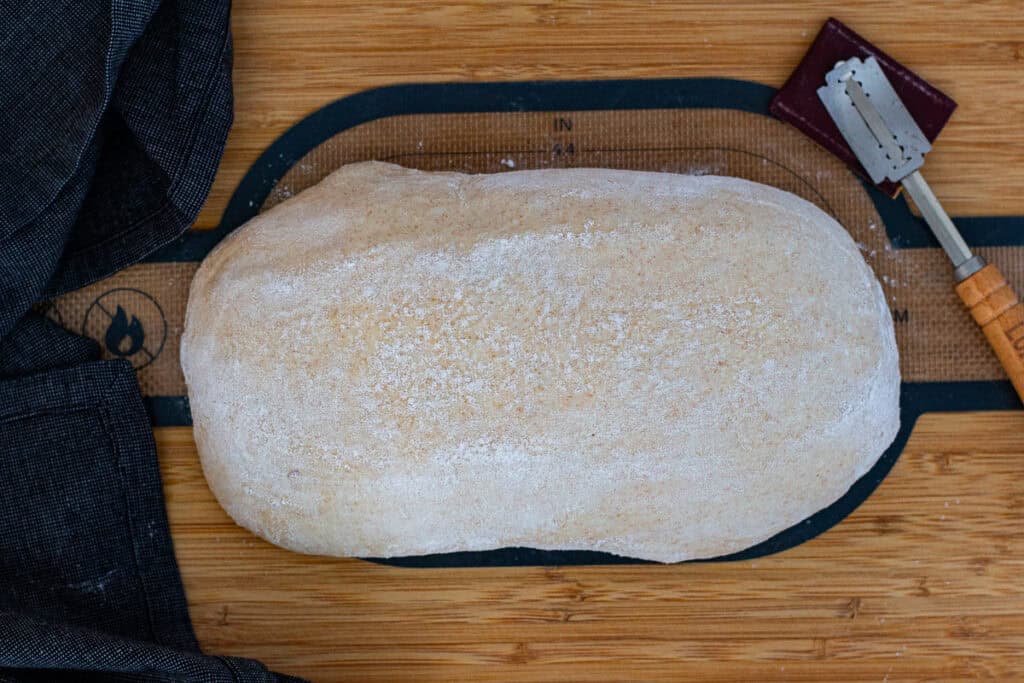
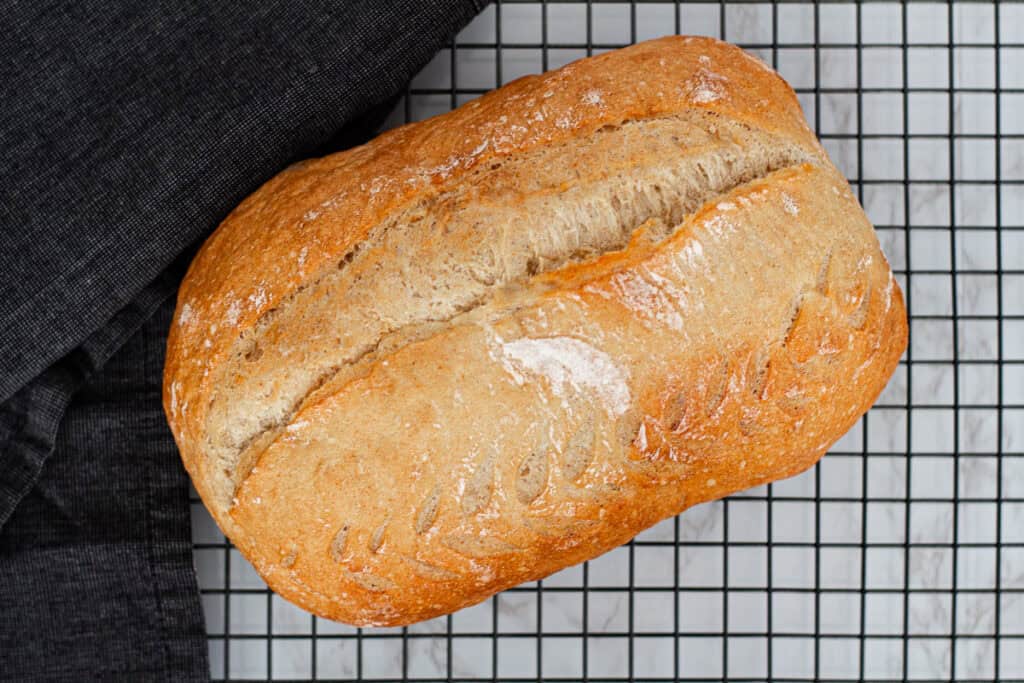
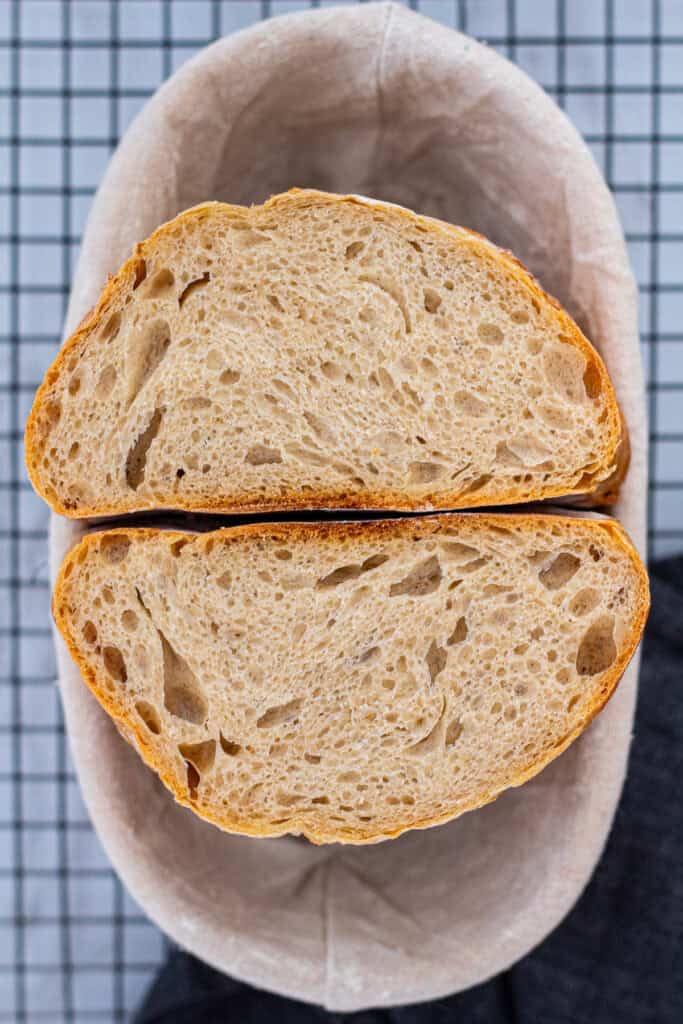
6. Shape the dough: Shape into a batard or boule using the techniques above. I usually shape it into a batard because it slices more easily for sandwiches, which is how we enjoy this bread at home. Before placing the dough into the banneton, liberally dust the banneton with rice flour. Rice flour helps prevent sticking much better than wheat flour, and it brushes off cleanly once you flip the dough onto your bread sling or parchment.
7. Chill and score: Refrigerate the dough for 30 minutes to 1 hour so it firms up. This short chill isn’t meant for developing flavor, so avoid leaving the dough in the fridge longer than about 60–90 minutes, as the potent instant yeast may cause the dough to overproof and collapse. Flip the dough out onto a bread sling or parchment, brush off excess flour, and score with one confident cut.
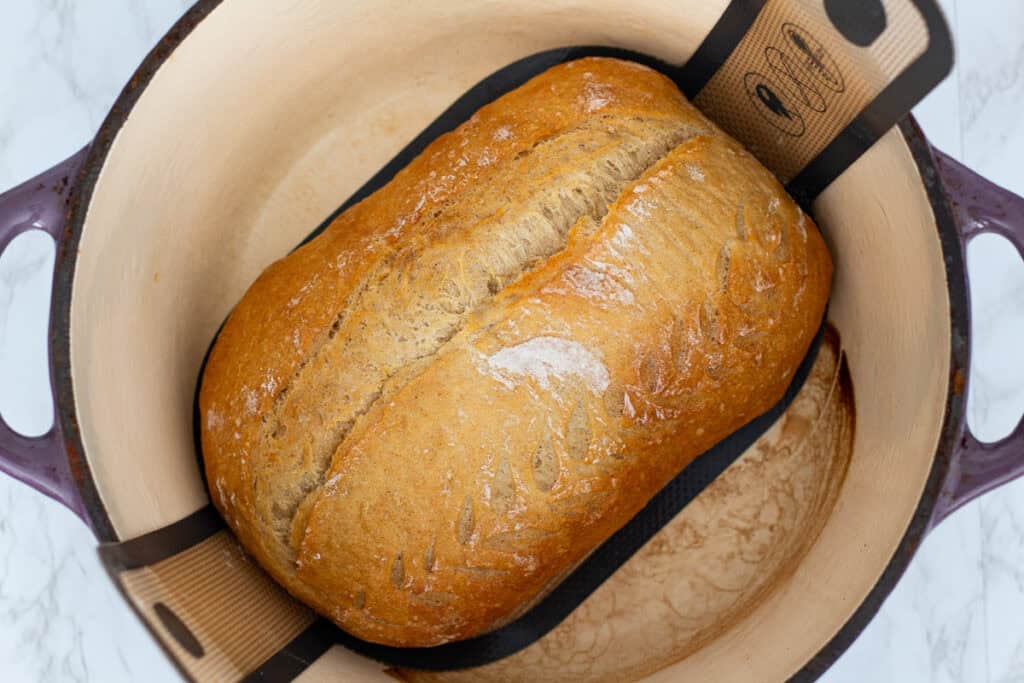
8. Bake the loaf: Place the dough into a preheated 450F Dutch oven. Add one or two ice cubes under the parchment/bread sling for extra steam (optional), or lightly mist the dough with a water spray. Bake 20 minutes with the lid on, then 20 minutes without the lid until golden brown.
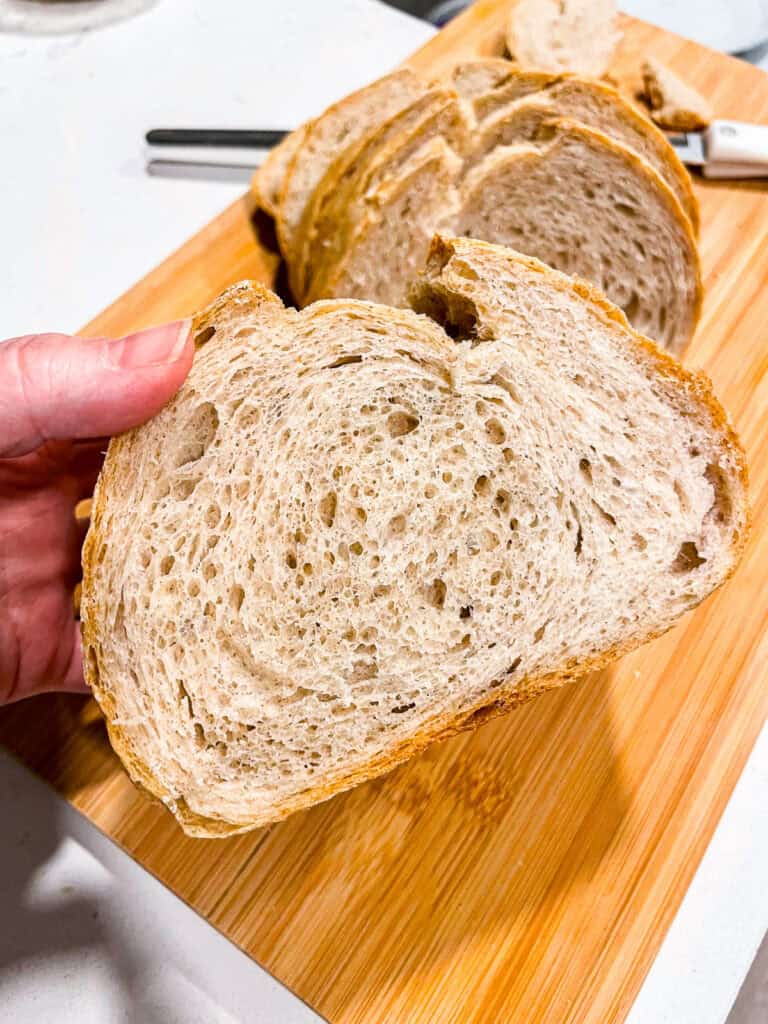
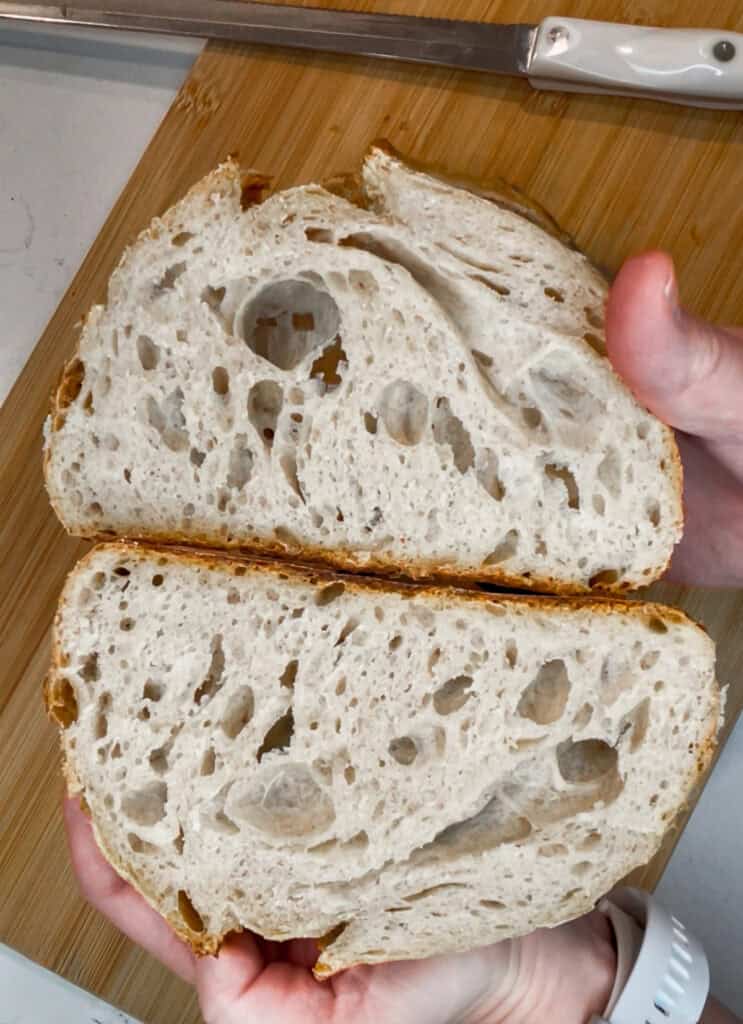
9. Cool completely before slicing: Let the loaf cool fully so the crumb sets. Cutting too early can make it gummy.
Troubleshooting Sourdough Discard Bread
- My dough feels very sticky
- This dough is around 72% hydration, so some stickiness is completely normal.
- Handling: Lightly wet your hands and your scraper. This creates a moisture barrier that prevents sticking.
- Structure: If the dough feels overly loose and is spreading, it needs more strength. Perform one or two extra sets of bowl folds to tighten the gluten structure.
- My dough is rising very slowly
- The speed of fermentation depends almost entirely on temperature.
- Warmth: Place the bowl in a draft-free warm spot, such as inside the oven with just the oven light on (oven off!). This gentle warmth will help the yeast work at a steady pace.
- Visual Cues: Remember that rise time varies. Don't strictly watch the clock; instead, look for the visual cue: the dough should look puffy, slightly domed, feel lighter, and have risen by approximately 70%.
- My loaf baked up flatter than I hoped
- Aim for a 70% rise during bulk fermentation to avoid under- or overproofing. And look for visual cues like slightly domed top, puffy appearance, and 70% rise.
- Dough Strength: After your final bowl fold, the dough should feel tight, smooth, and resistant to spreading. If it feels slack, give it one more fold set.
- Support: When shaping, place the dough in a properly sized banneton (proofing basket). Using the right size banneton supports the dough rises upward rather than spreading outward.
- The bottom browned too quickly
- Heat Management: Bake on the middle oven rack. If the bottom still darkens too fast, slide a separate baking sheet onto the rack beneath your Dutch oven halfway through the bake to diffuse the direct heat from the lower element.

How to Adapt This Into a True Sourdough Loaf
This method is beginner-friendly and steady, and I’ve successfully made many true sourdough loaves using this exact approach.
- Use active starter instead of discard
Replace the sourdough discard with active, bubbly starter and omit the instant yeast entirely. Make sure your starter is at its peak before mixing. - Mix, rest, and fold the same way
Follow the same mixing steps, rest periods, and bowl folds. The dough will feel very similar, just slightly more elastic due to the active starter. - Lengthen the bulk fermentation
True sourdough takes longer, so rely on visual cues instead of the clock. The dough should look puffy, slightly domed on top, feel lighter, and rise to about seventy percent bigger. - Preshape, shape, and score as usual
These steps remain the same whether you’re working with discard or active starter. - Cold-proof for best flavor
Refrigerate the shaped dough overnight (covered in the banneton), then bake the next day. - Bake the same way
Bake the loaf in a preheated Dutch oven: twenty minutes with the lid on and twenty minutes without.
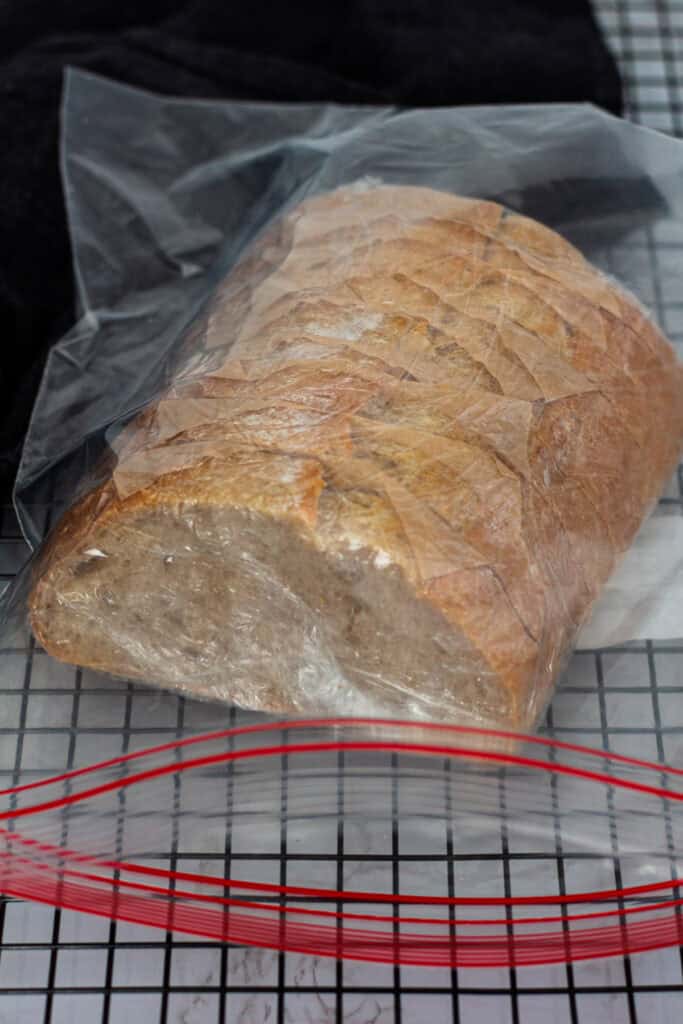
How to Store Sourdough Discard Bread
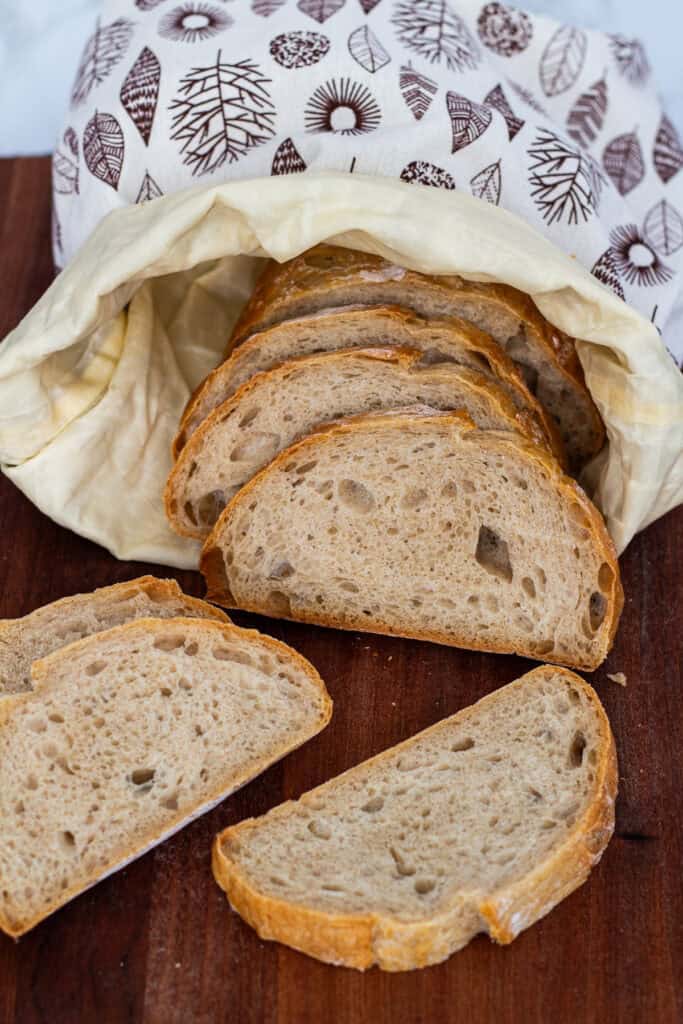
- Short-Term Storage (1–2 days)
- Once the bread has cooled completely, place it cut-side down on a wooden cutting board or store it in a paper bag. This keeps the crumb from drying out while letting the crust breathe so it stays crisp instead of getting soft.
- Medium-Term Storage (3–5 days)
- To keep the loaf fresh a little longer, wrap it in a clean tea towel, place it in a reusable beeswax-lined bread bag, or store it in a bread box.
- Avoid refrigerating the bread! Cool temperatures actually dry it out faster and make the texture firm sooner than expected.
- Long-Term Storage (Up to a Few Months)
- For longer storage, freezing works best. Let the loaf cool completely, then slice it and wrap it tightly in plastic wrap (a double wrap helps prevent freezer burn). Place the wrapped slices inside a freezer-safe bag. Many reusable bread bags are freezer-safe as well, so you can use one of those instead.
- To serve, toast the slices straight from the freezer, or let them thaw on the counter. They usually soften within 10 to 15 minutes.
Questions You Might Have About Sourdough Discard Bread
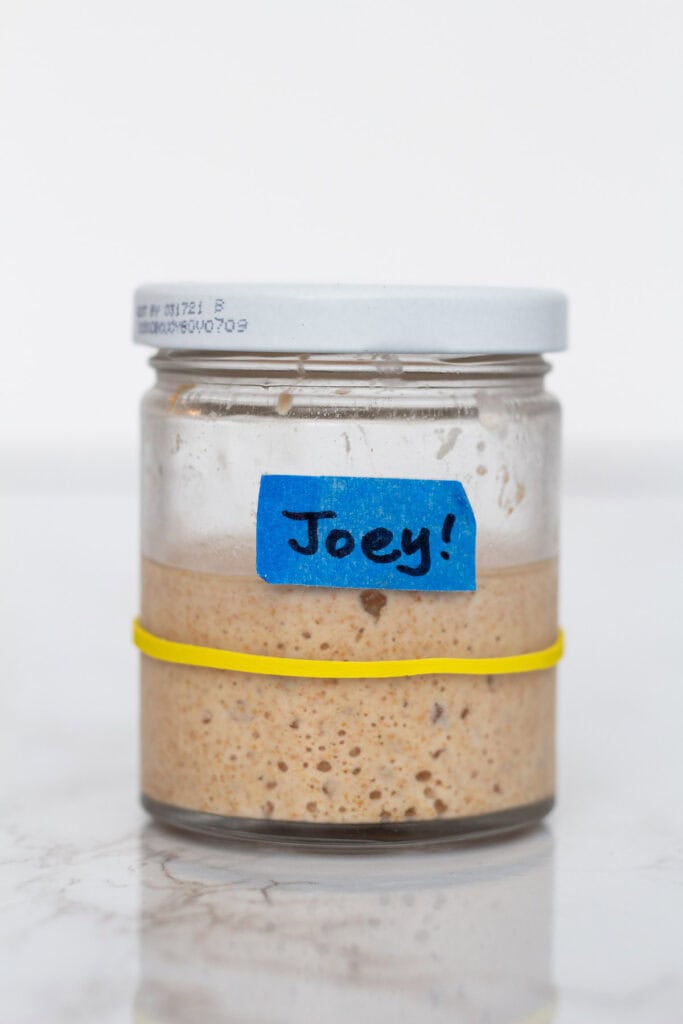
Sourdough discard is an unfed starter that’s removed before feeding. It still has great flavor, but it isn’t strong enough on its own to reliably rise dough. The active starter is fed, bubbly, and at peak activity. This recipe uses discard for flavor and instant yeast for a predictable rise.
Discard keeps well for about one to two weeks. If it smells very sharp or overly acidic or has liquid pooling on top, give it a stir or use it in cooked recipes like pancakes or crackers. For bread, fresher discard always works best.
Yes. If your starter is active and bubbly, you can make this loaf without instant yeast. The mixing and folding stay the same. The only difference is that the bulk fermentation takes longer. The step-by-step guide above explains exactly how to adapt this into a true sourdough loaf.
Yes. A medium bowl lined with a well-floured kitchen towel works perfectly fine. The shape may be a little softer, but the bread will bake beautifully.
More Sourdough Resources
If this small-batch loaf helped you understand how sourdough should feel, you’re in the right place. Everything I bake builds from this method. Once you’re comfortable with this dough, the rest of sourdough becomes less intimidating and much more enjoyable.
If you’re just getting started, these guides will help:
- How I Started My Sourdough Starter
A personal look at how I began my sourdough journey, what confused me at first, and the resources that made everything click. - Daily Starter Log and Maintenance Guide
Exactly how I feed, store, and maintain my starter so it stays active and reliable week after week.
When you’re ready to expand on this base dough, try one of these variations:
- Small-Batch Sourdough Olive Bread for Two
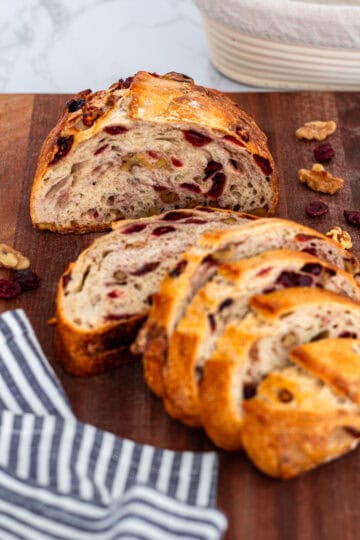
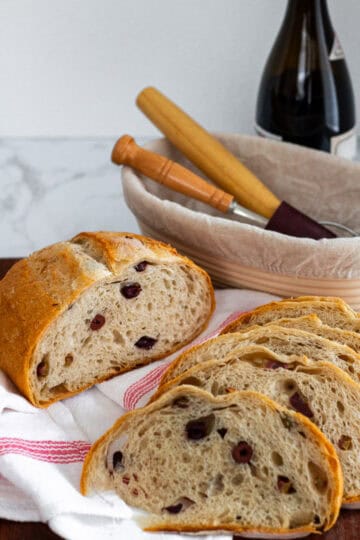
The same method with briny olives folded in. Savory, versatile, and perfect for everyday meals. - Cranberry Walnut Sourdough (Small-Batch with Discard)
A cozy variation with sweet-tart cranberries and toasted walnuts. Ideal for cooler months or holiday baking.
Everything builds from this loaf. Once you get comfortable with how this dough feels and moves, adding olives, cranberries, or trying longer fermentation will feel much more natural. This small-batch method is designed for baking fresh bread without excess, so you can practice and enjoy sourdough in a way that fits a cooking-for-two kitchen. Take your time, enjoy the process, and let it grow with you.
PrintEasy Sourdough Discard Bread (Small-Batch Loaf)
Artisan sourdough discard bread for beginners! A recipe perfect for two with great flavor and step-by-step techniques anyone can learn.
- Prep Time: 20 minutes
- Rise and Chill Time: 4 hours
- Cook Time: 40 minutes
- Total Time: 5 hours
- Yield: 1 small artisan loaf 1x
- Category: Bread
- Method: Oven
- Cuisine: American
- Diet: Vegan
Ingredients
-
60 g sourdough discard (unfed starter)
-
210 g water (room temperature)
-
270 g bread flour
-
30 g whole wheat flour
-
½ teaspoon instant yeast
-
6 g salt (about 2 teaspoons Diamond Crystal Kosher Salt) - If using another salt brand, weigh it to ensure accuracy.
Instructions
Whisk the discard, warm water, and instant yeast until the discard dissolves and the mixture looks smooth.
Add the flours and salt, mix until no dry bits remain, and let the dough rest for 15–20 minutes.
Do your first set of bowl folds, then let the dough rest for 30 minutes.
Do 3–4 sets of folds, resting between each. The final fold should feel tighter and smoother. Let the dough rise until it’s puffy, slightly domed, and about 70% bigger.
Turn the dough out, pull and tuck it into a round shape, flip it smooth-side up, and rest for 15–20 minutes.
Shape into a batard or boule (I prefer a batard). Dust a banneton generously with rice flour and place the dough seam-side up.
Chill the dough for 30–60 minutes to firm it up, then flip it onto a sling or parchment and score with one confident cut.
Bake at 450°F in a Dutch oven - 20 minutes covered, then 20 minutes uncovered. Optional steam can help the crust.
Let the loaf cool fully so the crumb sets before slicing.
Notes
-
-
This dough is naturally a little sticky — wet hands and a scraper make handling easier.
-
Look for visual cues instead of the clock: the dough should be puffy, slightly domed, and about 70% bigger before shaping.
-
Rice flour prevents sticking in the banneton much better than wheat flour.
-
If using a salt brand other than Diamond Crystal, weigh the salt (6 g) for accuracy.
-
Optional: Add an ice cube under the parchment or lightly mist the dough for extra steam and a shinier crust.
-
Share your thoughts below!